Application of certain techniques and avoidance of certain pitfalls ensure the generation of superior quality clothing photography. In this article, we have discussed some really useful clothing photography tips that would allow you click apparel photographs in the right manner, which in turn, would make the apparel photo editing process easier to handle. We are sharing basic guidelines that would help you with your techniques, but make sure that you exercise your creative abilities to the fullest potential, which would help you generate extraordinary photos.
Table of Content
Top Practices that you should adopt to click perfect apparel photographs
Preparation and Presentation
You should make sure that your garment is ready to get photographed. But how to photograph clothes on a hanger? Garments should be ironed properly and should be presented in a professional manner. While this might take some time, but this will definitely help you generate better quality photographs and make the post-processing quite easier.

Even out unappealing shapes and folds
Make sure that your product looks symmetrical in the photo. You will obviously not want your clothing products to have unnatural, unappealing folds and creases. Use needles, pegs, and pins in order to make your clothing products look natural. Go for restyling and the photography outcome would look awesome.
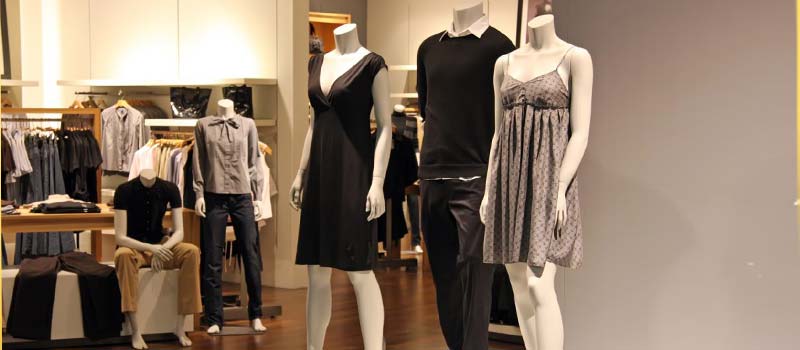
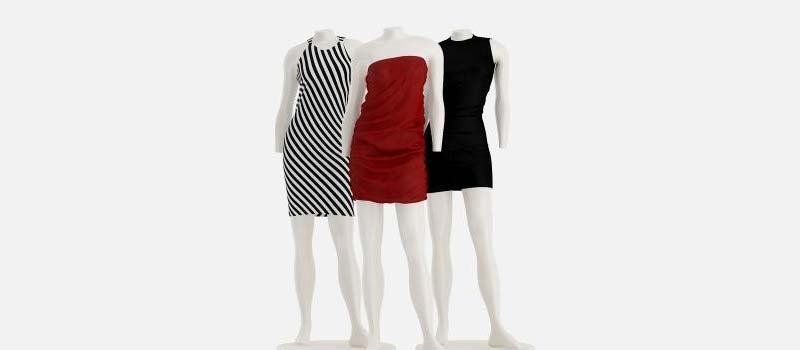
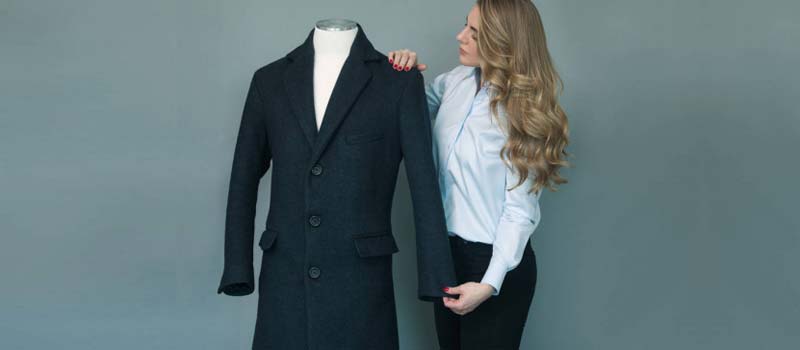
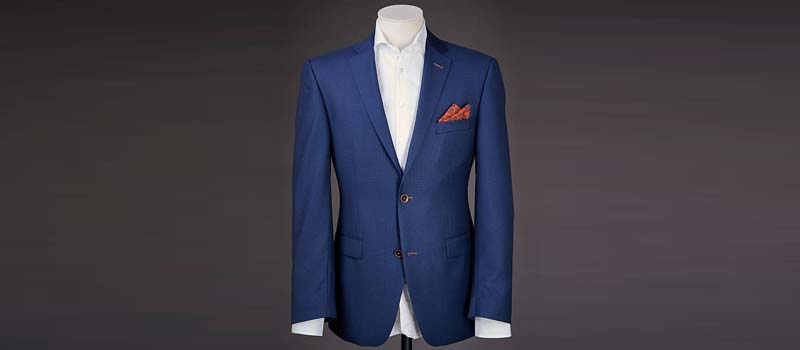
Use a model or a mannequin
Depending on your budget, you can hire a model or use mannequins. You may hire a professional model for photoshoots, but if you think that it won’t suit your budget, you may buy a mannequin. When you use a mannequin, you do not need to pay again and again for photoshoots and you can conduct photoshoots at any time based on your convenience. You can then ask a photo editor to perform photo retouching or to produce a ghost mannequin, which would allow your apparel to be portrayed with a three-dimensional effect.
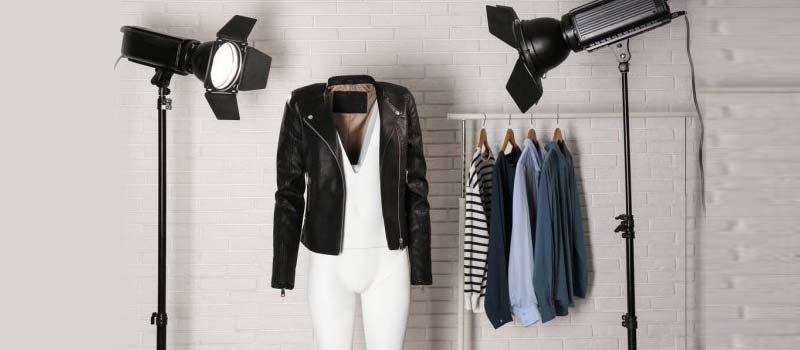
Proper Clothing Photography Lighting and Camera Perspectives
Appropriate camera angles and lighting can contribute to excellent captures. You should apply the most advanced photography tools to generate the best photography setup in terms of camera angles and lighting. If you are beginner, you should start by ensuring that there is a lot of natural lighting. You can consider buying external lighting kits or you may experiment with natural lighting. But you need to have a thorough understanding about your camera settings. For example, you should be better aware of how you can use the natural lighting to clock outdoor images. Next, you should focus on camera-positioning to understand how your mannequin looks from different angles. Sometimes, a simple camera rotation would solve your issue and you need to make sure that you position the camera perpendicularly to the mannequin. You may consider buying a tripod if you want to set your camera to the right perspective.
Details
Many people ignore minute details. But they make big mistakes this way because overlooking of small details may lead to the creation of big issues. Thoroughly examine the background, lighting, settings, and camera angles. It is important to focus on the background as well; sometimes too much focus on the subject makes photographers ignore the other details. Most eCommerce businesses prefer white image backgrounds; you may choose backgrounds that have a strong contrast with the subject. However, choosing a white background may make your product appear more professional. Going for a single-color-background is a good approach because it allows the photographer to hide unnecessary things easily from the background.
Color Model Selection
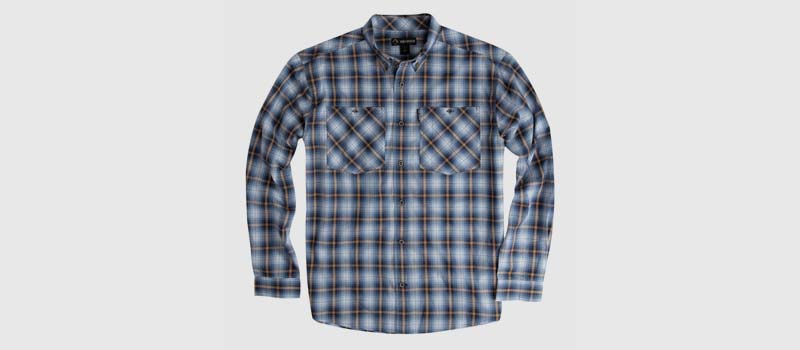
Check the Buttons
Clothing’s buttons play a great role and add an element of fashion. All the buttons should be clearly visible in the photo. You may ask someone else to check out the details before you start the photoshoot session.
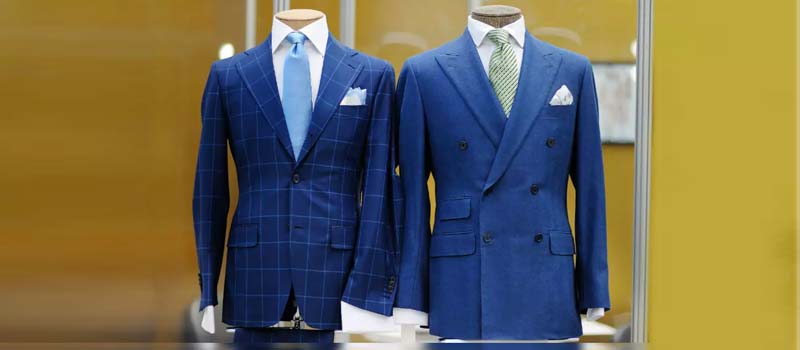
Presentation of Ties and Collars
Check out a few YouTube videos to clearly understand the tie-tying techniques. You should make sure that ties should proper and professional in the images. Adopt a similar approach for the collars. Iron the collars so that they appear straight. Start ironing the underside of the collar and shift the iron from one side to the next side. Turn the clothing to iron the other side. Your objective is to make the collar appear straight and flat as this would boost the appeal of the clothing, which would in turn boost the sales probability.
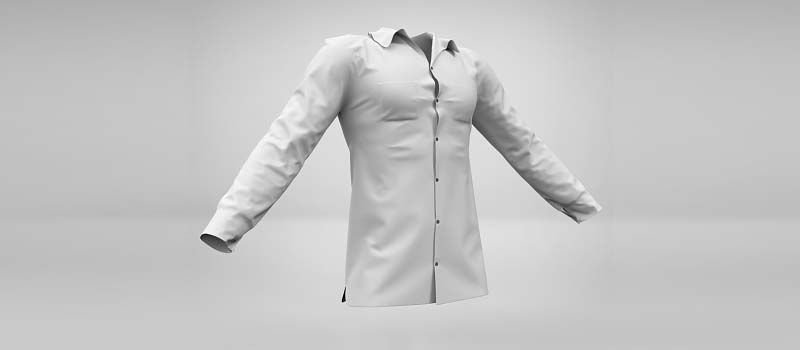
Keep Clothing Wrinkle-Free
By presenting wrinkle-free clothing for photography, you will be able to create professional clothing photography. Certain types of stitching in certain clothing may make ironing difficult. Make sure that you exercise proper creativity in capturing the images. Fold garments in different ways or capture images from different angles, which would highlight the garments’ best features in the best possible way.
Pay Attention to the Sleeves
Follow a consistent approach while folding the sleeves. Your objective is to make the sleeves appear neater and symmetrical, which would allow your customers to feel if the clothing would fit them properly. It is a good idea to make the sleeves face downwards, which would make images appear more professional.
This might seem to be a simple checklist, but you should take these small tips seriously. Initially, you may miss a few details, but with repeated practice, you may master the techniques and produce superior quality images that have the potential to boost sales.
Mistakes to Avoid
While you focus on implementing the above-mentioned tips, you should make sure that you avoid a few mistakes as well so that you can generate excellent and result-oriented outcomes. We have listed the mistakes so that you can make a note of them and avoid doing them in your projects:
Mistake 1: Not Using Multiple Imagery
You should use multiple product images in order to give your customers an idea about product quality and cost-effectiveness. You should allow customers to have maximum information about a product and one way to do this is to use 3 images per product or if possible, 5-7 images for every product. While many eCommerce websites allow businesses to upload up to 12 images of a single product, many businesses fail to make the most out of this opportunity.
Click photos of every product from multiple angles. This would allow you capture all the details that you want to showcase. Click photos highlighting the front, back, and side views of a product. Then take close-up shots of details such as embroidery, zippers, buttons or any other feature that makes your clothing look special. When you use multiple images, you will allow your customers to gain an in-depth idea about the apparel, which in turn, would enhance their shopping experiences. This would ensure minimal refunds and returns.
Mistake 2: Not Applying Proper Camera Settings
With inappropriate camera settings, you can’t generate desired outcomes even with top photo editing support. Even if you use a DSLR camera, you may not be able to generate high-quality outcomes when you use improper camera settings. Before you start clicking photographs, you should have a proper understanding of aperture, ISO, and white balance.
- Aperture: This is denoted by the ‘f’ figure of the settings. The aperture controls the focus. Normally, with apertures of higher values, you will be able to put a larger number of image aspects into complete focus. For example, you will get a sharper image when the f value is 22 compared to an f value of 3.5. It is a good idea to set the aperture value above 11; this would allow all aspects of the products to have proper focus.
- ISO: Having an ISO greater than 600-640 is not a good idea. ISOs with higher values lead to the creation of grain or noise, which may make a photo appear grayish. Colored speckles may also appear and this may add a filmic look to the photos. The noise increases with higher values of ISO. These photos will have lower levels of sharpness and so the details in the products would not become properly visible. Maintain your ISO between 100 and 200 to get images having an optimal level of sharpness and clarity. You may use a tripod to maintain ISO within this limit.
- White Balance: This indicates an image’s color cast. Red and orange colors are considered as warmer whereas blue and purple shades are considered as ‘cooler’ shades. The color cast typically varies with the white balance setting of the camera and the type of light source that is used. These two factors determine how colors get interpreted by the camera. The most common sources of light are natural sunlight, LED, fluorescent, and tungsten lights. Your choice of white balance would depend on the source of light that you choose. You may choose the AUTO option for white balance and allow the camera to operate on its own. Don’t ignore the white balance factor as later you may find it difficult to use Photoshop to regenerate the original colors.
Mistake 3: Not Getting Your Images Edited Professionally
Images that are meant to be used on Ecommerce platforms should be edited professionally so as to ensure desired outcomes in terms of increased brand reputation and sales. Images are often found to be edited in an inappropriate manner and the major mistakes are found to be associated with color, background, alignment, and cropping. It is a good idea to maintain consistency in these aspects in all the images. Set up a standard of specifications for editing all the clothing images and this would save your image post-processing time to a great extent.
- Alignment: All your items should be of the same size and should be centrally positioned with the image, thereby allowing corners, angles, and edges of the items get properly aligned with respect to one another. This would enhance the appeal of your offerings and your website as a whole. Set up rules in a template in Photoshop to ensure that you maintain proper alignment.
- Cropping: Maintain uniformity while cropping garment images. When you create proper alignment guidelines, consistent cropping and image sizing as per your preferences would be no big deal.
- Background: Certain eRetailers would opt for diverse backgrounds to showcase diverse products. But you should maintain the same types of backgrounds for all your product images as this would boost the reputation and professionalism of your website to a large extent. This would also lower down your image post processing time. It is a good idea to opt for light grey or white backgrounds as this would help you keep your products in complete focus.
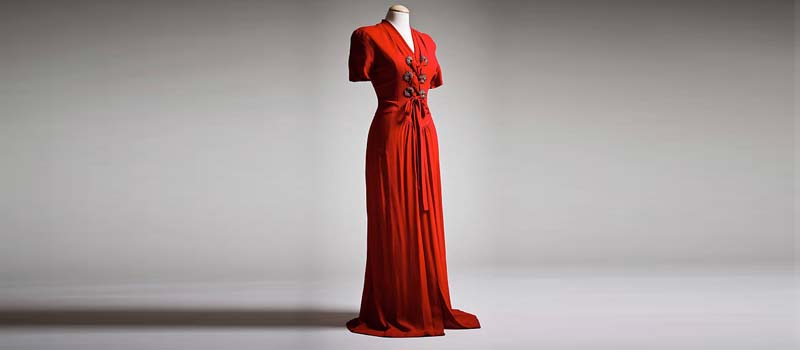
- Colors: Inaccurate representation of colors is a serious issue with garment images. When you set the white balance of your camera in the AUTO mode, it might capture certain colors such as reds, neons, and pinks in a different way and you may need to use Photoshop to restore the original colors. Representation of false colors may disappoint customers who may ask for returns and refunds. Before uploading product images to your website, you should check if the colors of your garments are represented accurately. Your objective is to ensure that your customers should pay for and receive what they have seen and liked on your website. Get the colors of your product images rectified by using Photoshop tools and after this, get your images converted to the sRGB format to ensure that the colors look the same across diverse devices, browsers, and platforms.With all these flat lay clothing photography tips and guidelines, we hope that you would be able to create awesome apparel photography that would generate desired results. This would improve your workflow as well and help you to be more productive and manage your time well.
And last but not the least, seek professional apparel photo editing assistance if you feel like. Whether you run a clothing photography studio or you are a professional photographer who is looking for ghost mannequin photo editing support or refinement of clothing photography for ecommerce, we at PGBS, can deliver state-of-the-art support that can help you excel in your projects and create a great portfolio. Let’s talk business!