Photoshop is indisputably one of the best tools used by professionals and even amateurs for modifying or enhancing digital images. Besides, it can be instrumental in repairing or restoring photographs ruined by neglect, nature’s act and effects of age, etc. The fact is that even heavily damaged photographs can be brought back to grace through a strategic process of image restoration.
Check the step-by-step process to restore your old, damaged photos easily by yourself or if you need our assistance to restore the images, kindly send us an email. We are happy to help.
Download this tutorial in PDF format.

The typical photo restoration process begins with high-resolution scanning of the original image, and then the scanned digital image is imported into any of the photo editing software to fix the damaged areas of the image using photo editing techniques and filters.
How to restore old photos in Photoshop? A Quick Overview
- Picking up different pieces for the process
- Puzzle together the pieces
- Fixing rips and cracks
- Repairing important areas
- Adjust bends and shadows
- Use crop and heal option
- Use noise reduction option
- Final detailing of restored image
Let start.
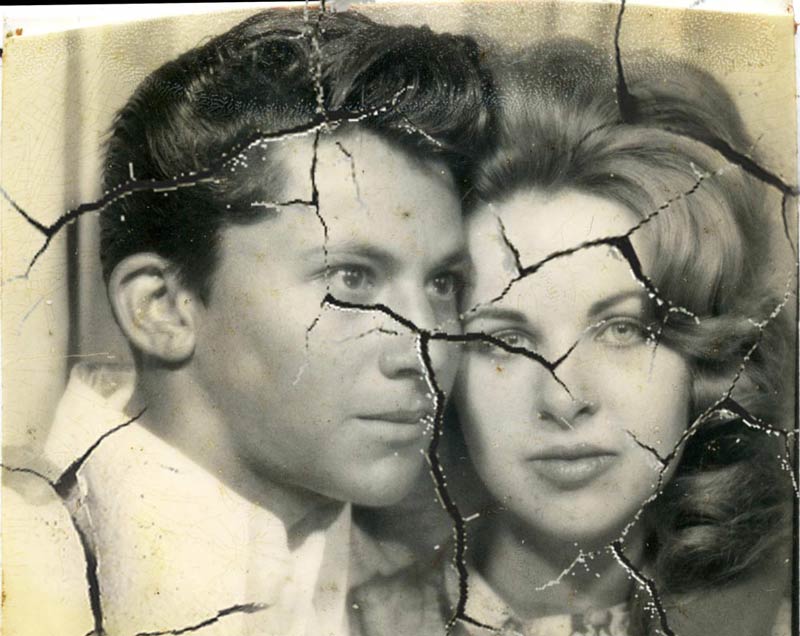
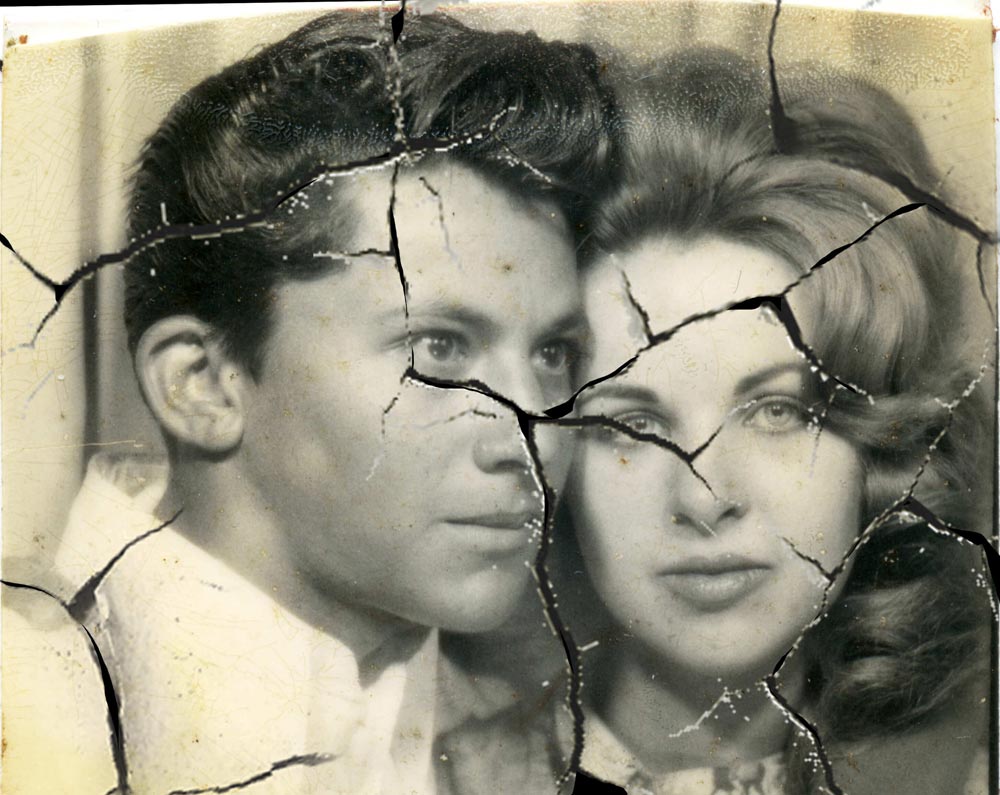
Open the image in the Photoshop.

Damaged Old Picture
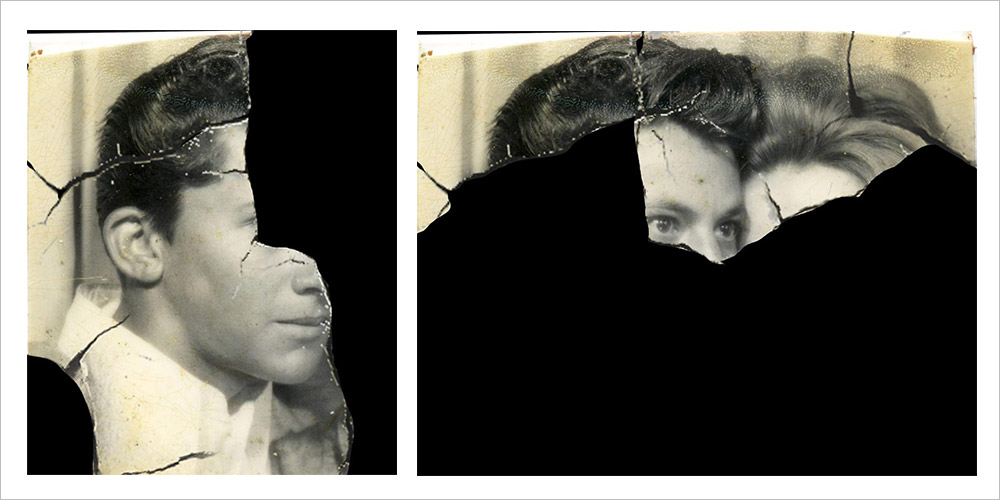
Picking up different pieces
Step 1
In case of extremely messed up pictures, it may be almost torn into different pieces and such projects demand extensive skills for successful completion. Put together the pieces to the best of your abilities and scan it.
Step 2
Use the Lasso tool to select each piece and copy-paste them on separate layers. Hide the actual original image.
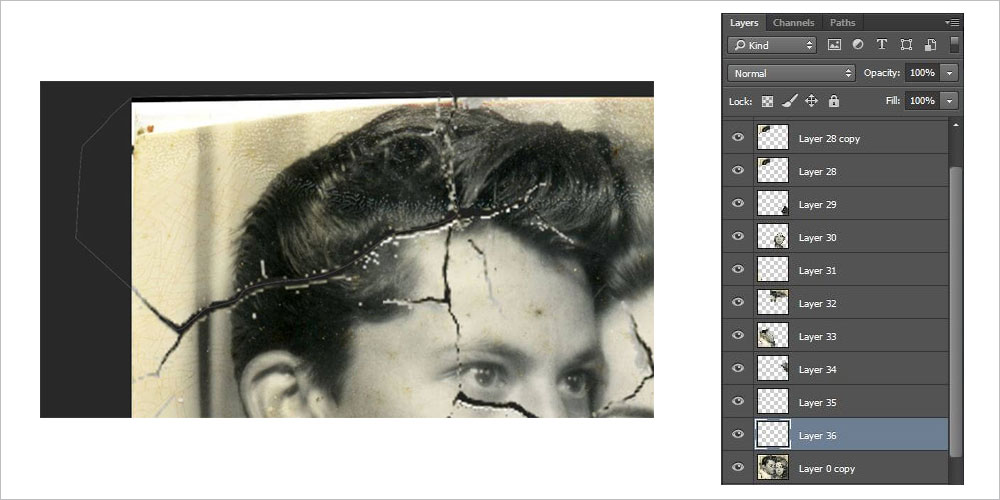
Step 3
For all layers, a mask has to be created and using a sharp brush mask off the actual image’s edges. Though 23px Chalk Brush is recommended, it’s up to the preference of professionals or photo editing company doing the restoration work.
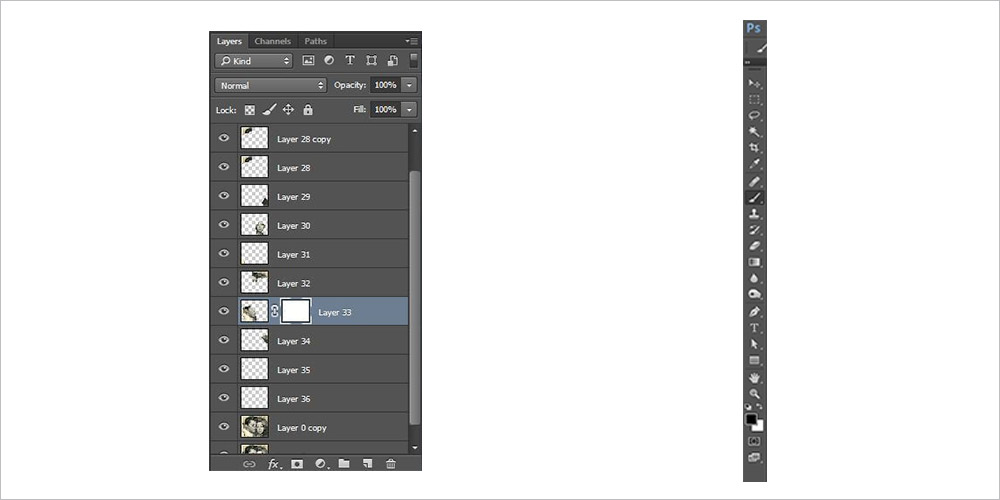
Step 4
Before proceeding to masking, setup a layer underneath the one on which we will work and fill in a deep color. This is to assist visually regarding how and where to mask.
Step 5
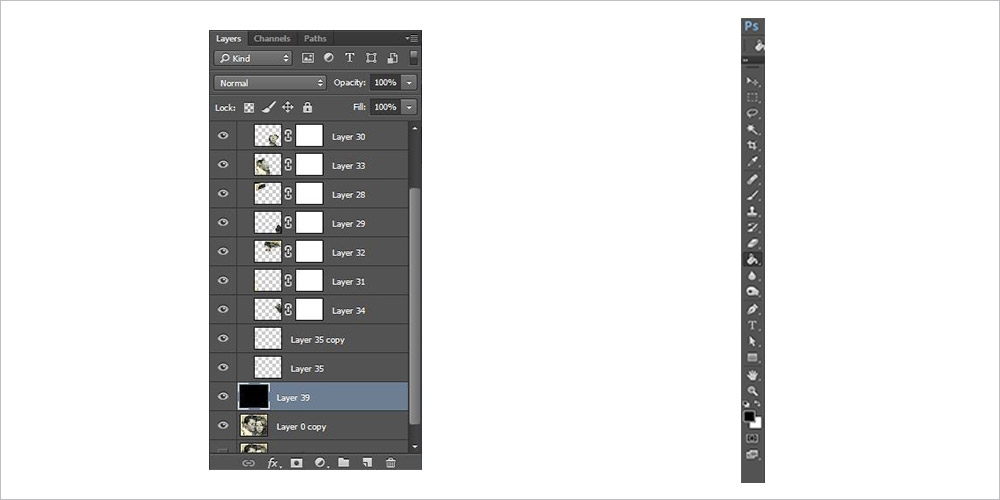
Along edge of image, start masking and get rid of all things around it. This is very vital step for all those questing how to restore old photos.
Step 6
Continue with the same process for all other pieces to get things in as much detail as possible. There is no need for any white border or ripped paper in the picture. This should be considered during the process.
Puzzle
Step 1
Putting puzzle together is the easiest way. Take enough time and make attempts to match edges of different pieces together. Don’t scale or distort the pieces for making it fit as it can be damaging for the authenticity of final output.
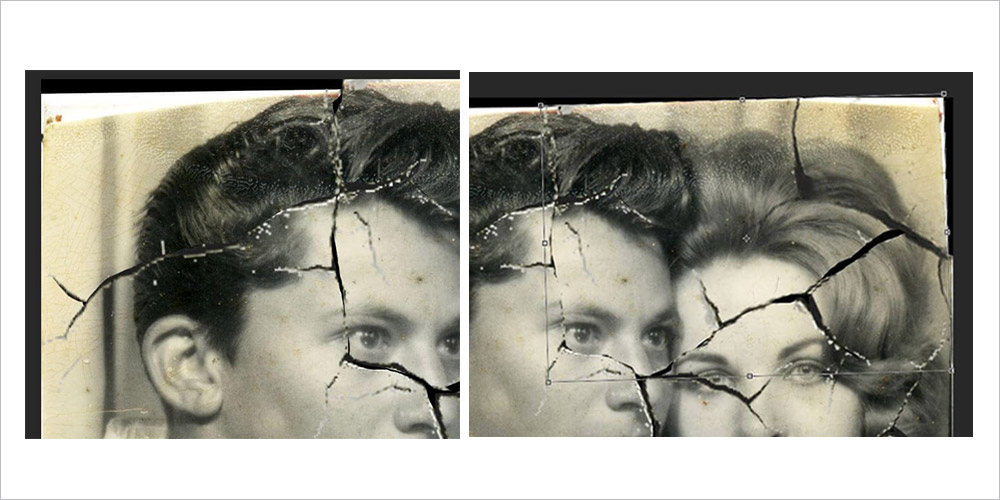
Step 2
Move, rotate and do everything possible to match to the best possible extent so that all pieces are brought together without the overlapping of content. It’s something very crucial.
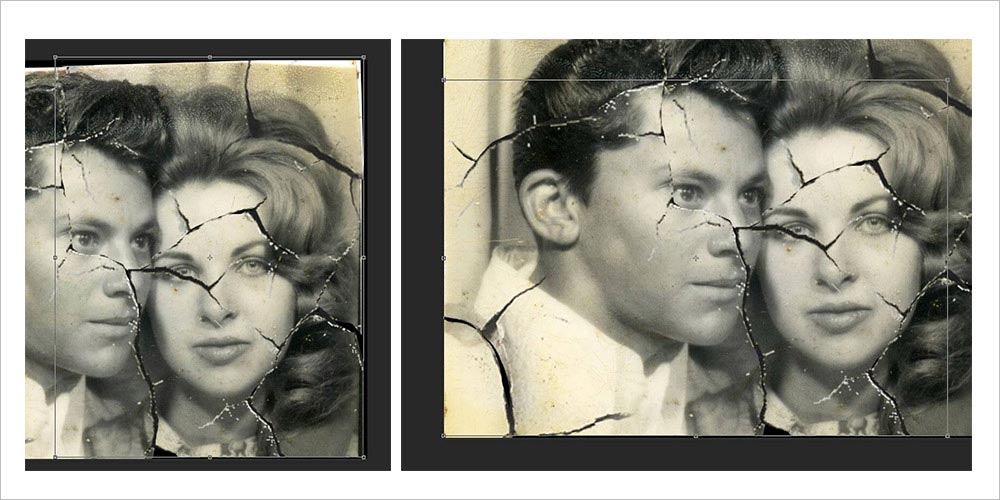
Step 3
After having all the section in proper place, create a group and create a duplicate of it for safe-keeping.
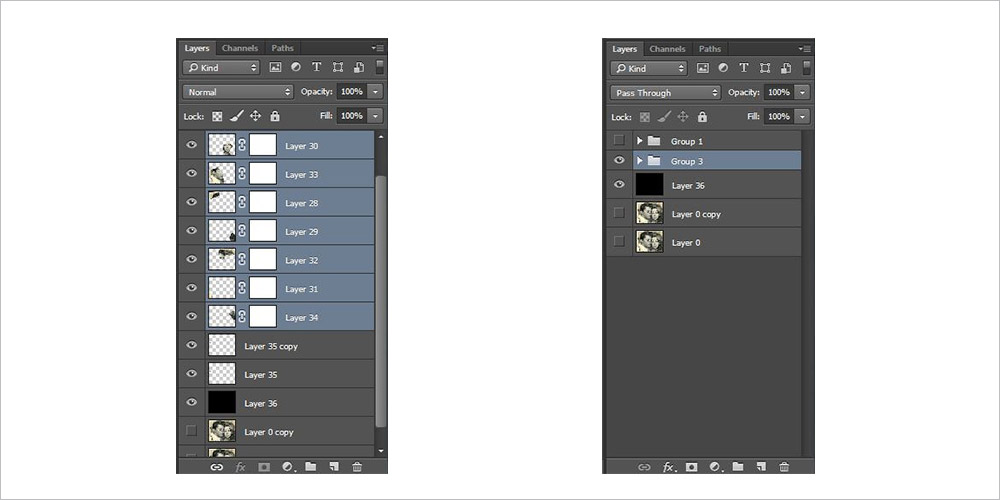
Step 4
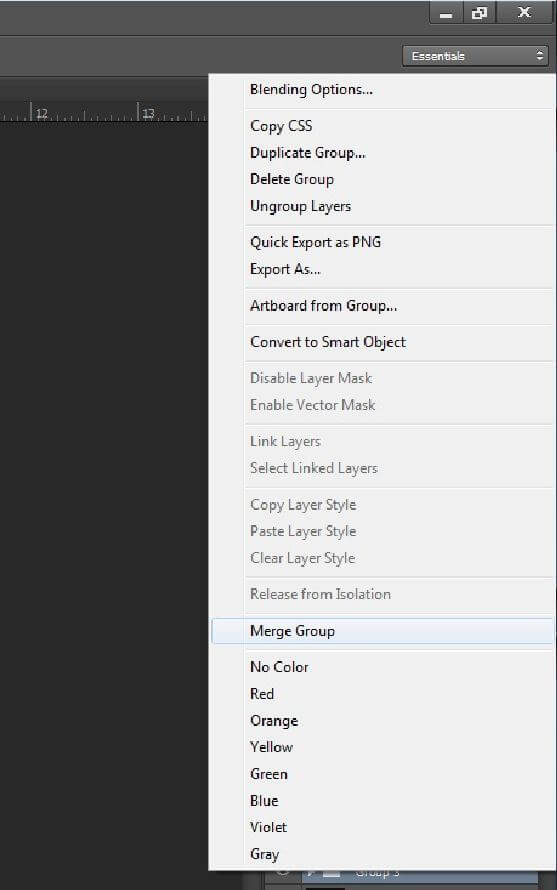
After that, merge this group on the top; cover up the other one. Then proceed to the next photo restoration steps.
Rips and cracks
Step 1
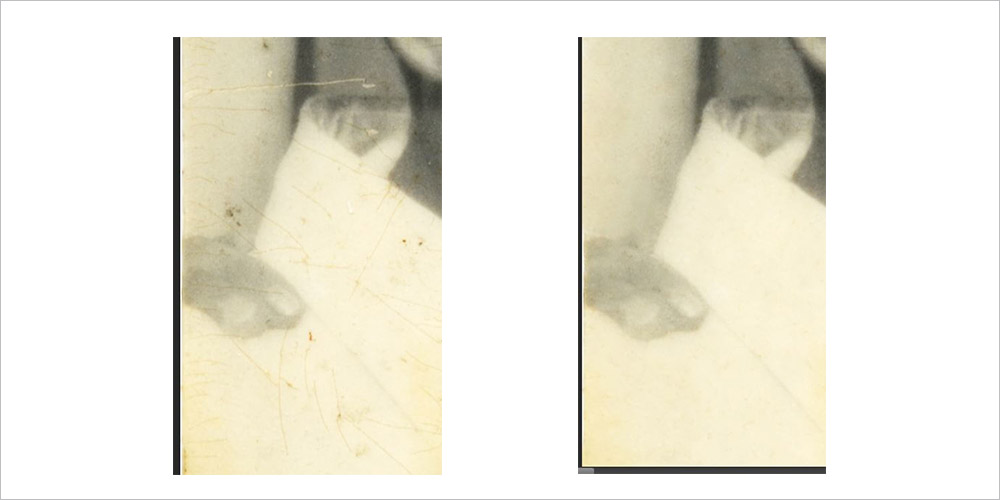
Now the actual photo restoration process starts. Get rid of all tears and scratches creatively using the Clone tool.

Step 2
Make use of clean sections for repairing the areas where it is damaged. Don’t create repetitive patterns as it can look unreal.
Step 3
Treat the sections as separate items that need repair. Zoom in and change the size of the brush based on the need and comfort offered.
Step 4
Eliminate tears and in this phase don’t proceed with the deeper details. Just work on the easily perceivable obvious damage.
Step 5
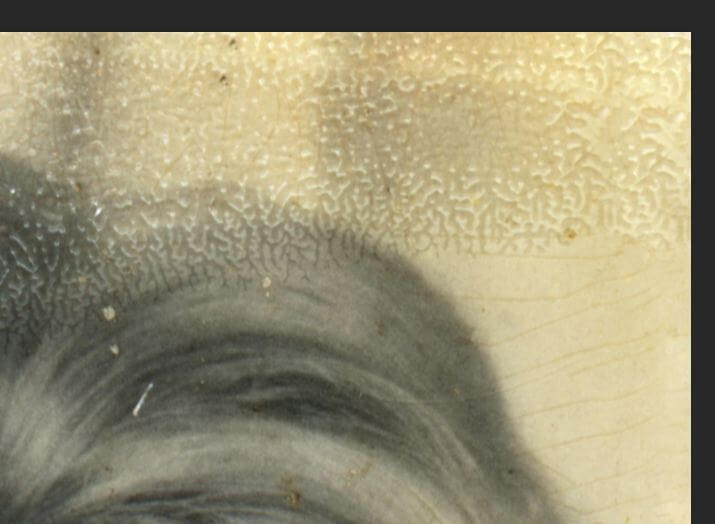
Now work on the wrinkles and bends on the scanned photo. Reflections and shining should also be treated separately. Clone away the damages; this can take hours but it’s worth the time you invest.
Repairing important areas
Step 1
It’s in this phase that you work on the complicated sections skipped earlier. If any entity in the photograph is completely damaged, you may ask the client for any other picture of that particular entity. This is what normally the companies offering photo restoration services do.
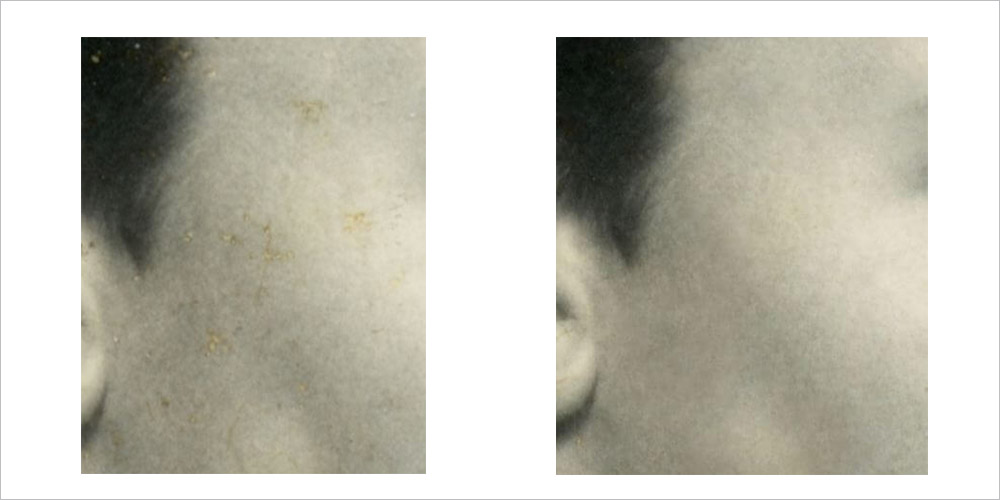
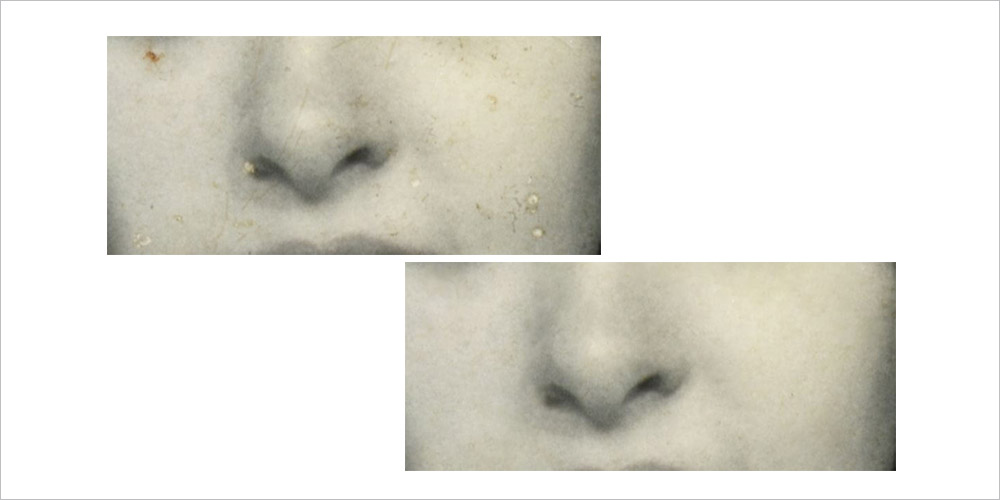
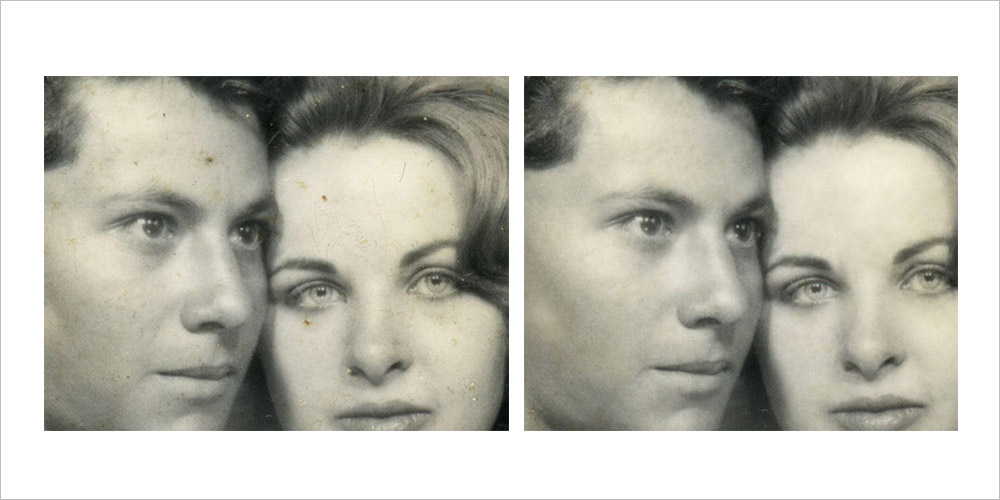
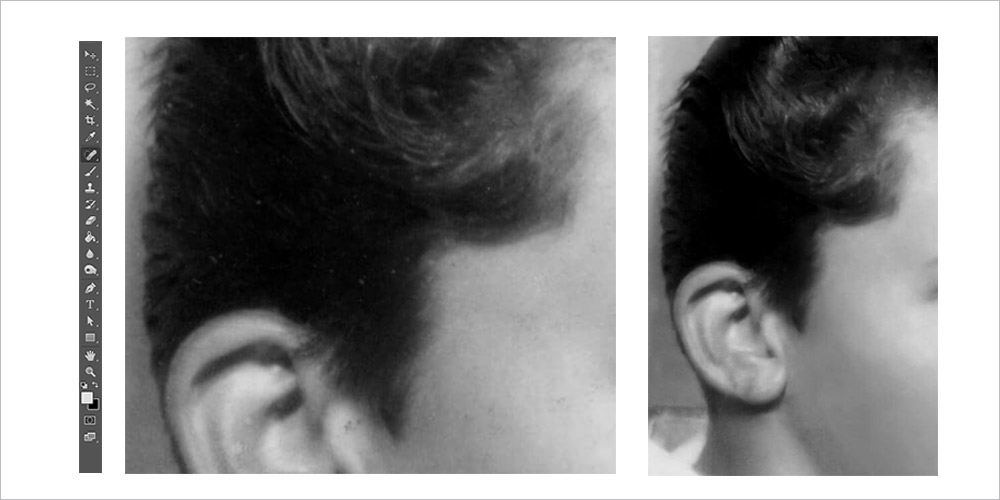
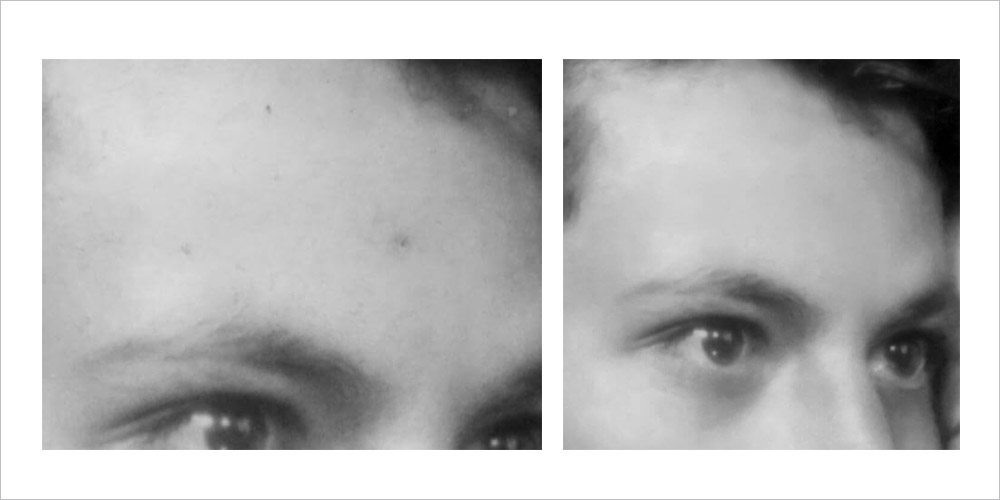
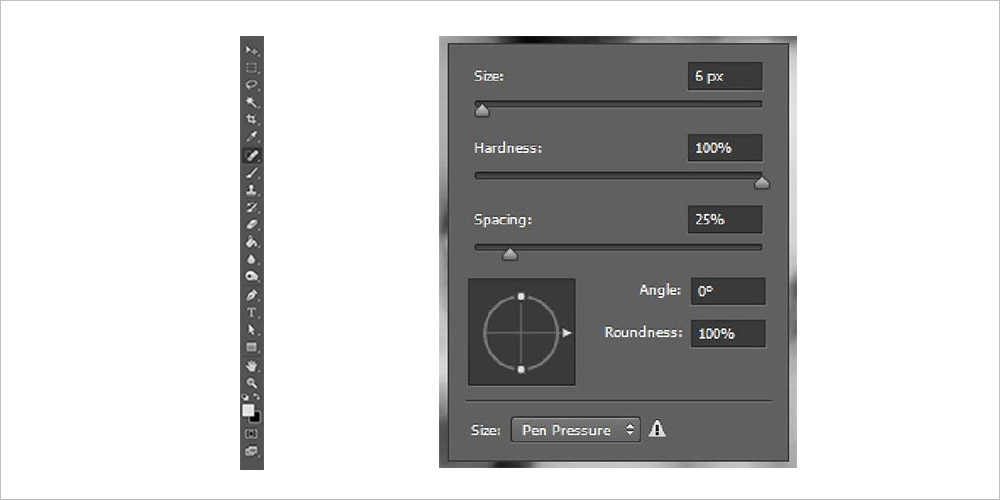
Step 2
Fixing human faces is a process that has to be done with extreme care. Set brush size as very small and go for pixel by pixel to clean the entire area. Minor details can still be left for upcoming phases.
Bends and shadows
Step 1
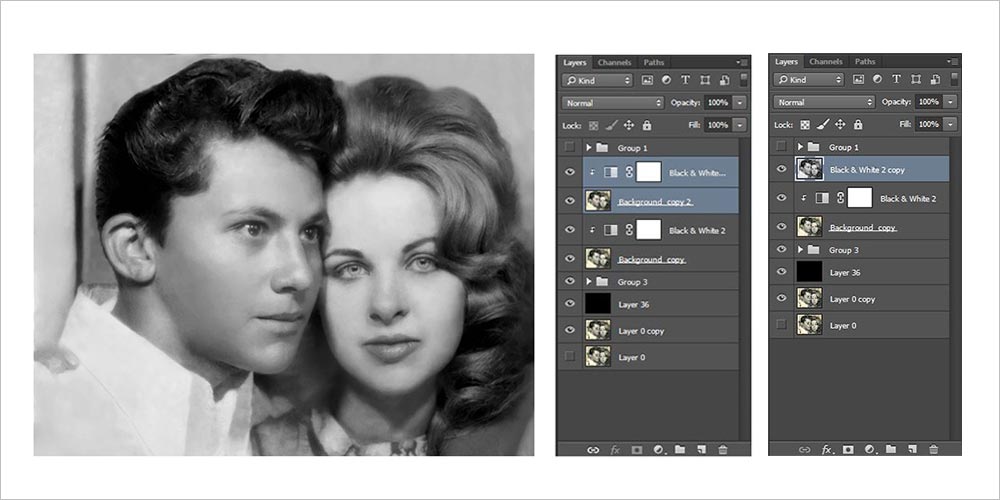
Turn the image into black and white now. Recover the contrast and shades and then into convert it to sepia. Apply an adjustment black and white layer attached to the restoration layer.

Step 2
Duplicate layers and hide originals for safe-keeping. Merge duplicate layers.
Step 3
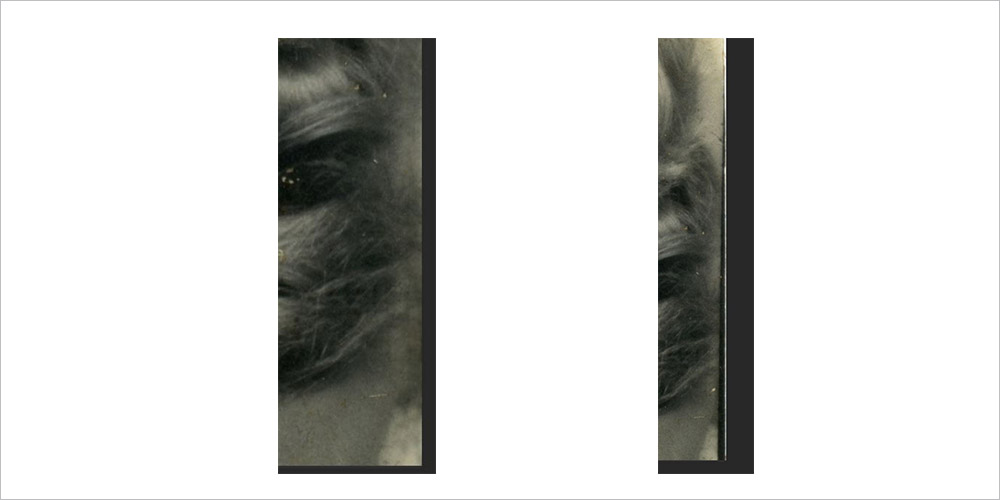
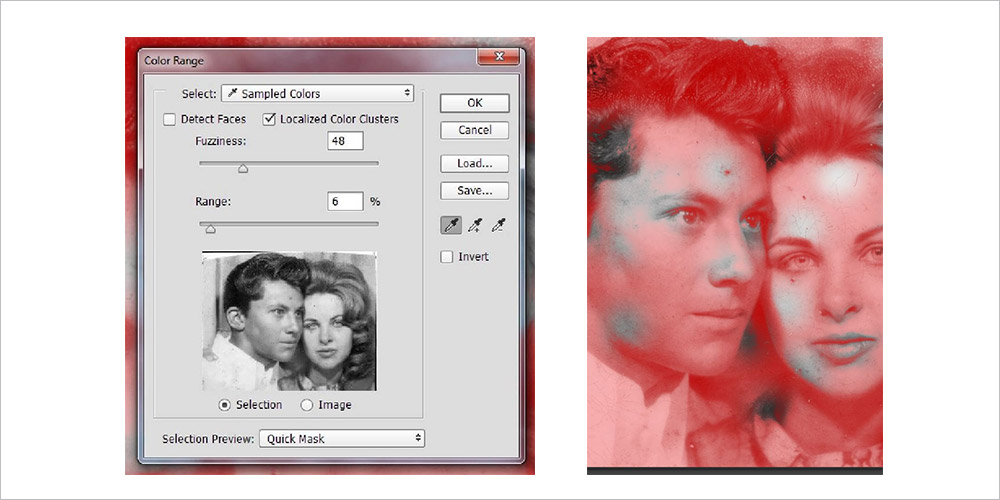
Use Color Range Tool with which selection of bends shining off from the paper at darker sections and returning environment lights can be done.
Step 4
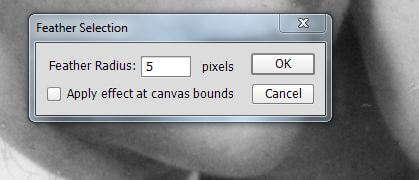
After selection, set a Feather radius of 5 pixels can be applied.
Step 5
Burn Tool should be selected and make sure of needful setting in the top bar. Using a big and soft brush, burn until the areas match with the rest of shadow area.

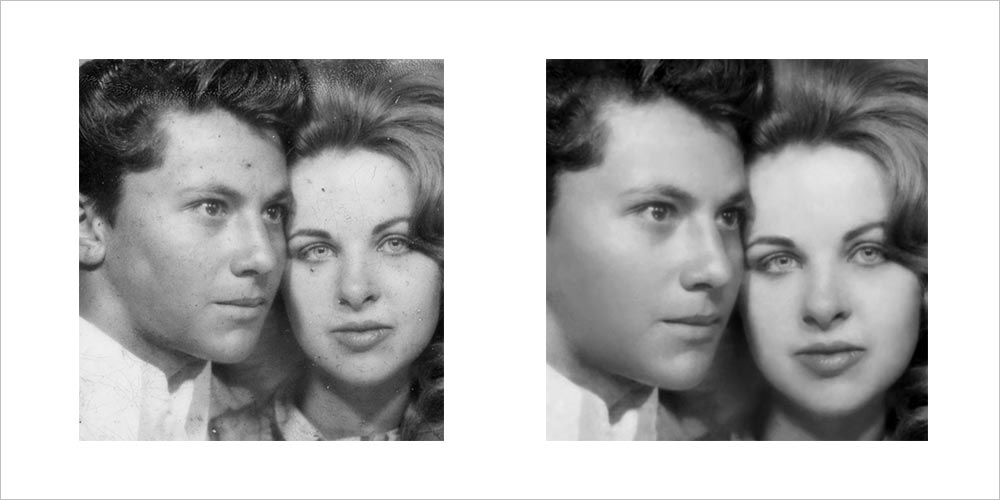
Crop and heal
Step 1
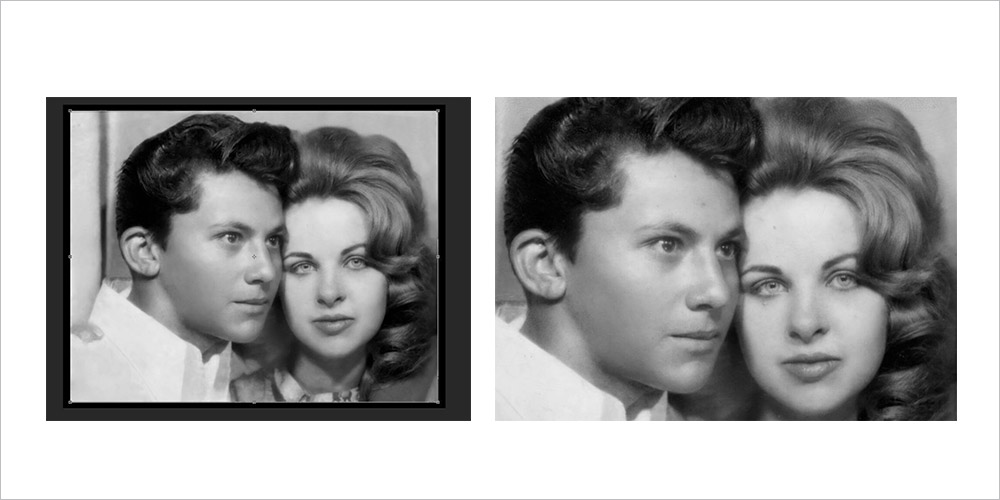
Crop the image but try to retain the content to maximum possible level so that restoring old photos in Photoshop don’t make things worse by removing wanted content.
Step 2
Get rid of unwanted spots using Spot Healing Brush tool. This tool may not be that handy in the earlier phases but at this point, it’s very effective.
Step 3
Identify the spots that are a part of damage but don’t tamper the actual details; be careful.
Step 4
Now paint the details if you don’t have any other choice. For that use brush tool with 1px brush size. Make use of details already available to judiciously carry out this process.
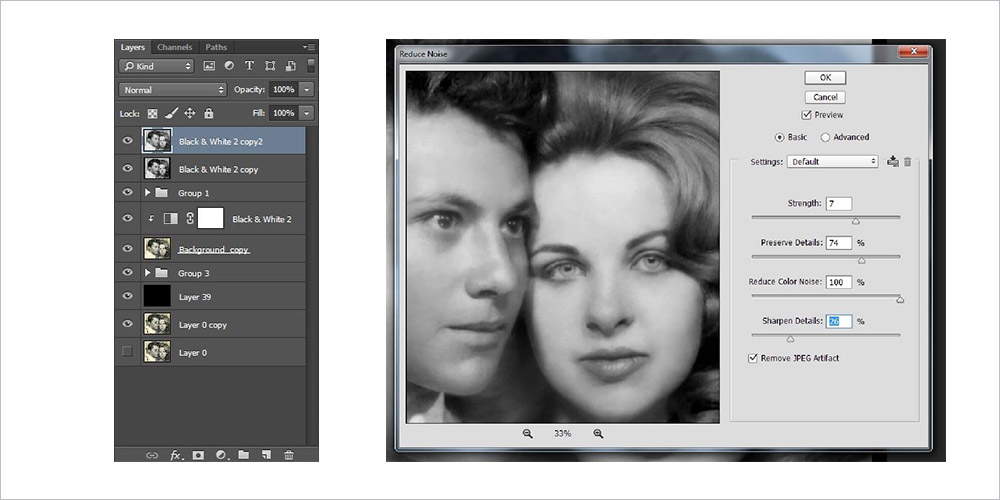
Noise reduction
Step 1
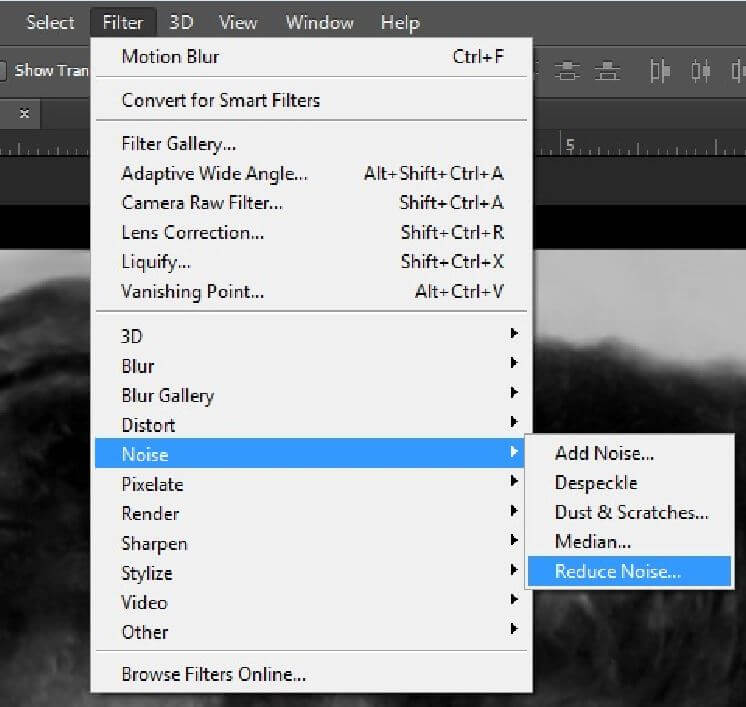
Make use of Reduce Noise Tool for getting rid of minute specks and particles over the picture. If you are concerned on how to restore old photos in Photoshop effectively, this is one of the tools that you should master.
Step 2
Make a replica of working layer. Then apply needed settings. Make sure not to overuse this tool so that only unwanted noise is eliminated.
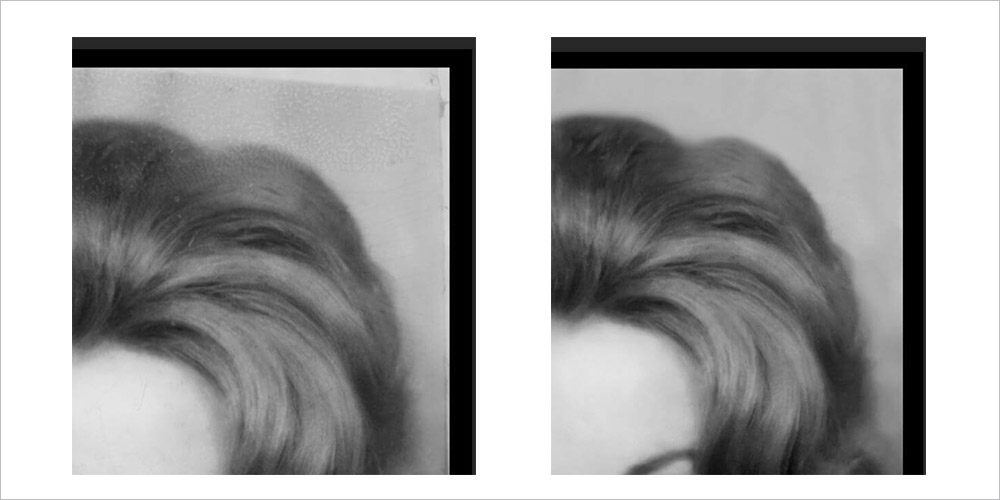
Final detailing
Step 1
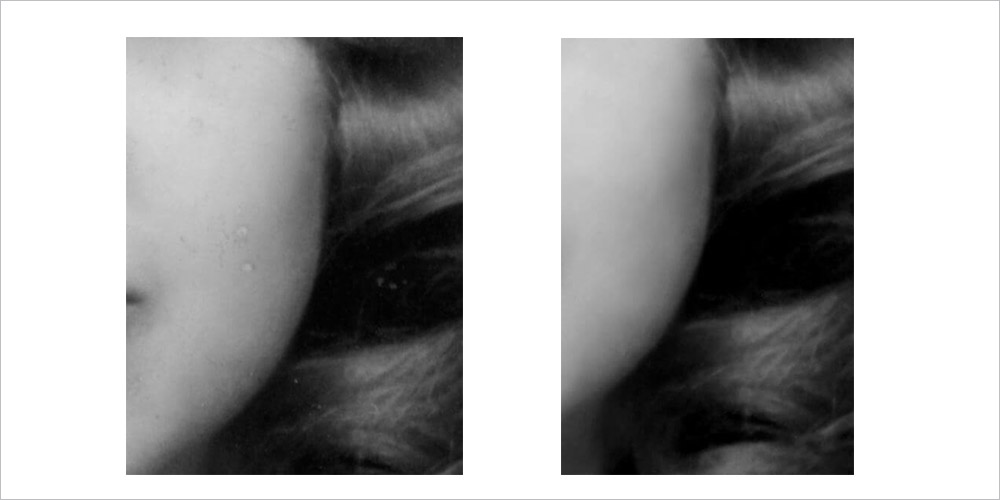
Use very small size of Spot Healing Tool to remove the dust and small specks that may still be there.
Step 2
Work on the human face to remove particles which stand out and show. Then check for any missing details carefully by zooming out and in.
Step 3
Sometimes, issues may be found that demand you to use Brush Tool or Clone Tool again. If so, don’t hesitate and go for it.
Following the above steps is just an overview of how to proceed. Steps to be taken can fluctuate slightly or severely based on the level of damage to the image.
Countless techniques are adopted by a typical photo restoration company to work on damaged pictures. However, only those who have a proper plan and shrewd working methodology only succeed in delivering high-quality old photo restoration.