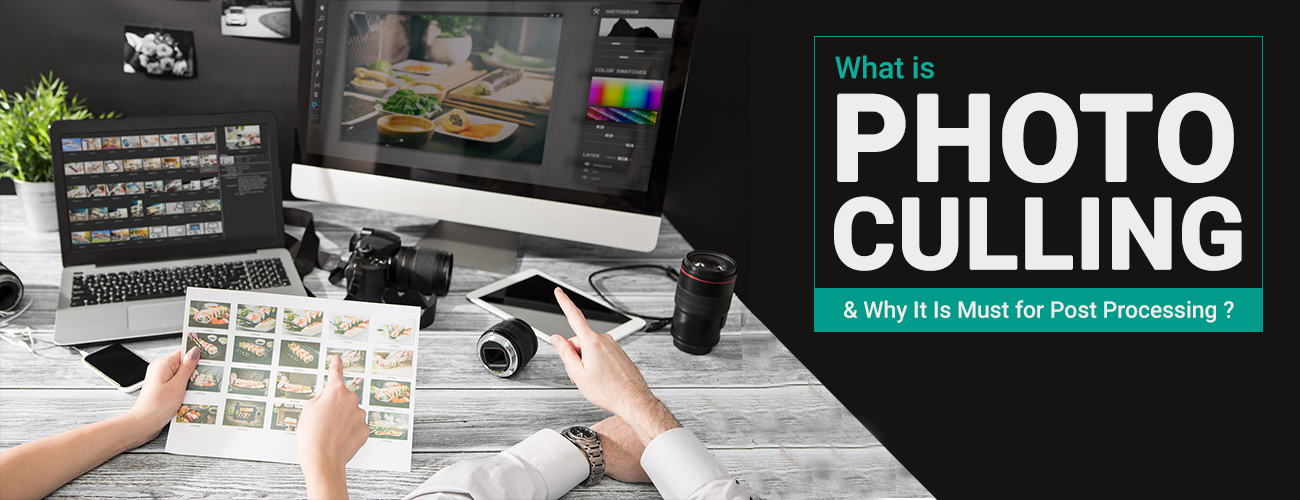
Are you a passionate photographer? You might have considered the significance of photo culling in every step of your photo editing process. How do you select the best images from many raw photos that you photographed? That’s where photo culling process will help!
Well, we might think of photo culling is a very simple process, but do you know that a lot of skill and effort is involved in choosing best photos for processing! Doing it manually is hell-like. So, the best way is to opt for culling software that can do wonders for you.
Okay, let’s get a deep dive into it to understand it better.
What is Culling in Photography?
Culling in photography is the process of choosing the best images from the photo shoot suitable for post-processing. One may even delete it or archive it, but only the best photos must be selected for the editing purpose. The photo culling process applies to every photo shoot, regardless of the camera or other device used for the photoshoot.
Reasons for photo rejection during culling process
Are you curious to see why you might reject some images from the records?
- You do not need duplicates.
- Bad light images due to which eyes might blink.
- No focus photos.
- Shaky and blurred images.
- Bad portraits and a lot more.
5 important reasons why photo culling is really important
- Save time and effort in your photo editing process: You need to edit only those images that are finalized.
- Stand out with top quality: It gives you an excellent opportunity where you can present the best and most selective images to your clients.
- Refine your photography skills: Give the best skills out and dominate quality over quantity.
- Save your storage space: With selective images from the photoshoot gives you a lot of space to store your device.
- Perfect optimization: It helps you to be more efficient and streamline your photo selection process.
- Pave a way to transform yourselves to be a better photographer: Quality defines it all.
Did you know?
Now, what next?
Here are some various methods of photo culling process
Set 1: Cull in or Cull out?
Well, as the name directly signifies, cull-in generally refers to the additive culling process wherein the photographers tend to mark them or star them so that those can be picked up for the selection process.
At the same time, cull out refers to the subtractive culling mode wherein the photographers tend to consider the images that they want to discard and drop them out.
Ultimately, the core objective remains the same. To get the best selective images from the bulk images which can be used for the editing process and thereafter.
Set 2: Manual Photo Culling or AI-powered Photo Culling?
Are you a professional photographer? Then you must have chosen the manual way of culling the images, wherein you tend to go through each and every image and then come up with the best shots for the next step! Often, these days, you can also harness the power of AI-enabled culling software that can help you with the process. Check these 10 pro tips for speed up photo culling workflow.
Some important aspects of it include
-
Take a note of the number of passes you want in the process
Generally, it takes the utmost of two passes in the process. But most professional photographers prefer to streamline and optimize the images in the first pass itself, which helps them to save time and effort.
But the question is, how to limit the photos in one pass?
Yes, you guessed it right! Manual would be tedious to work with in this case. So, the only option left is to depend on the AI-enabled software to get the job done for you!
-
Be cautious about culling images completely before proceeding with the editing process
What does this mean? Well, it might be common to note that we might have the temptation to add or delete images once the first phase of culling is over! But no, never do that. Have confidence in your culled images completely before you proceed with them for the next step, into the editing phase. Otherwise, it will eat out the time and efforts that you had spent in the whole process.
-
Get rid of unwanted confusion while culling
This is quite common when you have a lot of multiple images for the same shot. Which one will you decide to go ahead with? How will you decide? All these matters when you have the right option to choose the best image – with the best lighting, no blurry or shaky images and more.
-
Make use of reliable photo culling software for the whole process
No doubt, if wedding photography is the core, then there is no other software that can compete with Adobe Lightroom for your culling requirements. There are still a lot more on the list: Aftershoot, Photo Mechanic, FilterPixel, and FastRaw. By relying on AI-enabled software, you enjoy better time and quality in terms of deliverables.
-
Make use of shortcut keys for marking
How would you differentiate between the images that you have selected and rejected?? You can either start them or even make use of the shortcut keys and move them temporarily so that you can keep track.
All set to make your photo culling process much simpler? Need help? We are just a click away!
Your most reliable option to get the job done is to outsource photo culling services to us and sit back and relax! Want to know how?