Model photo editing has always been important to photographers. Since you cannot post a raw image online, you need to make sure that they go through the post-processing step first so that they look professional.
But, photographers, especially beginners, aren’t usually aware of the technicalities of image post-processing or editing. Indeed, it isn’t their job and they can always take the help of image editors for the same. But what if the requirement is a minor or just a simple one?
As a photographer, you should be also aware of a few photo editing styles as well as tips and tricks to carry out the simple model image editing tasks yourself. It can come in handy every now and then. Besides, won’t have to rely on photo editors all the time and even save a few bucks too. That’s why we came up with this article on model photo editing tips.
In this article, you will learn the 17 best model photo editing tips that can be useful to beginner photographers to carry out the editing work with quality and consistency. So, all the best and let’s get started.
17 Easy Tips & Tricks for Model Photo Editing
-
Work with layers
Editing model photographs usually require a lot of time going back and forth to achieve the perfect look. This happens because when you edit a certain part of the image, everything seems perfect. But, when you start editing other parts, the first edit falls apart. In that case, image editors had to go back and forth to carry out editing.But you can avoid all of it by working with layers. Using layers will help you to save the edits so that you don’t have to go back a number of times to correct a particular edit. You can even add or eliminate an edit if needed without affecting other parts in the image. Also, you can hide the layers and figure out the best spots to carry out the appropriate model photo editing.
-
Keep the original image file safe
There will be times when you’ll make a wrong edit or have to go through re-editing as per the client’s demand. In cases like that, you need to have the original picture for reference purposes. So, make sure you keep the original file safe. -
Focus on frame
If you want your pictures to look great, then you need to focus on framing. Framing fits all the components together, thereby making the picture look nice. However, you should also understand that most of the framing depends on how the picture is captured. You may crop it further to make the picture look more meaningful.Here are a few tips that can help you to crop the frame in the right way.
- Avoid overcropping. You must leave space around the subject or the props.
- Avoid cropping the model from the limbs. It could make them look worse.
- Don’t place the model right at the center of the image.
- For portrait photo editing, try cropping the subject to eye level.
-
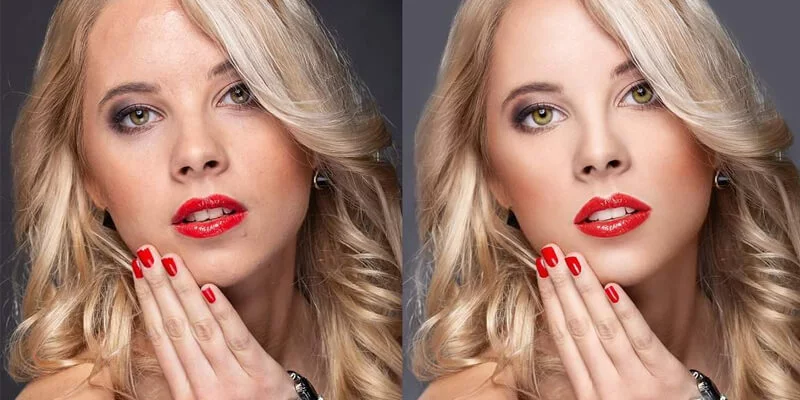
Clean up the picture
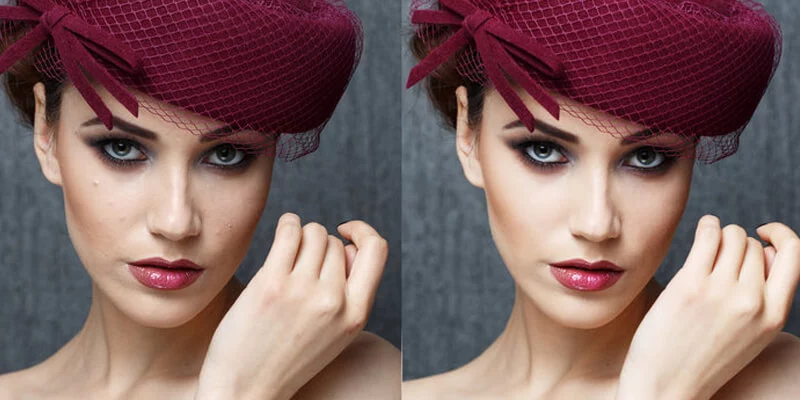
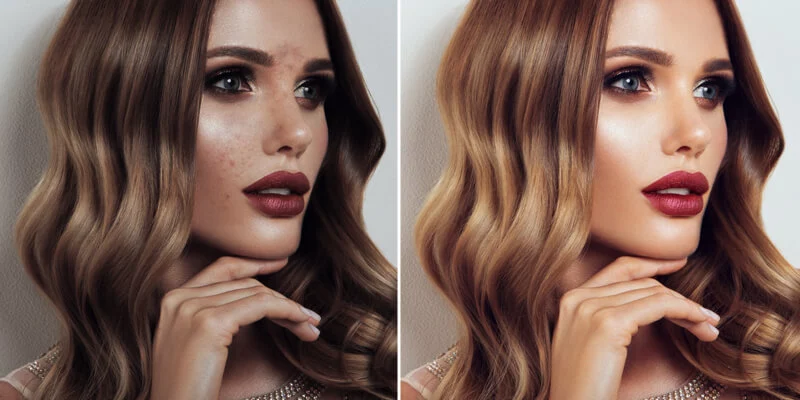
No matter the type of editing you need for the models, whether it is simple skin retouching or fashion photo editing, you must ensure that the picture is properly cleaned up.Start your model photo editing by erasing the dust and dirt from clothes. Then, edit any skin imperfections, including acne, blemishes, or marks. But, keep in mind that during skin clean up, don’t edit it to the point that the skin loses its texture. The model’s skin must not look plastic or obviously edited. Just try to make the skin look as natural as possible.
-
Desaturate the distractions

Even if your images were taken by a professional photographer, it’s common to find one or more distractions in the image. These distractions can steal the focus of the viewers, which isn’t a good thing.However, you don’t have to worry since there are ways in which you can remove the distractions. You can either remove them in any photo editing tool or simply desaturate them.
When it comes to studio photo editing, backgrounds and props are often considered as distractions and the best way to remove them is through desaturation. Try desaturating it to the limit so that all the focus will fall onto the model.
-
Use Clone Stamp for lightening or darkening
If you’re close to the deadline and unable to perform frequency separation for lightening or darkening certain parts of the image, then here’s a trick. Try using clone stamp.Clone stamp is basically a tool available in photo editing software that can be used to eliminate skin imperfection and improve the background. In order to lighten or darken the skin of the model, try setting the transparency to 15%. You may further increase or decrease it as per your needs.
-
Focus on the background
Oftentimes, photo editors make the mistake of overlooking the background and put their complete focus only on the subject. However, you shouldn’t do it as the background of the image is also important. Not paying attention to the background would only display your unprofessionalism as it will make the image appear incomplete.You can use Photoshop or any other photo editing tools to manipulate the background. The background is very important especially when it comes to high-end fashion photo editing. However, make sure that you don’t overdo it and make it pop. This will deviate the attention of the audience from the main subject. Just focus on cleaning it up and ensure that it only complements the subject.
-
Edit eyes and teeth the right way

For model photo editing and portrait photo editing, it is important to add a bit of shine to the eyes and teeth of the model. But you shouldn’t misunderstand the requirement and make them glow out of dust. Always remember that you need to keep it natural.Besides, your model is just a human being and not just any fantasy creature. So, you don’t have to make the eyes and teeth glow always. However, if there is a requirement for that kind of look, you can always go for it.
-
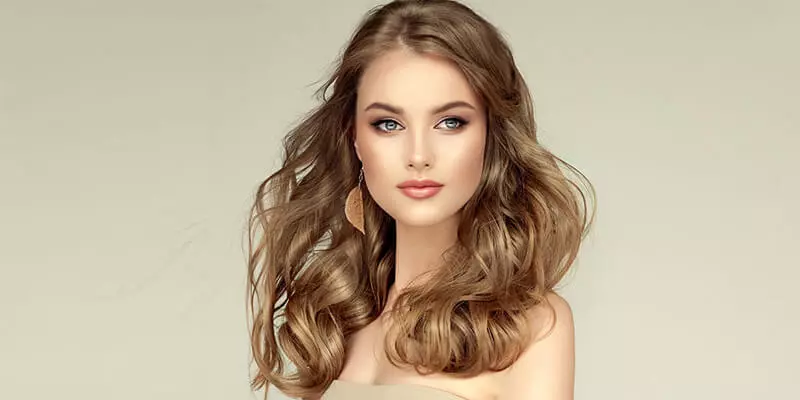
Remove the flyaway hairs

There is another thing usually left out in model image editing that prevents it from reaching perfection and that is flyaway hairs. You need to ensure that every part of your photo looks perfect and it also goes for the hair.While importing your photos into the image editing software, it is possible that you’ll come across a few flyaway hairs. The audience usually doesn’t appreciate it. So, you need to remove them. Using a healing brush and changing the selection edge to soft or sharp with the help of feathering and contrast sliders, you can remove the flyaway hairs.
-
Make use of the healing brush
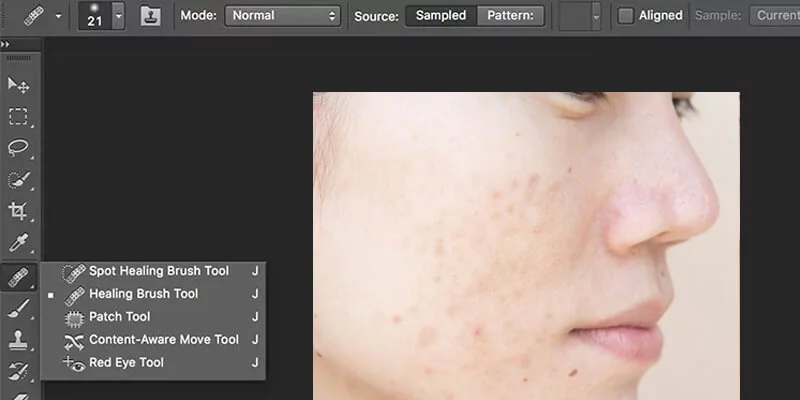
In model photo editing, you’ll mostly deal with cleaning up skin imperfections. This will take a lot of time, especially if you’re using the spot tool.So, instead of using that, add on a layer and use the healing brush tool. Set the spacing to 1% and clean up all the imperfections from the model’s skin. It will give you better results within a short turnaround time.
-
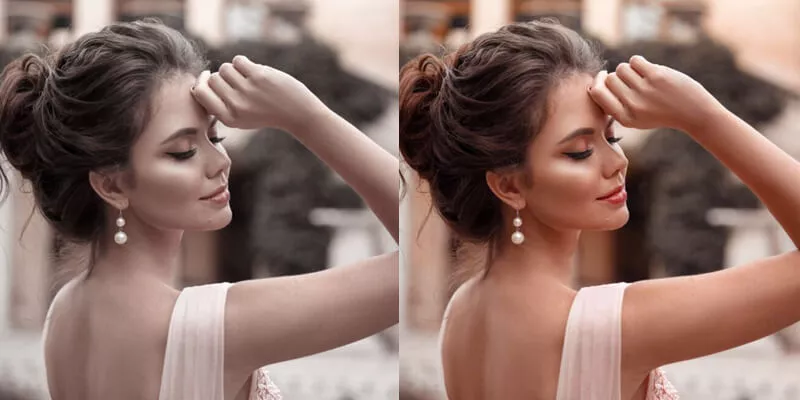
Try playing with gradients
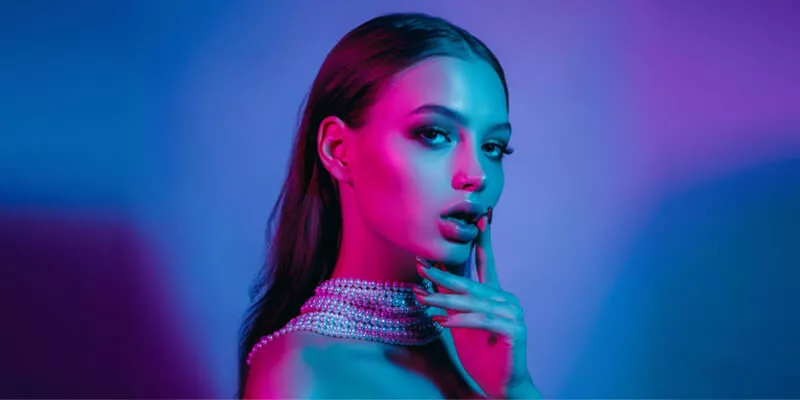
Gradients allow you to fix the washed-out pictures by making the colors more vibrant and richer. But, if you overuse it, you can completely change the look of the model photographs in an unappealing way.So, try to make use of gradients correctly to give your images a fresh appearance. Try keeping the layer opacity between 20-30%. You can choose blend mode, select a layer, and then blend it with the layer that is present below it. Editors usually don’t use layer blending modes but these can offer excellent outcomes when it comes to portrait photography.
-
Correct the monochrome
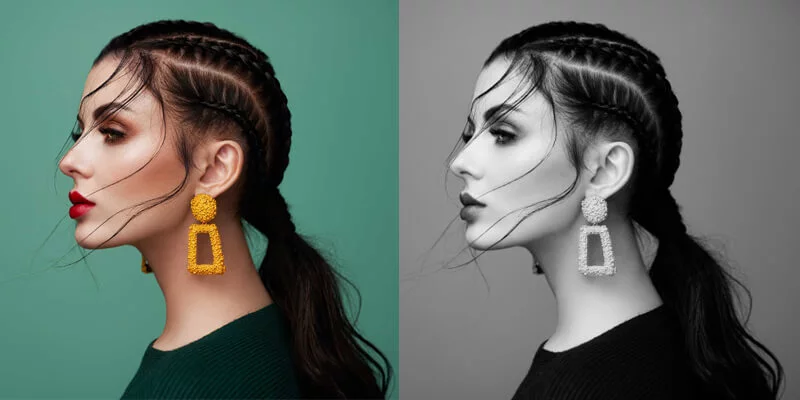
Monochrome images are basically black and white images and are one of the most widely used model photo retouching tricks by professional editors. So, you can also try using it for your model pictures too. But, make sure that while applying it, you don’t lose any details of the picture. For this, spot the areas where the blacks and whites aren’t too high in the picture. -
De-wrinkle where required
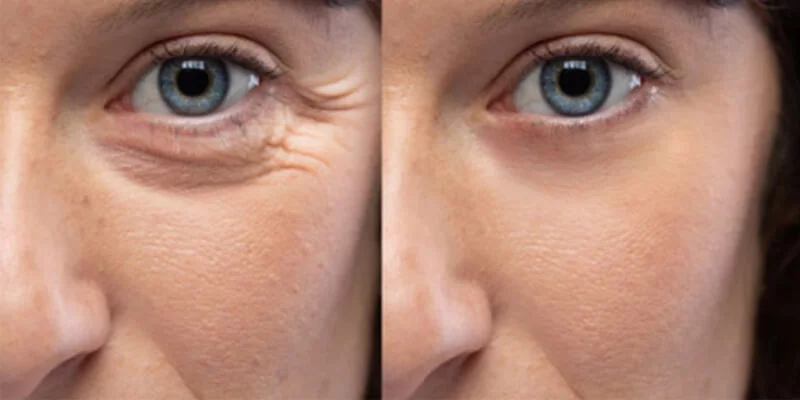
De-wrinkling is important if you want your subjects to look clean and fresh. You can use it to remove creases or wrinkles from the cloth or skin. So, if you notice any harsh wrinkles on the skin and cloth, remove them. It is advisable to thoroughly check the image before you’re done with editing. -
Use presets for editing
All kinds of editing require time and focus to produce a consistent outcome. The same is also true for model photo editing. Therefore, to achieve consistency in your images, try using presets. Apply these presets to your common image editing settings and you can achieve the look you want.
To use the presets, you need to either download them or create them on your own. No matter which way you get them, just make sure to go through them thoroughly before you start applying.
-
Make use of the selective color tool
While carrying out model image editing, you may feel the need to change the tone of a particular image section. This can be time-consuming, especially if you are a beginner. However, when you employ the selection tool, you can change the tone much faster. You can use it to even out the skin tone, adjust the highlights and shadows, darken the color of the lips, etc. -
Learn to use dodge and burn
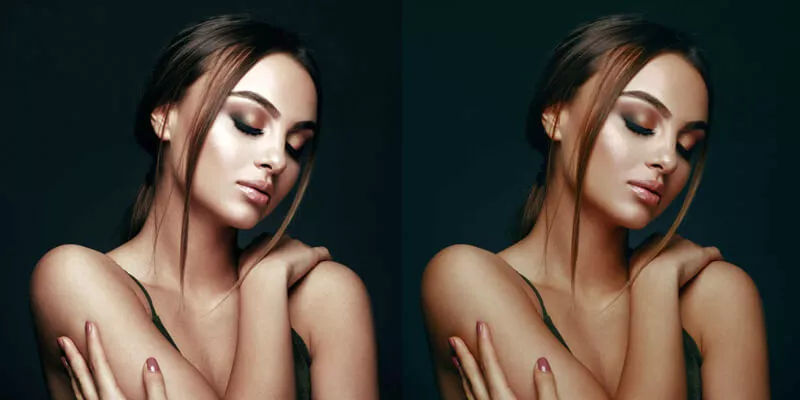
Dodge and burn tools can be used in many ways for model photography editing but you need to be very careful while using them. Before directly using them on the images, you can experiment by creating new layers. Make sure to name them so that you don’t have difficulty while searching for them later.With the dodge and burn tools, you can edit mid-tones, highlights, shadows, and more. You can also apply unique transition effects to add more depth to the pictures.
-
Outsource image editing services
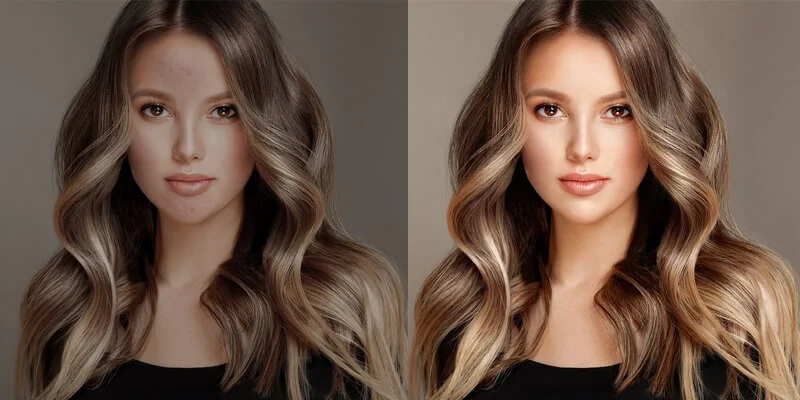
Photo editing is time-consuming. It requires years of practice to perfect the skill. Also, to ensure the best results, the editing needs to be carried out with precision. That’s why it is advisable to outsource your needs to professional photo editing services companies.Professional image editing service providers can help with any type of editing, be it male model photo editing, female model photo editing, portrait photo editing, fashion photo editing, or high-end retouching. They would have years of experience in doing the same and you can get high-quality outcomes for only a few dollars. Besides, outsourcing can help you save time, which can be further utilized for other important works.
Final Thoughts
All the model photo editing tips discussed here are easy to implement. The tips discussed here are created by keeping the popular photo editing programs in mind. However, you can still implement the tips by using almost any image editing software.