Photography is an artwork. But a perfect and eye-catching image is much beyond just using professional photographic devices. High-end digital cameras undoubtedly do a fantastic job, but we sometimes don’t get the desired result despite our vigorous efforts.
The natural lighting conditions, the background, the subject’s position, or even the weather conditions occasionally affect the quality of the photographs during shoots. As a result, you do not get the output as expected.
Photo editing helps you easily overcome these shortcomings during any photo shoot. It brilliantly compliments digital photography and takes the snaps one notch up. Digital photo editing involves adjusting and correcting the parameters like lighting, color, texture, background, etc. and giving a final touch to your creative vision.
Through this blog, we have tried to cover some of the basic and advanced photo editing techniques that are the most favored and frequently used in digital photography.
Read till the end to know them all!
Photographs are used in a variety of contexts. Some might be for capturing memories and proofs, while others for business. So be it any photograph, photo editors apply these basic and advanced photo editing techniques to their images to give them an elevated look to a certain extent.
Professional photo editing techniques list
- Cropping
- Brightness Adjustment
- Contrast Adjustment
- Exposure Correction
- White Balance Adjustment
- Saturation
- Color Vibrance Adjustment
- Sharpness Adjustment
- Perspective Correction
- Noise Reduction
- HDR Blending
- Color Correction
- Resolution Enhancement
- Red eye removal
- Skin smoothing/enhancement
- Background enhancement/removal
- Image Manipulation
- Unwanted object removal/addition
- Sky replacement
- Clipping path
-
Image Cropping
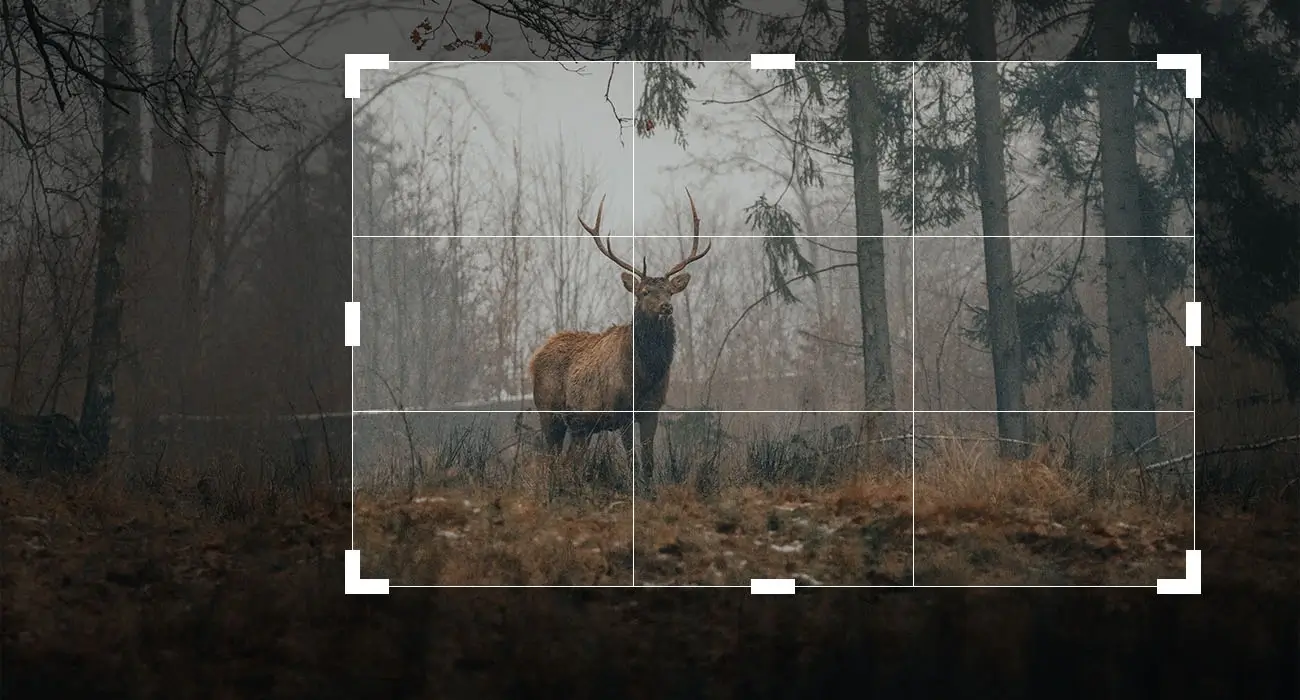
When a photograph is taken to keep the main subject in focus, but the edges are creating distractions or are unnecessary, cropping helps to prune those edges to bring the subject to prominence.
-
Adjust Image Brightness
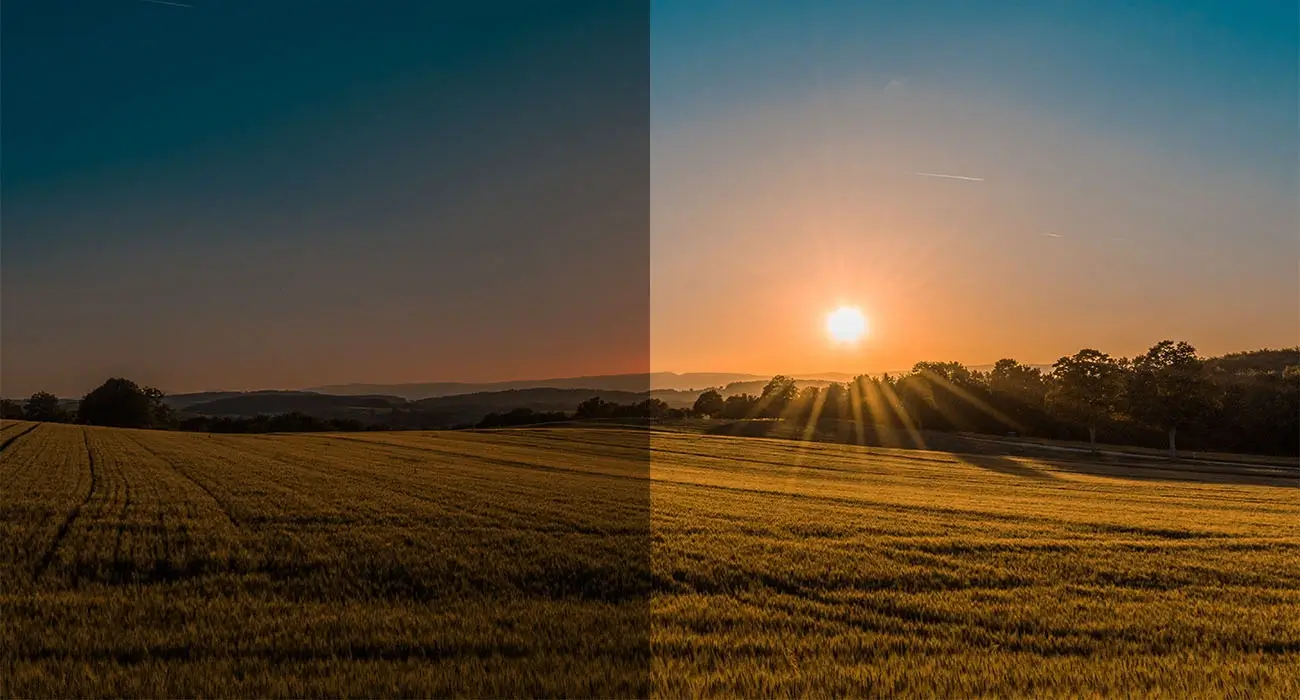
Brightness determines the luminance level of an image and affects all the tones (dark and light) equally in an image. If an image lacks adequate light, it becomes difficult for the viewer to understand the different parts of the picture vividly. Adjusting the brightness thus helps to balance the lighter and darker portions of an image.
-
Contrast Adjustment

Many photos suffer from issues like low lighting due to incorrect aperture setting of the lens or problems in the dynamic range ( bright parts: dark parts of an image) etc. These give rise to unbalanced dark and white regions in an image. Adjusting the contrast helps stabilize these tones throughout.
-
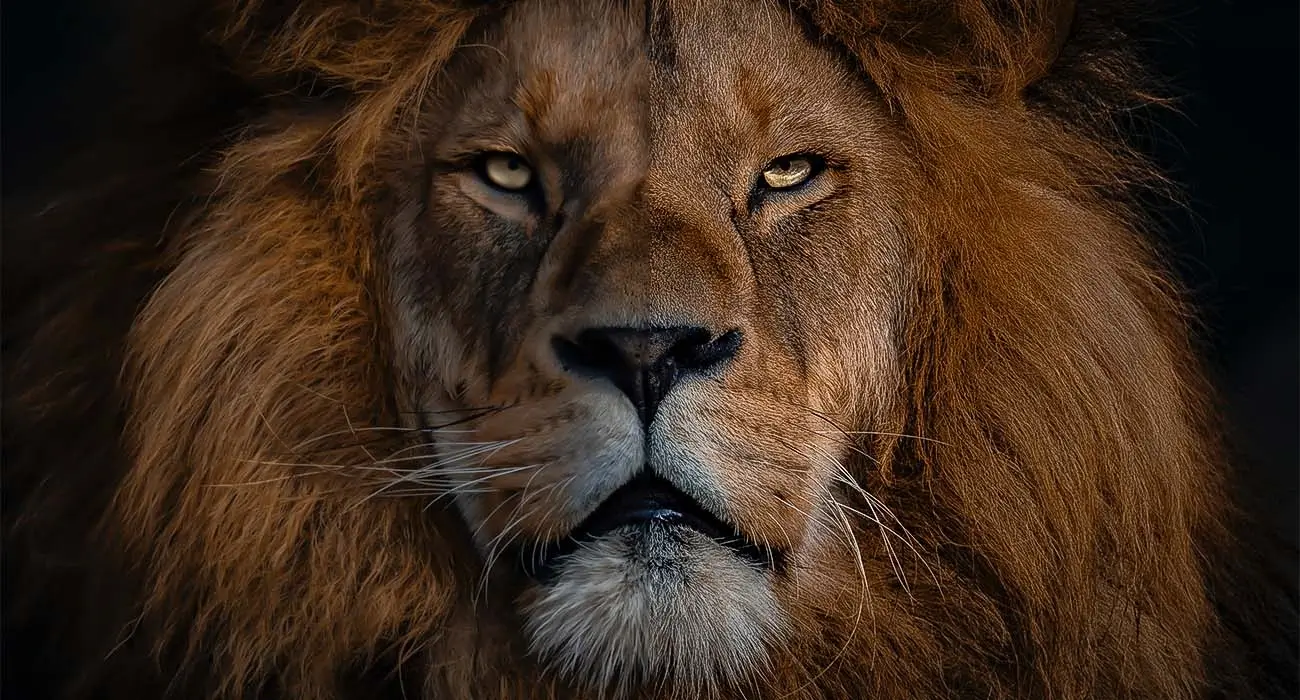
Exposure Correction
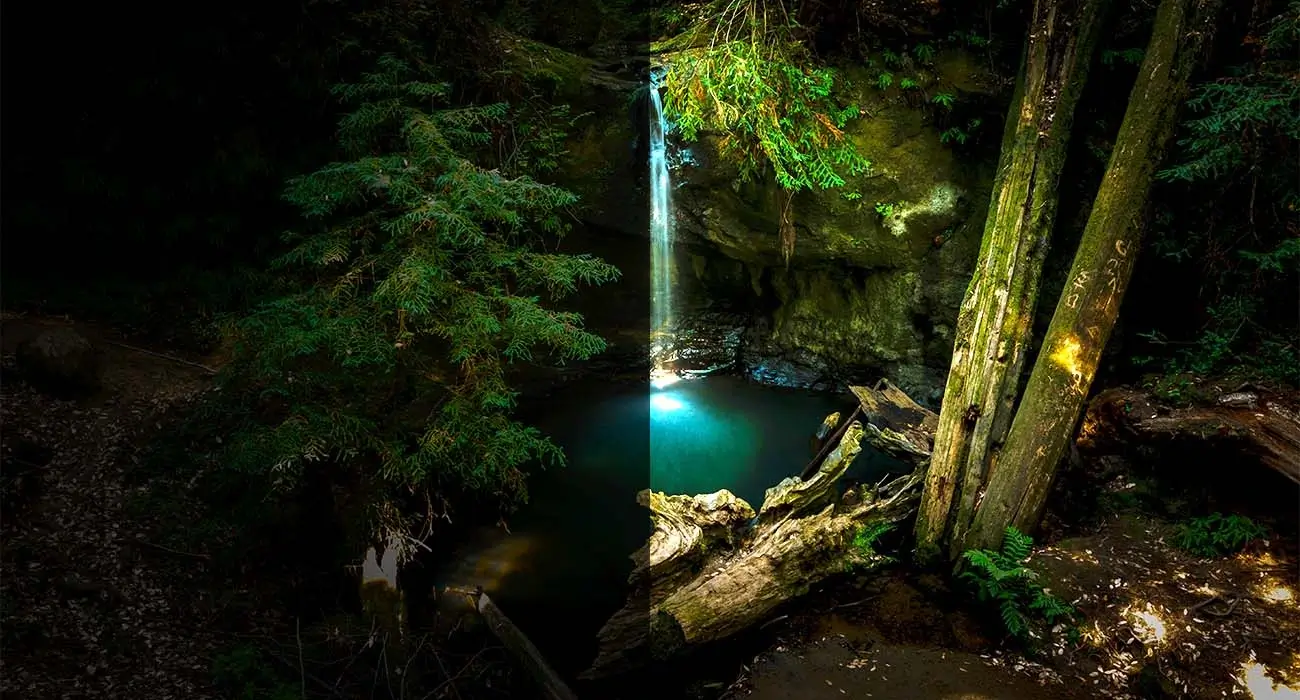
Exposure is the amount of light the camera allows while forming the image. Indirectly, it is the intensity of light or darkness in the image. Adjusting the exposure works on the highlighted or shadowed parts of the image. It illuminates underexposed images and tones down overexposed images.
-
White Balance Adjustment

The light sources keep varying while taking photos. As a result, a particular color(s) sometimes casts its impression on the white parts of the image, masking the natural white color. White balance adjustment helps retain the white color of those parts of the image. This, in turn, retains the originality of the image.
-
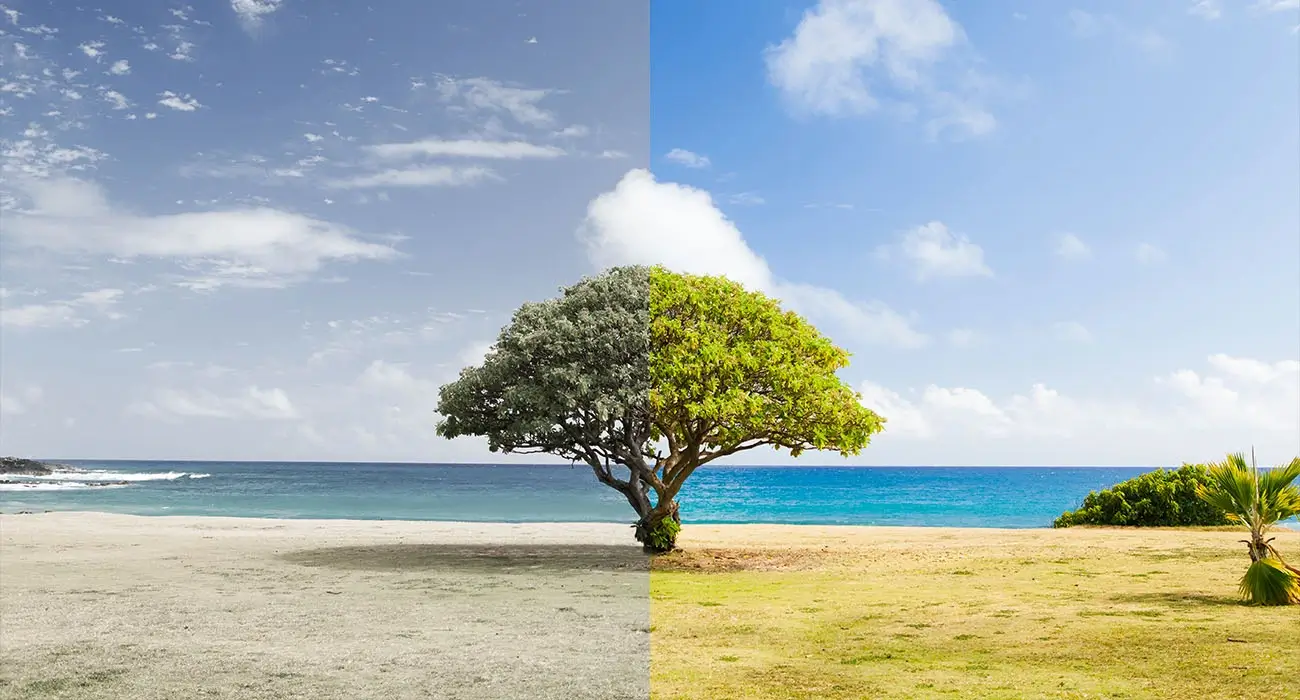
Saturation
Saturation tells the intensity of the colors in an image and works on all the colors of the image. Suppose the saturation of an image is increased. In that case, it makes the colors more vivid, i.e., it makes the colors more bright and prominent. While if the saturation is decreased, the colors get subdued, i.e., toned down to the grayscale.
-
Color Vibrance Adjustment
Vibrance also works with the image’s color intensity but, unlike saturation, works only by enriching the dull or muted colors and not on all the colors. Adjusting the vibrance creates a good balance between the saturated and the muted colors and gives the image a harmonious look.
-
Sharpness Adjustment
When the photographs taken appear blurry, adjusting the sharpness can fix them. If the sharpness increases, the edges in an image get defined or contoured more, making them prominent. Too much sharpness overemphasizes the image making it look unnatural. This can again be overcome by making the edges softer.
-
Perspective Correction
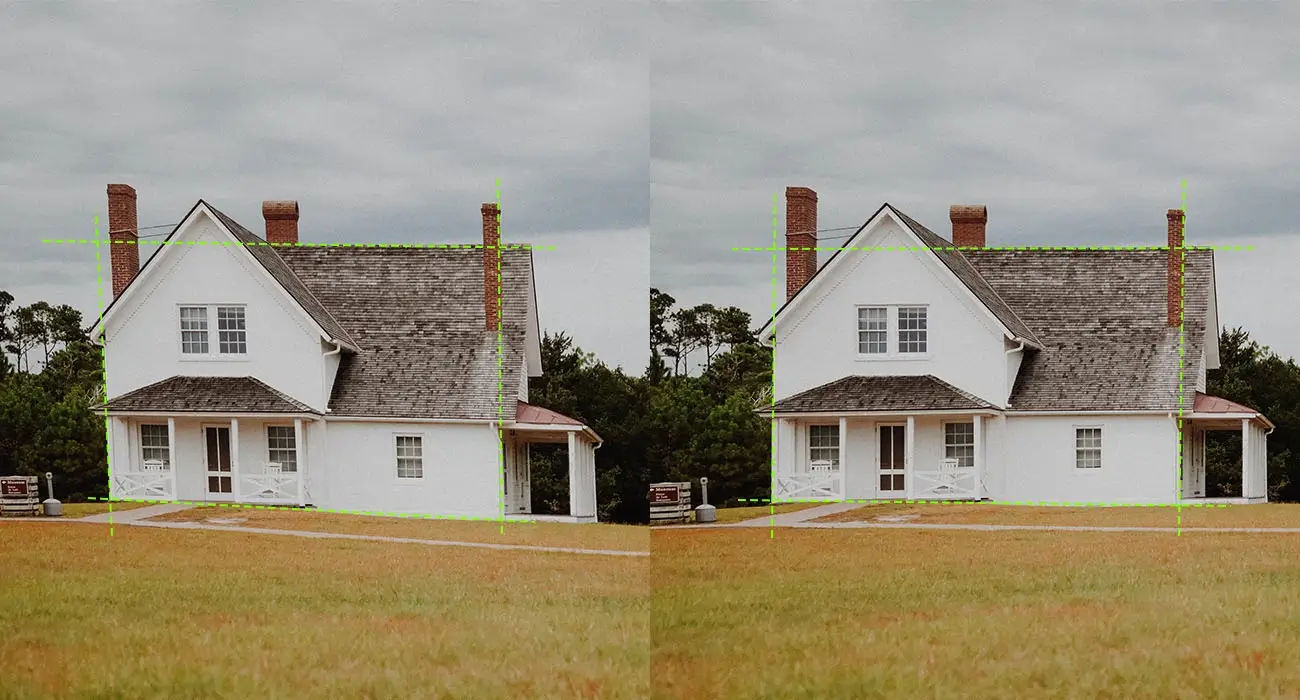
Images often get an angular view when the camera is tilted to fit the whole subject into the frame. Perspective correction helps to straighten, align, or make the subject parallel in such images.
-
Noise Reduction
Images suffer from “ digital noise ” when the lighting is not adequate, giving rise to an unclean picture with distracting pixels (colored, black & white) throughout it. This is removed through the noise reduction feature, and the picture appears clearer.
-
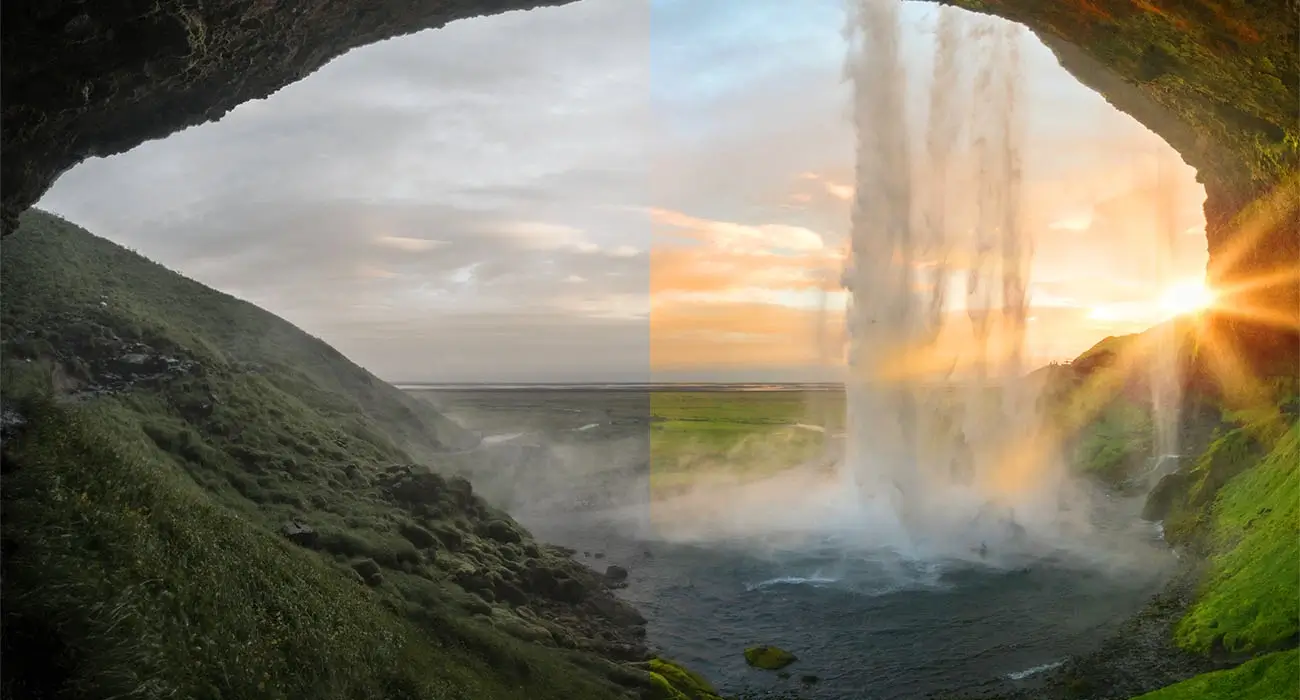
HDR Blending
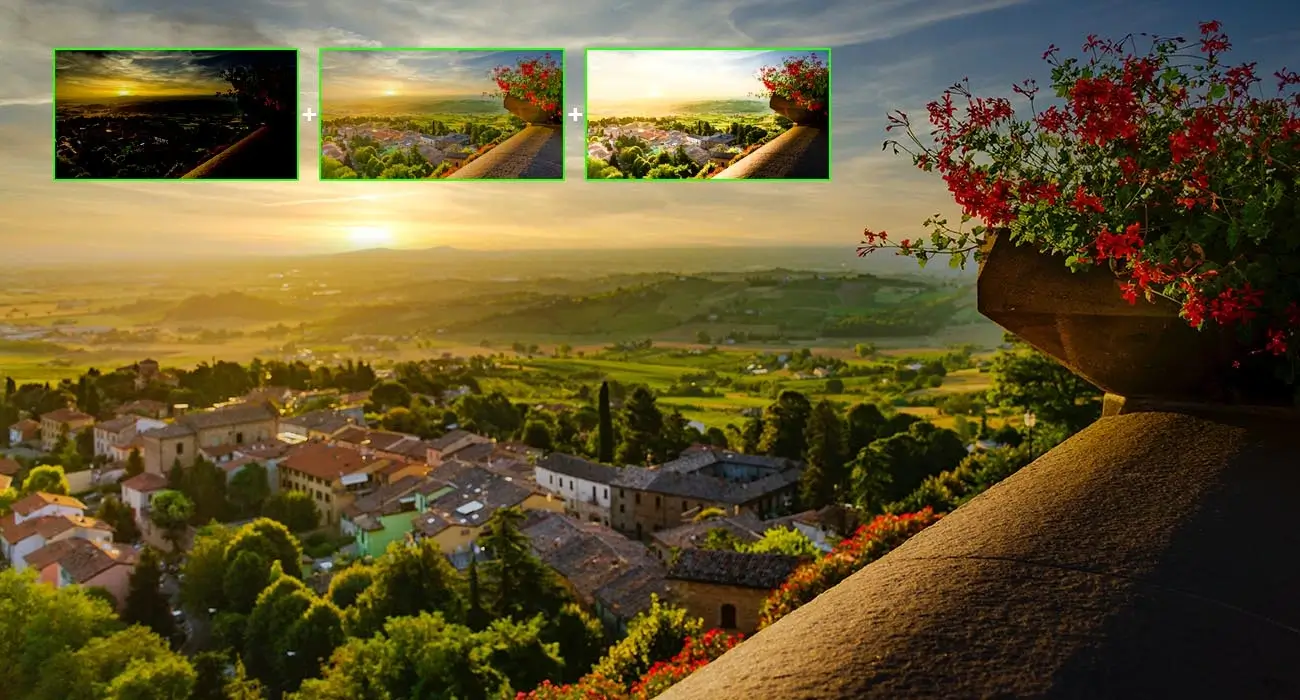
When a scene is shot multiple times, with each image consisting of some imperfection, HDR blending allows you to blend those ( two or more ) images of that particular scene to achieve the desired perfection.
-
Color Correction
The color correction feature balances all the colors throughout the image and make the colors appear as real as possible. The colors are balanced in such a way as the human eye would perceive them in reality.
-
Resolution Enhancement
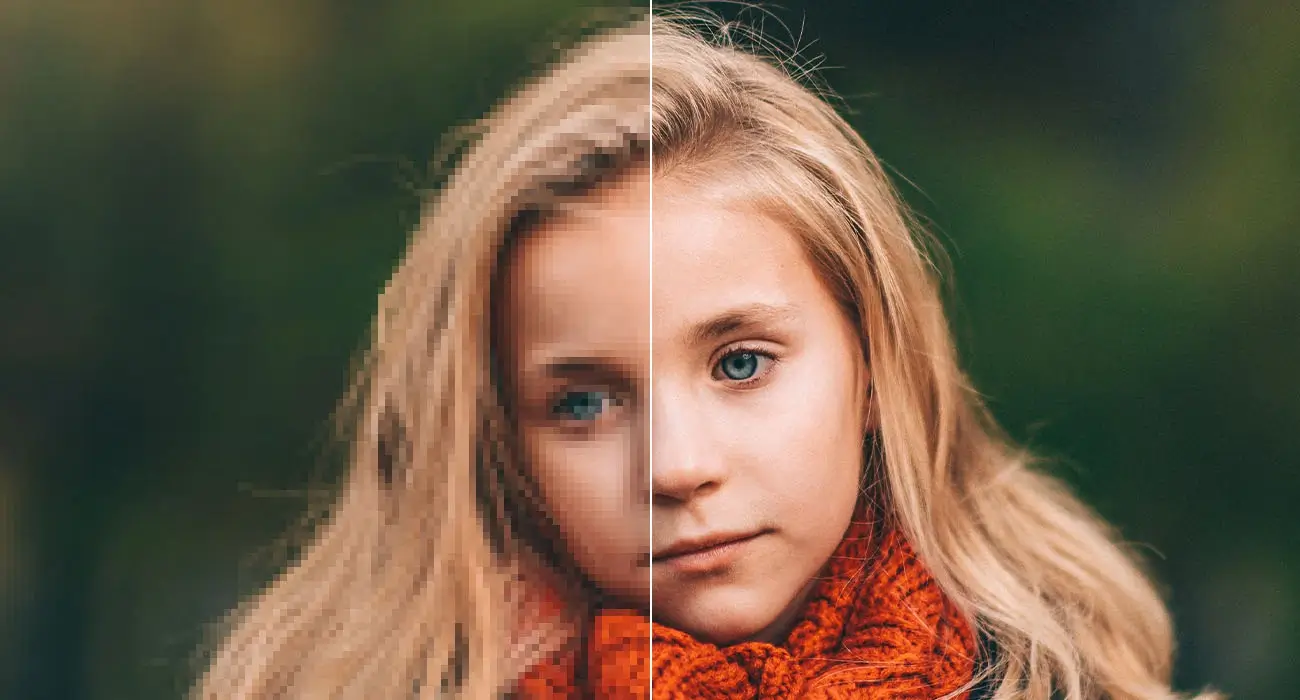
Resolution correction is done to increase the detailing of the image content. The number and size of the pixels per inch ( PPI ) are altered based on the amount of precision or detailing required and it determines the image resolution.
-
Red eye removal
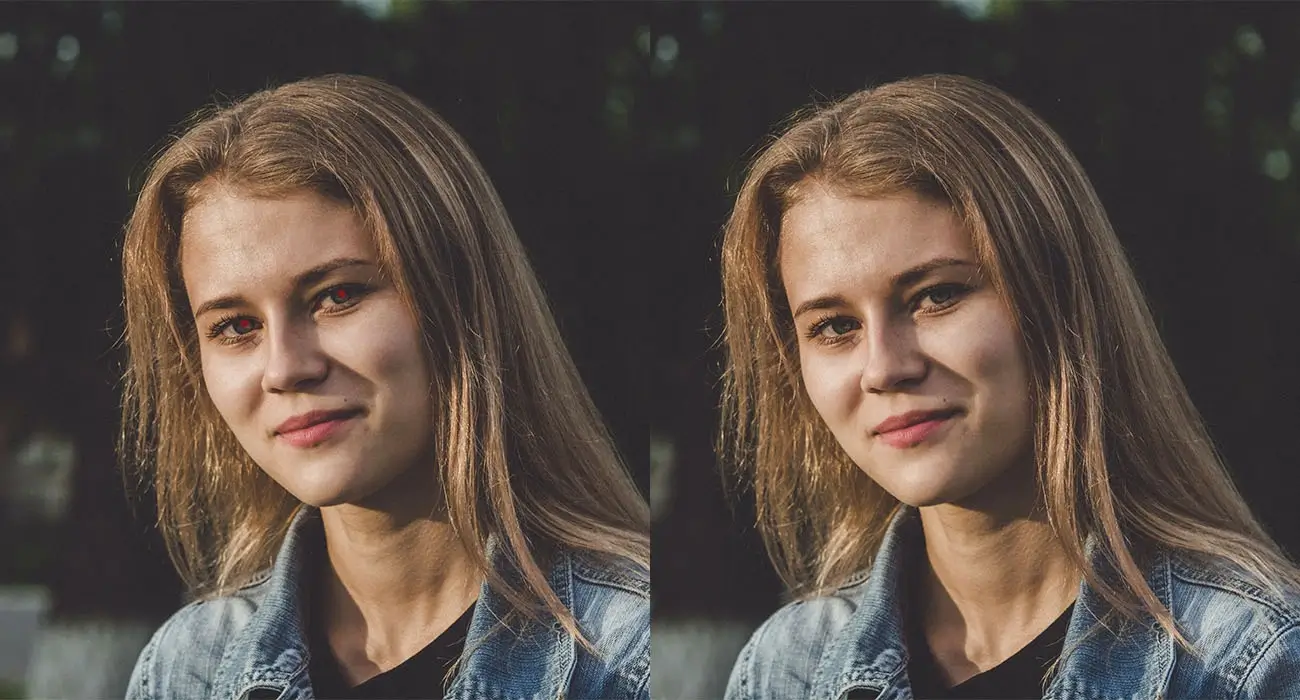
Red eye is the reflection caused by the camera flash due to the red colored retina of the eye. It happens in low light and can be edited and removed through the red-eye removal feature.
-
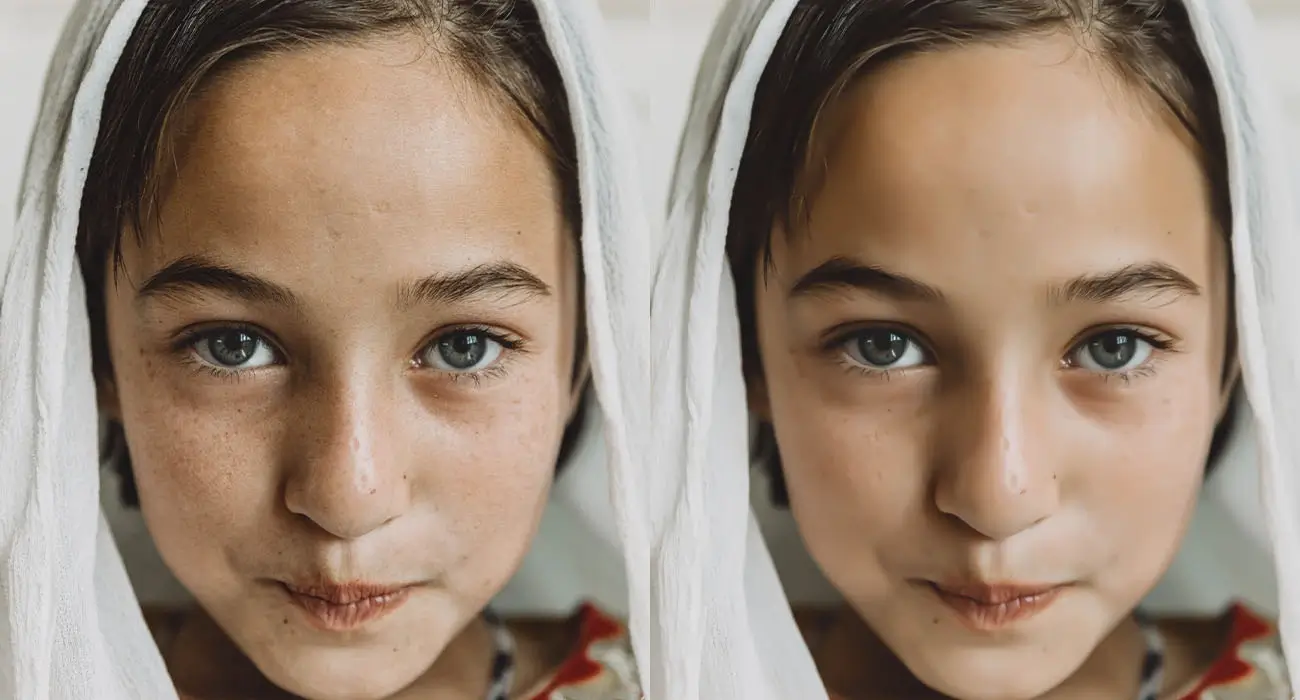
Skin smoothing/enhancement
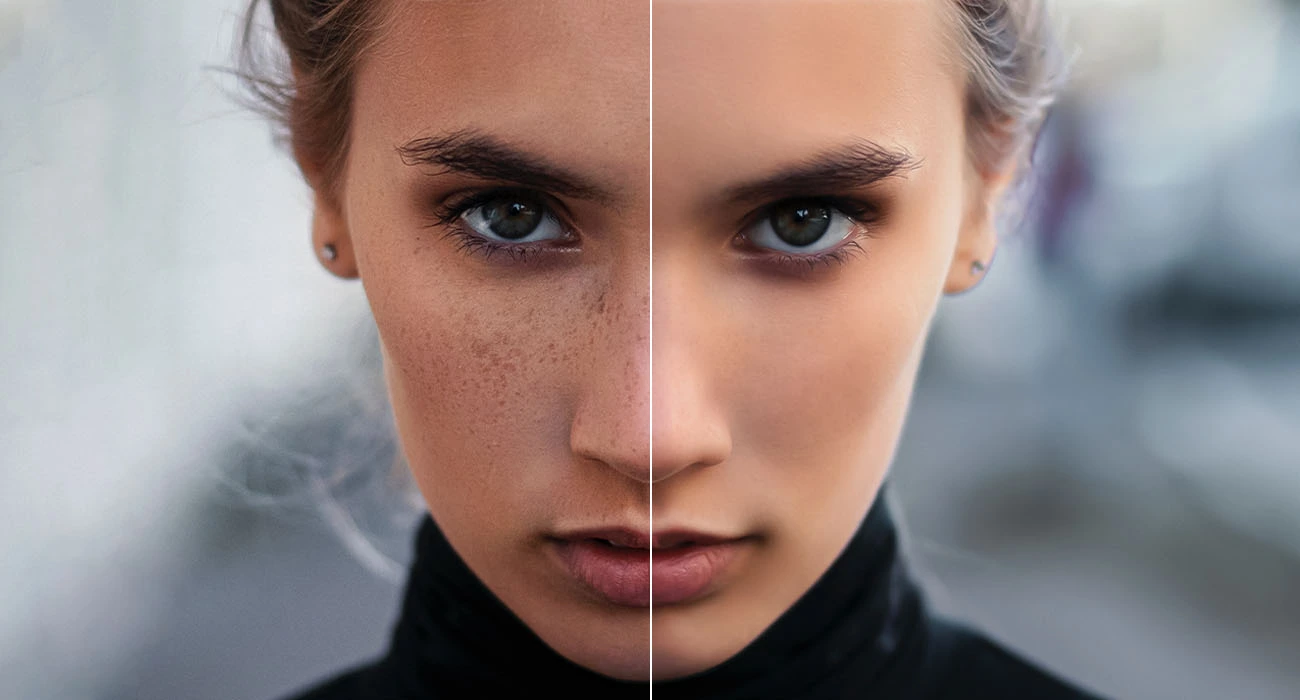
The skin enhancement technique allows you to achieve a flawless finish on the skin texture by removing blemishes, wrinkles, dark spots, or any other type of distracting spots on the image.
-
Background enhancement/removal

When a poor background hinders the subject’s beauty, making the image lose its appeal, background enhancement or removal can be applied to them to either intensify or remove the background completely.
-
Image Manipulation
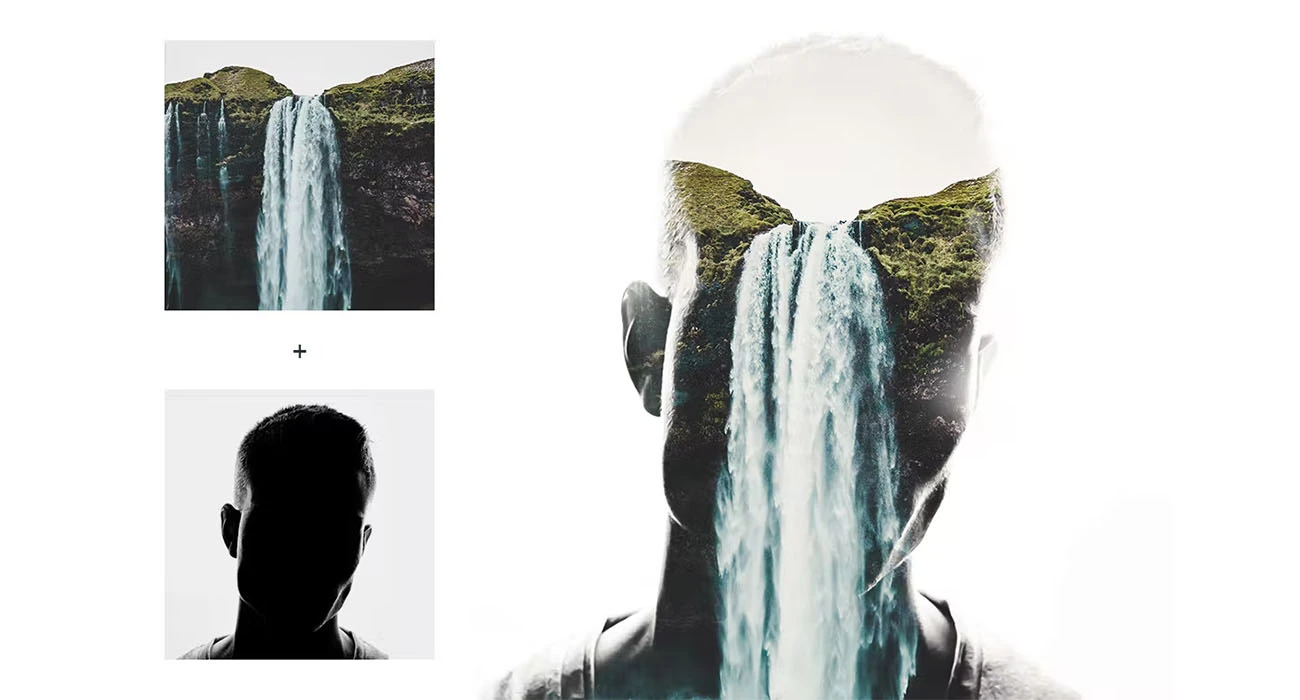
The image manipulation technique lets the photo editor exhibit creativity by adding, positioning, removing elements, adding special effects, etc., to boost the potential of an image. Mirror reflections are also removed through this advanced photo editing technique.
-
Unwanted object removal/addition
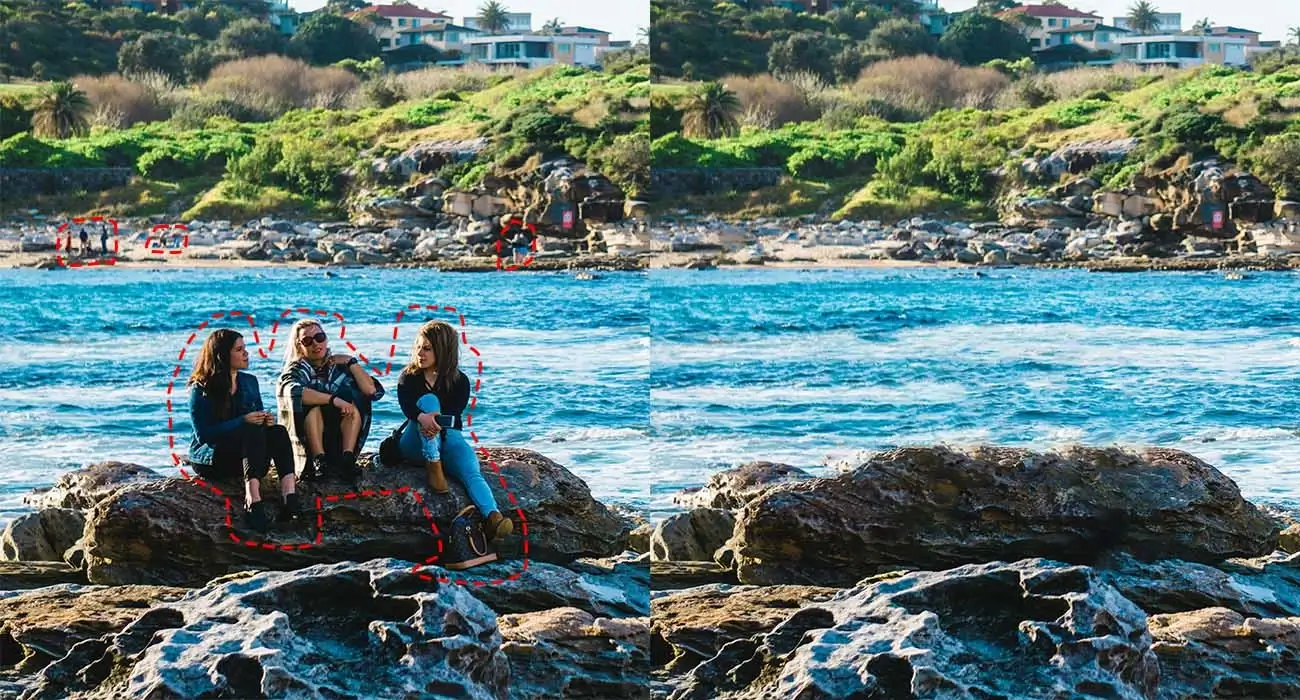
If a photo is congested by unwanted or distracting objects or even human figures, object removal technique does the job seamlessly. If the photo editor feels the need of adding any element to elevate the beauty of the subject, the object addition feature can be used.
-
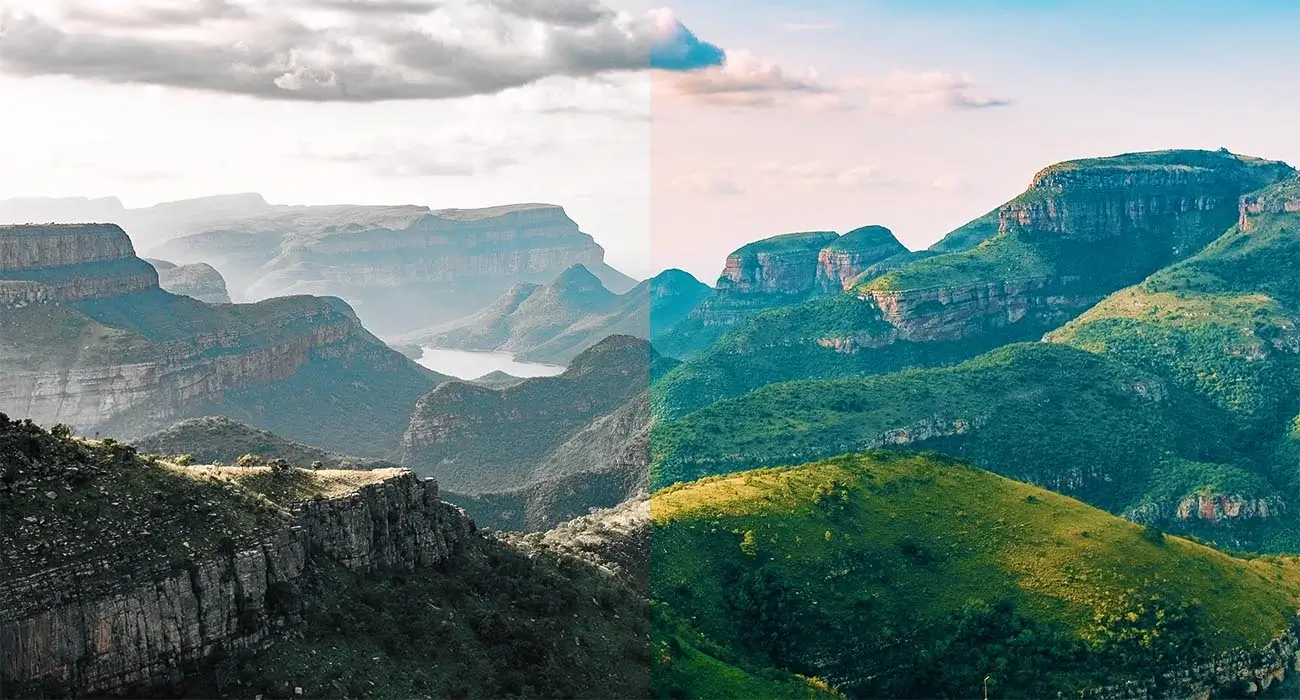
Sky replacement

The sky in any image forms an integral part of the background. The color of the sky majorly compliments the subject or the theme of any photo. Sky replacement technique helps you achieve the desired mood of the image or enhance the subject’s appeal.
-
Clipping path
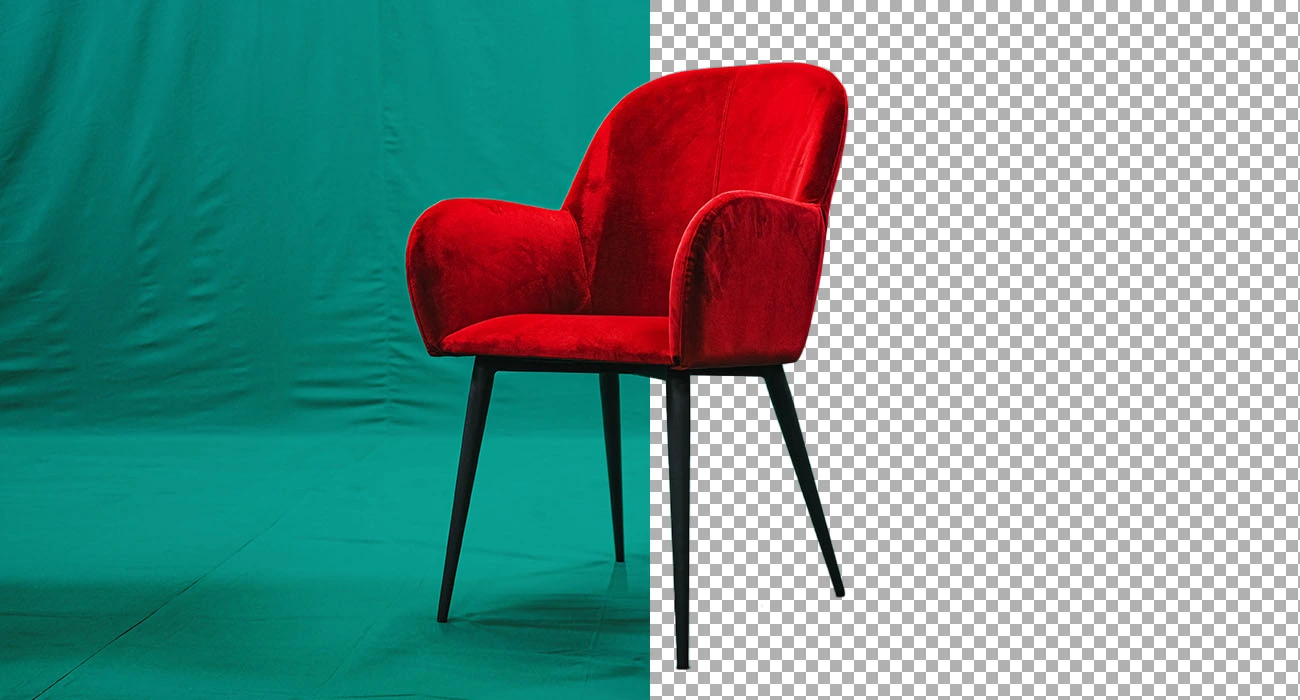
The clipping path technique lets you clip out or cut out any object or even a human figure from an image with precision. This technique can even be used for removing objects or figures from a particular background.
Summing up
Photo editing has a deep impact on the digital world. Photo editing software are also advancing over time due to technical advancement. Even if we possess a high-tech digital photographic device, we still look for the best software and options to complement our photography skills.
Professional photo editing companies use expert-grade and licensed photo editing software to achieve the desired result. There are also multiple free photo editing software available for us today through which we can try our hands on photo editing or improve our already existing skills.
Hope this blog could give you an idea of the photo editing techniques. So look for suitable software and start trying out your skills now!