Removing image background is a common job that is associated with the work of every graphic designer and photo editor. However, getting the background removed from an image can be often tedious if the object you are trying to get rid of has complex edges or if the background is increasingly intricate. Besides, there are so many ways of separating a subject and end up with a transparent background. For cases like that, you should take time and decide which method to take depending on the background or complexity.
Photoshop service providers are most sought-after in the industry of photography and graphic designing. Apart from that, there is also a hype of using the GIMP software for many beginner photographers and designers. The reason behind mentioning the two software is that both are considered as the topmost image editing tool. Adobe Photoshop is a professional photo editing software that has a collection of image correction and manipulation tools and is available as both free and premium. On the other hand, GIMP is a free open source image editor that is also rich with tons of photo editing functionality and features.
Quick Overview on How to Remove or Delete Image Background
Elements we discussed in this article
- Removing background from image
- Changing the image background
- Saving image in transparent background
In this article, we will take you through the various steps that must be followed for the effective removal of an object from the background using both the software.
Image Background Removal Using Photoshop
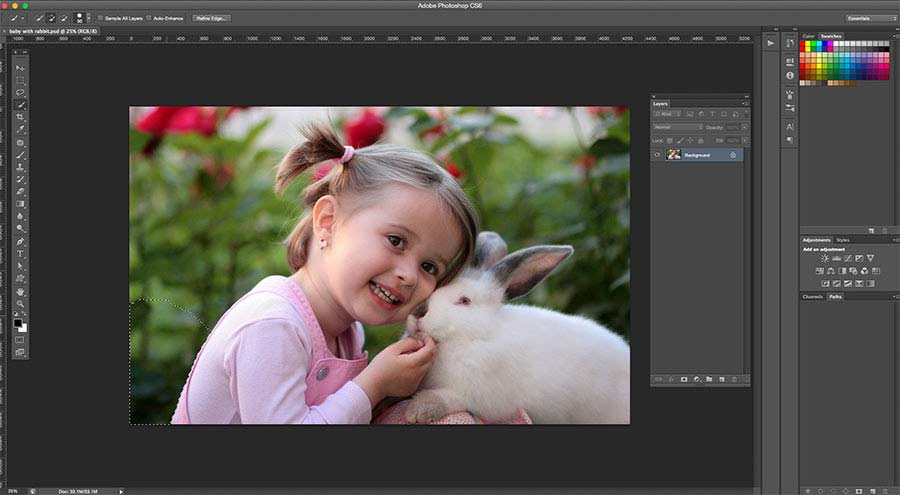
Now open the image in Adobe Photoshop software.
Note: You can use any of the latest Photoshop version ( Photoshop CS6, CC, CC 2015, CC 2017, and CC 2018)
Now that you have opened the image, let us start the process;
Step: 1
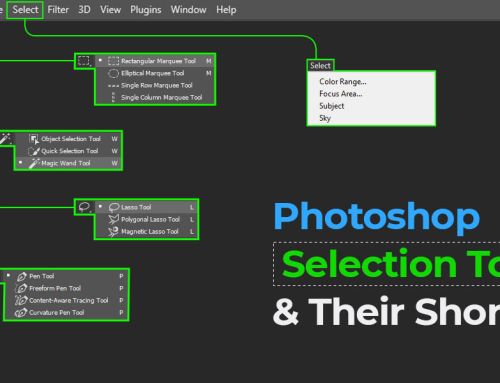
The first step here is to make a preferable selection. While there are a number of tools one can use to make a selection, the best and effective tools for beginners to use are the Magic Wand tool and the Quick Selection tool. There is the Lasso tool available. Though it can give accurate selection, it takes a little longer to properly use.
We will first look at how the Quick Selection tool can be used followed by the Magic Wand tool and finally the Lasso tool. Depending upon the nature of background removal and the image, sometimes a combination of all the three must be used for the best yield.
Now, select the Quick Selection tool and go ahead to the next step.

Selecting Image Background Using Quick Selection Tool
Step: 2
Now that you have fortified with the Quick Selection tool, make sure that you use the tool with the ‘+’ at the center by pressing the Shift key.
Start clicking and dragging around the area on the image that you want to remove from the photograph.
It is possible that while you select the area that you want to remove, some areas that you want to retain may also get selected. If it happens, hold the Shift key and utilize the ‘-‘ Quick Selection Tool to remove the wrongly chosen area from the selection.
Before continuing with the selection, remember to press Shift to make the Quick Selection tool ‘+’ again.
If you have fur and hair on the image, do not sweat to get it too perfect as we can refine the edges a little later.

Step: 3
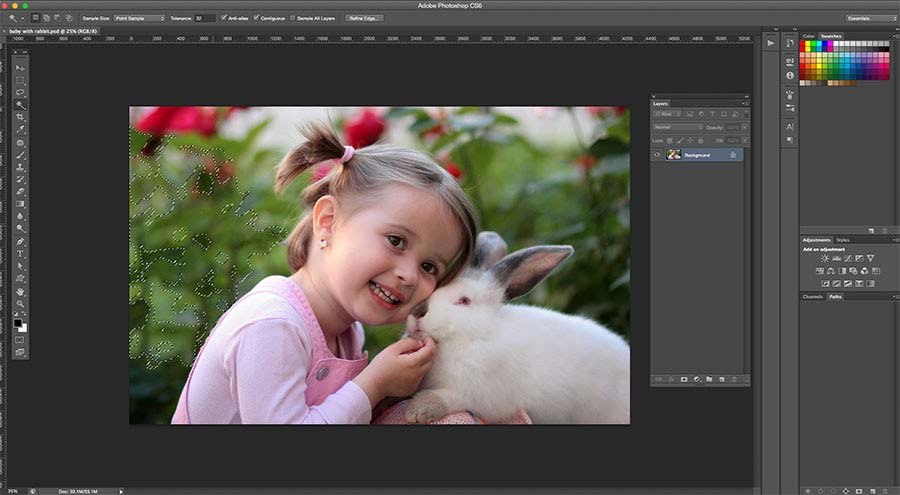
If you find the Quick Selection tool a little trickier than you thought originally to use, you may as well try the Magic Wand tool. You can find this on the same menu as the Quick Selection, and you can click and hold in order to find the same.
It must always be kept in mind that the Magic Wand tool works exceptionally well in those areas where the background is considerably plain and devoid of much details.
Here, you can start the process by clicking on an area of the background you want to remove. If you can see the selection as in the image given here, you need to augment the tolerance. You can find the option for the same at the top of your program’s window. Increase the value of tolerance from 10 to 15 and check how it fares.
If you want to expand your selection while using the tool, hold onto the Shift key and click on the areas that you want to add. In the same way, if you want to deselect the areas, press down the ‘Alt’ key and keep clicking or use the shortcut “Ctrl + D” on windows and “Command + D” on mac.
Step: 4
Even after using both of the tools, there are chances you find they are not accurate enough to get the best result. In such cases, you may want to use the Lasso tool.

You can find the same in the toolbar just above the two tools we have already discussed. Use the Polygonal Lasso tool for the best results.
Here you can click on the edges of the object you want to select. As you click more, the selection will become more accurate giving perfect selection quite impossible to achieve with Quick Selection and Magic Wand tools.
If you look at the skill forte of a Photoshop services company, you will find that their editors will be expert in taking advantage of the combined power of all the three tools.
Step: 5
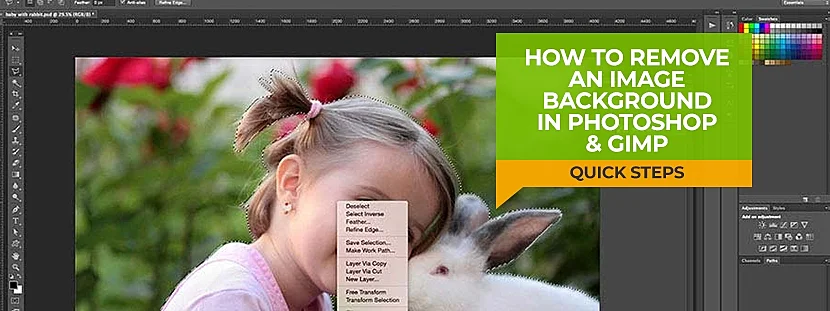
When you use Magic Wand or Quick Selection tools and aren’t happy with the results, you can right-click and choose ‘Select Inverse’ or you can use the shortcut “Ctrl + Shift + I” on windows.
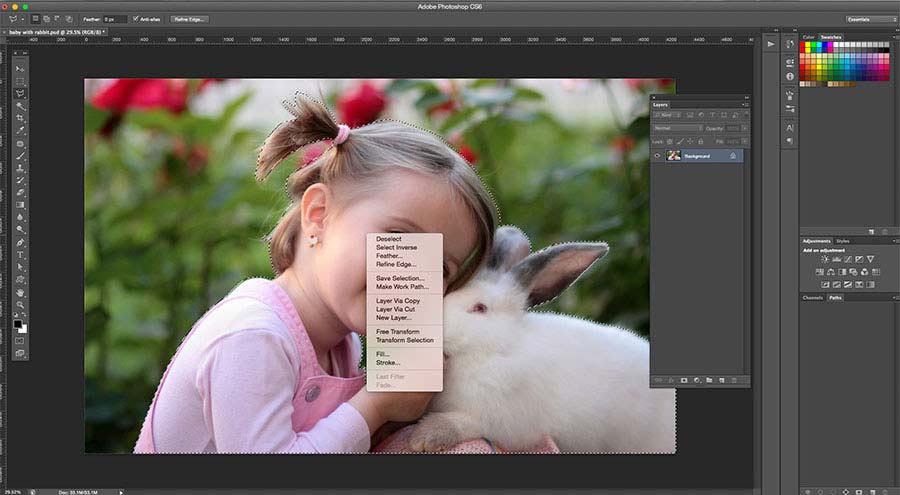
As the object is selected now, you can refine the edge before the background is removed and we are going to demonstrate the same during the later parts of the article.
If you have used the Lasso tool, you don’t have to inverse the selection, and hence you can go ahead to the next step.
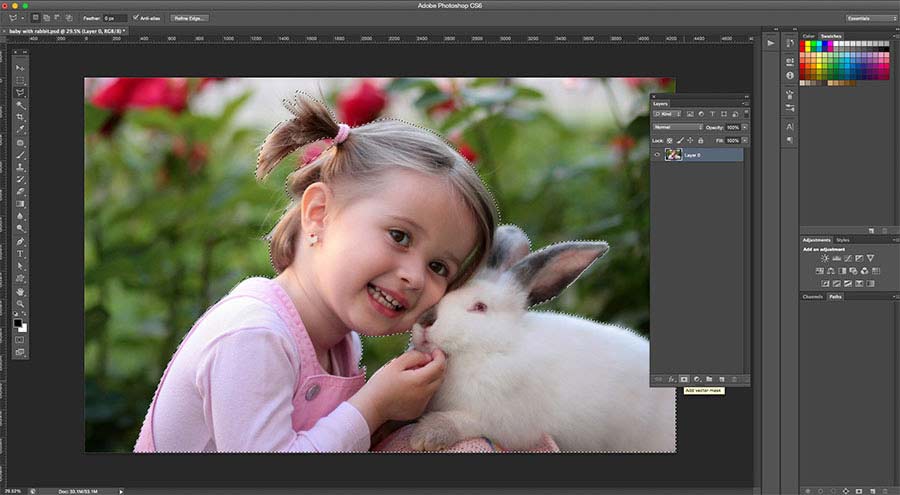
Step: 6
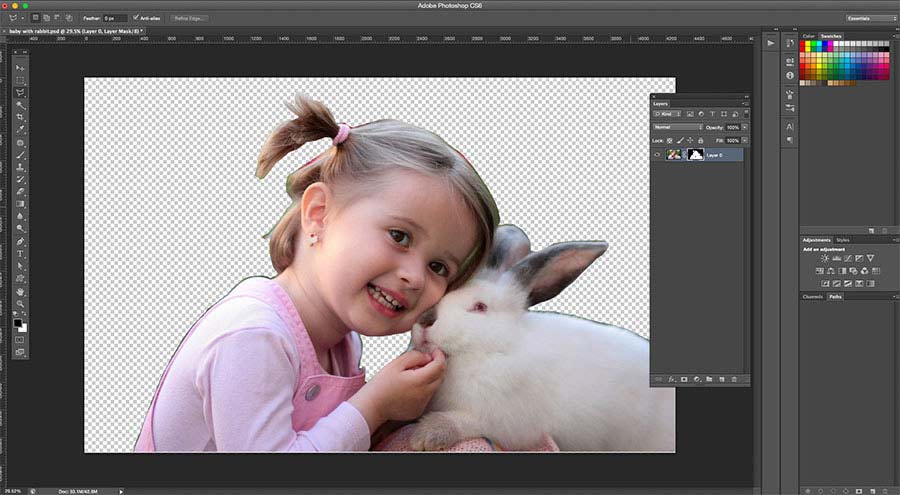
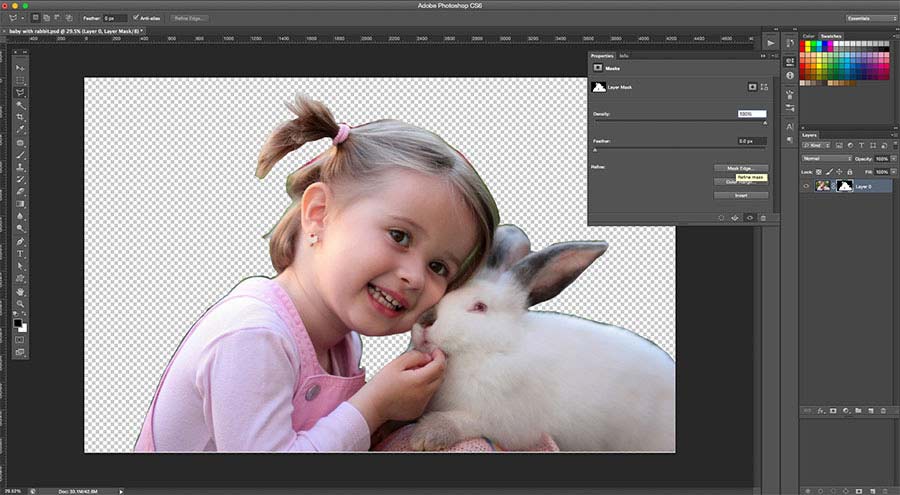
At this step, you can click on the ‘Add Layer Mask’ button and it will instantly remove the background. The resultant image may not look all that exciting, but do not worry, we have plenty of option to refine it using Refine Mask tools.
Most of the companies offering impressive clipping path services take advantage of these techniques.
Step: 7
You can find the mask from the Layers Panel and double click on the same. There will be a box popping with Mask Edge on it. Click on the same. This will provide you with the Refine Mask menu.
Step: 8
From this stage, you can start making improvements to the image.
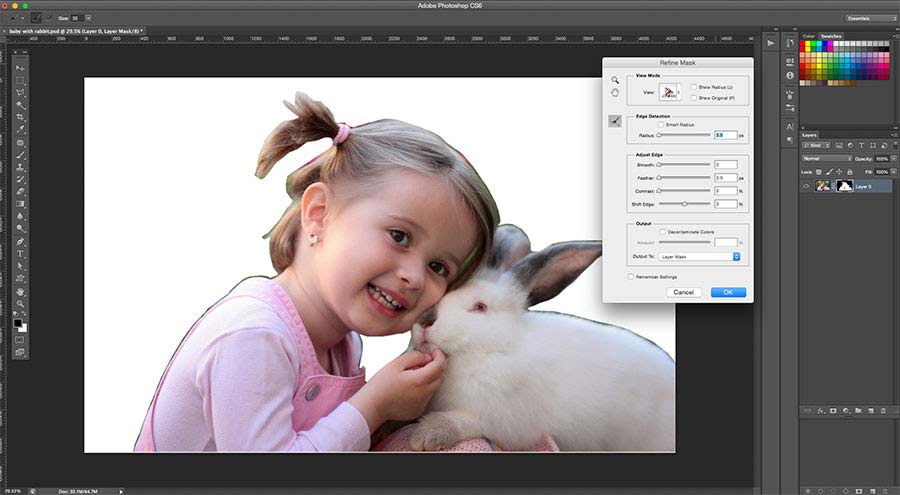
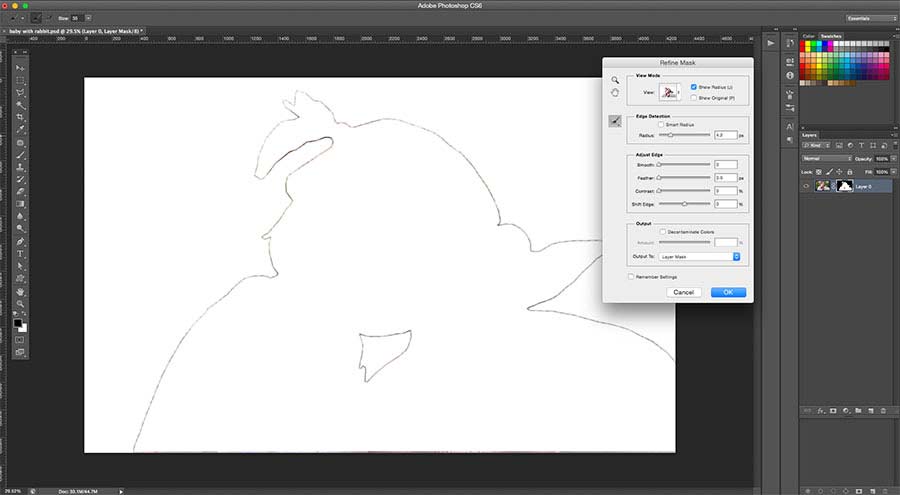
Now, click on the ‘Show Radius’. This will leave you with nothing to see when beginning. But when you start adjusting the radius, you can find the stray fur and hair-removing the background between the same.
When you move the cursor across the photograph, you will be able to see a small circle with a plus sign on the center.
Step: 9
Now, uncheck the ‘Show Radius’ to get back to the Refine Mask Preview. Adjust the mask until you are satisfied with the result you have on the screen.
Step: 10
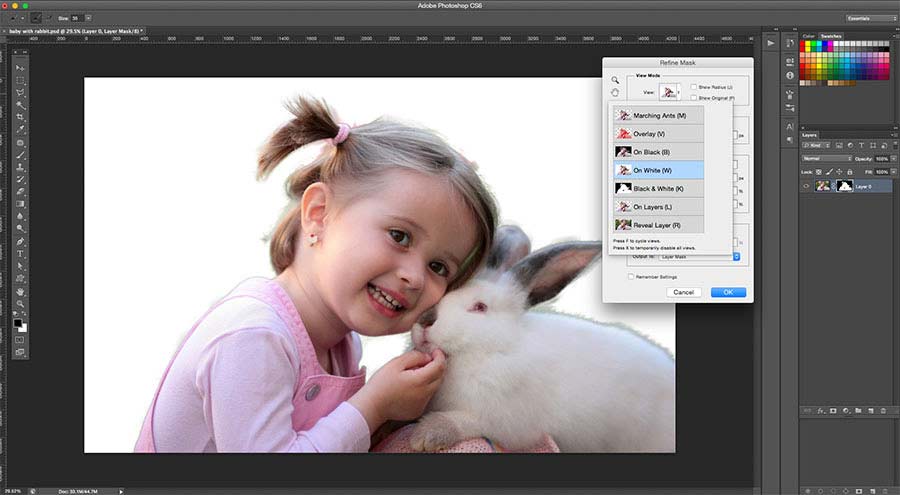
If you need any help, change the view mode clicking on the arrow adjacent to the thumbnail of the image and selecting the menu dropping down.
Step: 11
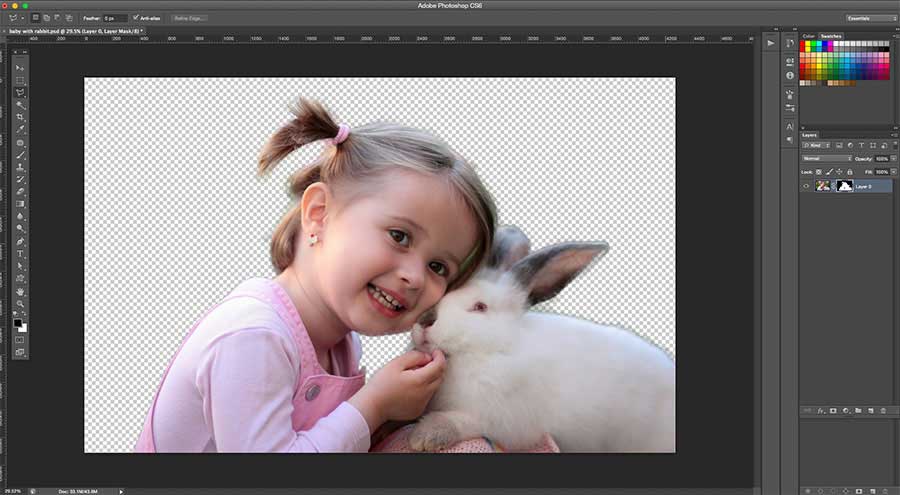
When you are happy with the image you have, click on ‘OK’. This will provide you with an image without background ready to be transported to any place of your choice.
Ways to save an image without background
Step #1: Create Your File
For this, the first thing you need to do is to create a file. For this, open the ‘File’ menu at the top of the home page of the program and choose ‘New’.
As you can see the New Document window, give the dimensions that you prefer. While doing so, make sure that the resolution of the document is set to 72ppi.
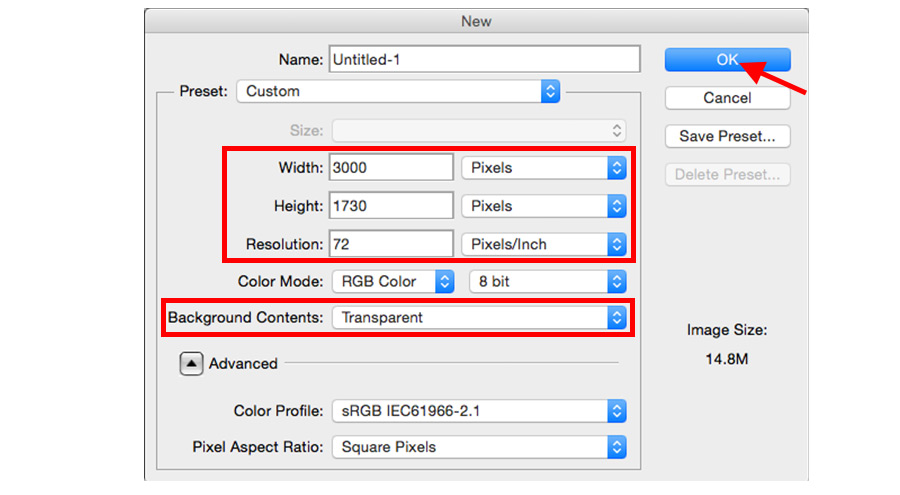
Further, ensure that you have chosen ‘Transparent’ from the drop-down menu of Background Contents. When you have the right settings, give ‘OK’ and open the new document you have created.
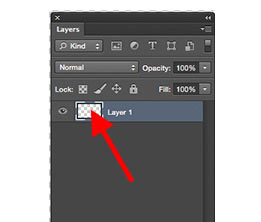
Further, check to ensure that the layer you are working on has a transparent PNG background, from Layers Palette and not a layer with a solid background. Most of the companies offering image editing services take advantage of the same to add greater efficiency to their performance.
Step #2: Save the Transparent Photo
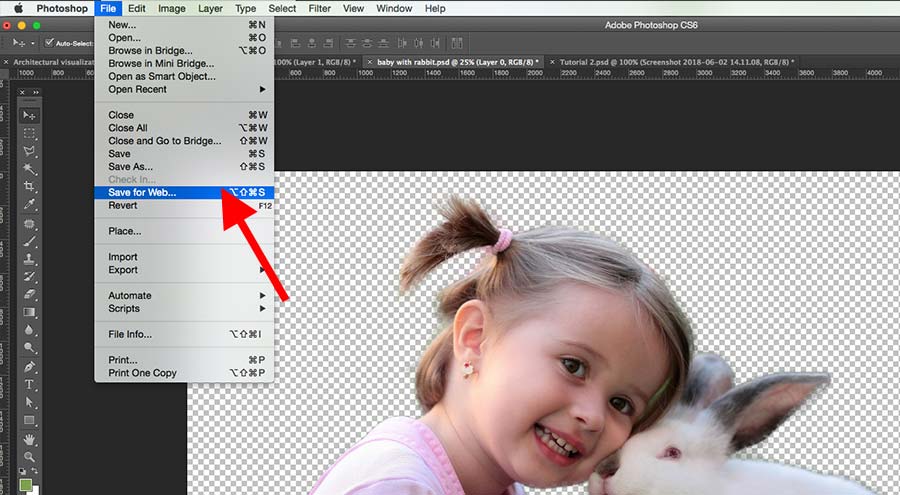
After you have created the image and are ready to save the image with transparent background, you will have one of the following options from the ‘File’ menu depending upon the version of the program you use;
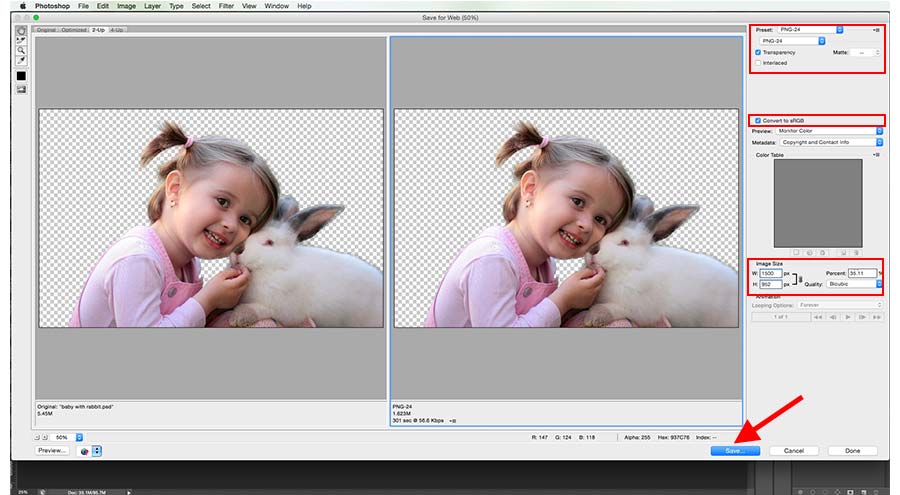
All the versions of the program released prior to CC 2015 use the ‘Save for Web and Devices’ technique to save the images and optimize the PNG images to be used in the web. IN order to use this method, open the ‘File’ menu and click on ‘Save for Web and Devices’ or use the shortcut “Ctrl + Shift + Alt + S” on windows.
Now, you will have a window appearing, from which you can select the PNG-24 from the drop-down menu of the Preset. Before proceeding further, check that Convert TosRGB and Transparency options are in selection. This will ensure that the image will wear a transparent background and the color mode of the image will be transferred to sRGB.
The size of the image created will rally up to the dimensions you set up while creating the image in the first place.
However, if you are game to change the size of the image, you can do that here effortlessly.
Step: 12
If you want to add the image to a new customized background or white background, you can open a new image background in Photoshop and drag and drop your image to the new background.

Adding New Background
Step: 13
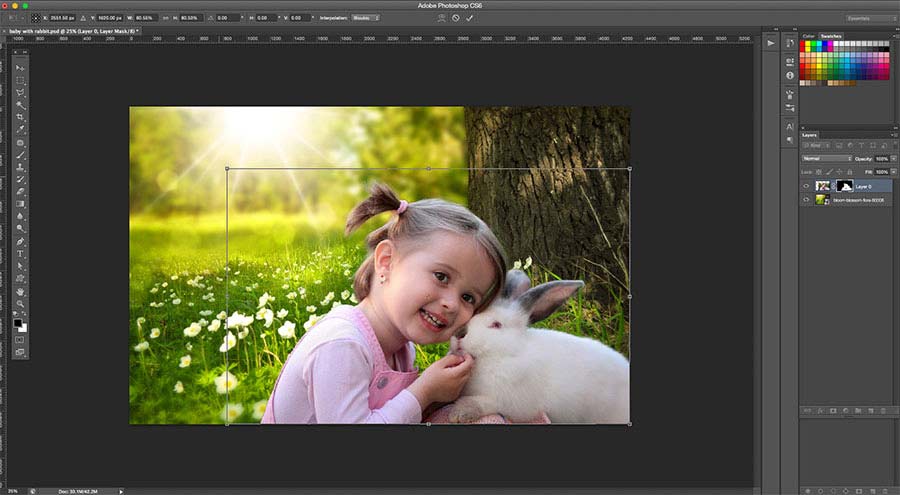
Resizing Image
If you want to resize an object in Photoshop, you can do that by pressing Control/Cmd+T and holding the Shift key when you drag the handles of the Transform Box. When you reach a size you are happy with, check the box to apply the change to the file.
Other Useful Photoshop Tools Used for Background Removal
Remove Background Using GIMP Software
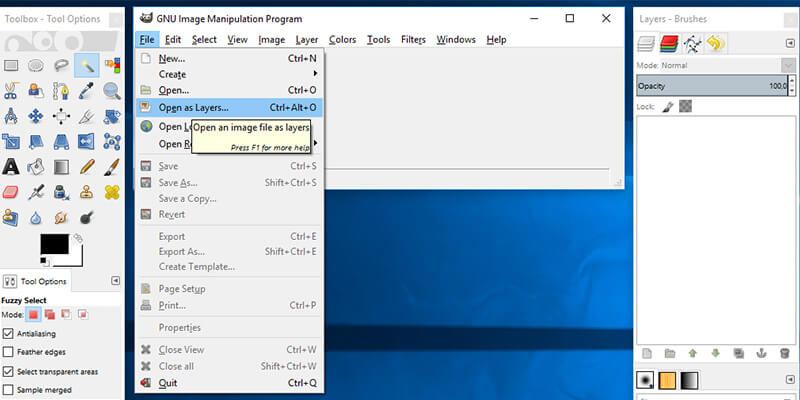
Just like the above, start by opening up the image in GIMP or the GNU Image Manipulation Program.
Step: 1
In the first step, you need to go to the File menu. It will be present at the left corner of the top bar. Now, select the “Open as Layers” option.
Step: 2
Select the background, i.e., the area which you want to make transparent. You can also directly open up the image by using Ctrl+O from your keyboard.
Step: 3
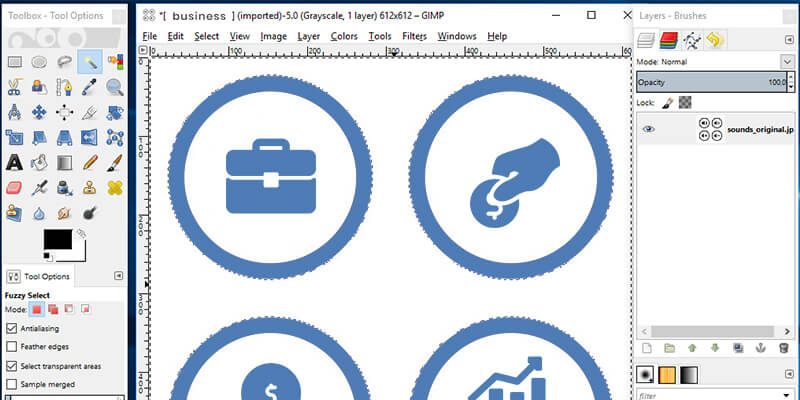
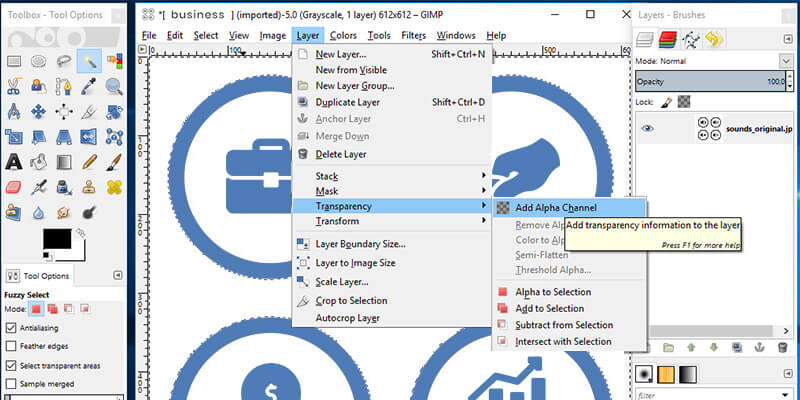
Go to the Layer option and select Transparency. A new window will appear. From there, choose Add Alpha Channel. Selecting this channel will help you to get a transparent background after removing the original background.
Step: 4
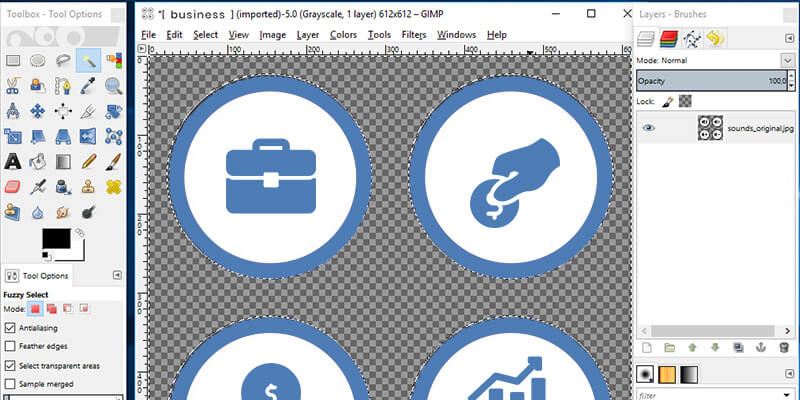
Now, select the “Fuzzy Selection Tool” from the tool bar, and then, click on the Delete keyword button. It will delete the background. If some of the places are still not deleted, then click on the Eraser tool and select the places to remove it. However, if you want to remove the background color, then simply take a new layer from the layer palette and use the color of your choice from the “Bucket fill tool”. Now move the new layer down the main layer in the image.
Step: 5
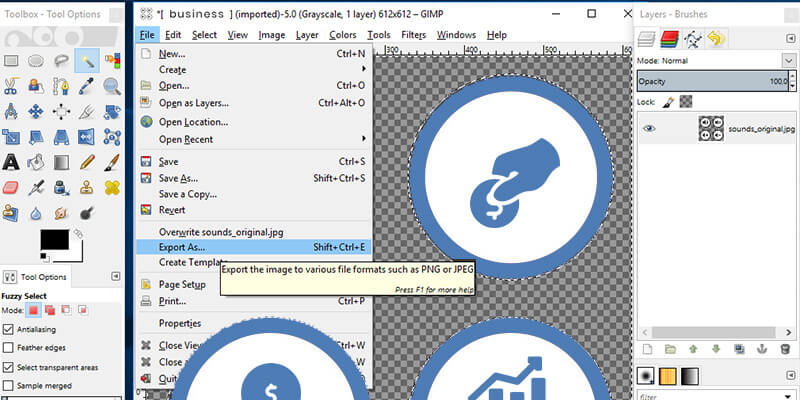
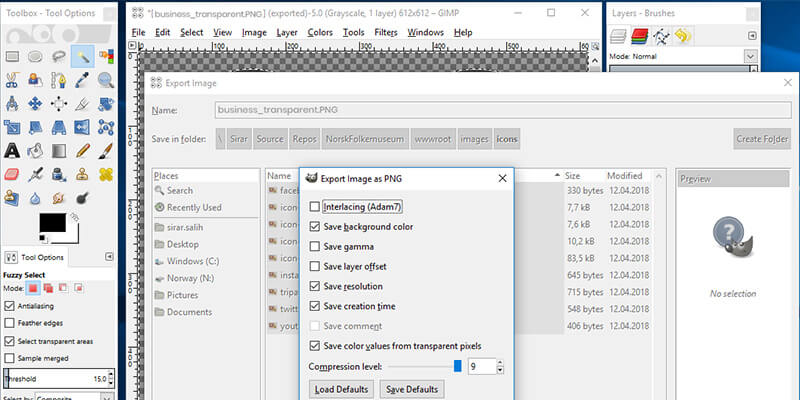
Go to the File menu and click on the “Export As” option
Step: 6
Select the PNG file format and click on “Export”.
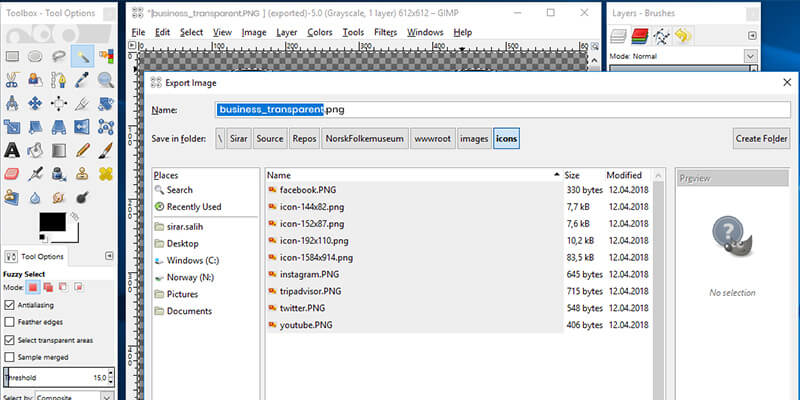
Try clicking on the “Export” option again. The result will give you an image with transparent background.
Since now you are fully aware of removing image background using the two most powerful software, try implementing it to see how it works. Both can provide you with similar results. So, you can use any of the image editing tools that you like. Even though GIMP is not as rich as Photoshop, it is still a great software that can enable you to perform various image editing tasks. From the above, we also conclude that using these tools is easy and can offer outstanding outputs if used appropriately.
Christa Elrod 


Christa Elrod serves as a senior graphic designer at ProGlobalBusinessSolutions. She is a creative designer with robust skills in typography, UI/UX designs, printing designs, video post-production, and 3D designs. Possessing years of experience across diverse industries, Christa loves to educate fellow designers with her experience and domain knowledge.