If you want to eliminate an image’s background or part of it in Photoshop, you have a stellar tool at your service – Photoshop background eraser. This tool blends the functionalities of Eraser and Quick Selection tools.
The color at brush’s center is sampled by background eraser tool. Once you start dragging the tool over your image at specific locations, pixels of the same color is deleted. With one click on your image,
- Background layer can be changed to regular unlocked layer
- Finer details such as hair can be isolated

Options For Background Eraser Tool
You can exercise various options when using this Photoshop background removal tool.
-
Brush Options
You can set the spacing, hardness, and size of the brush. To get a shapely feather side, you can set Hardness to 0.
-
Sample Options
There are 3 eyedroppers available for sampling.
- Continuous sampling wherein color beneath brush crosshair will become transparent
- Sample Once will sample the color clicked and keep removing it till the mouse is kept pressed
- Sample Background Swatch will remove clicked background color only while painting
-
Limits Options
You get to access 3 drop-down options over here.
- Discontiguous: Erasing of any color that the brush finds non-adjacent
- Contiguous: Only sampled colors are removed but colors not matching are left; perfect for image hair.
- Find Edges: This facilitates working on finer details and prevents removing of colors from sampled areas’ edges.
-
Tolerance Options
The default value is 30. If you go for higher value, colors, and hues of the surrounding area would be eliminated more.
-
Foreground Color Options
Your image may have traces of certain colors that you don’t want to remove. To protect such colors in the foreground, double-click on it and sample the color.
Erasing The Background: The Process
-
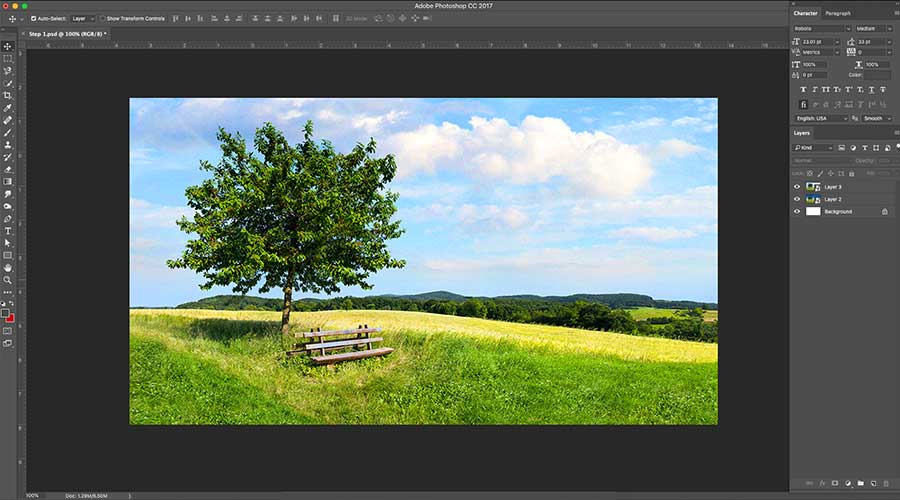
Select the Image
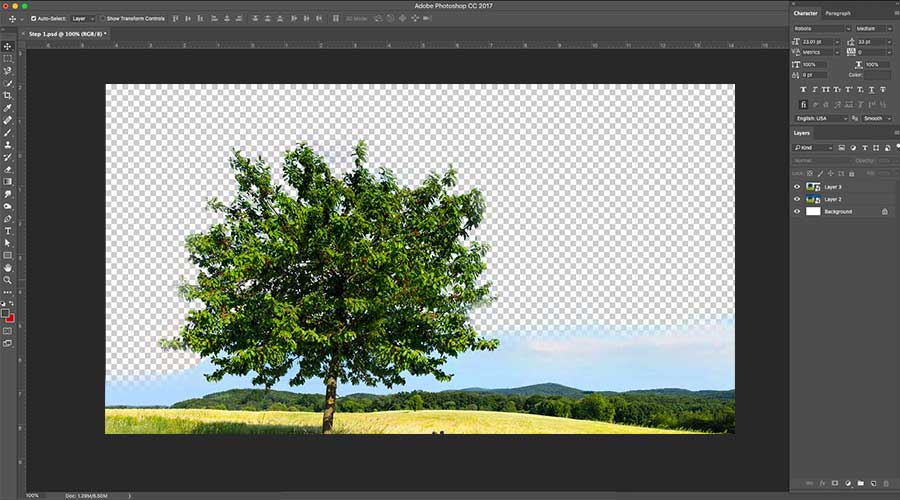
You need to first open the image from which background has to be extracted.

Select the image required for altering -
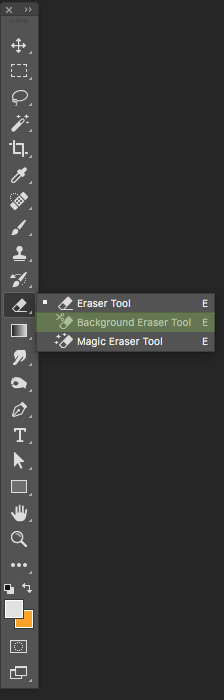
Select the Tool
The photo background remover tool erases background and color samples. The eraser panel contains the tool. You can use Shift+E for navigating through eraser tool options.

Selecting the background eraser tool Once you select ‘Background Eraser Tool’, the following changes would be visible
- Top panel options would change
- Mouse pointer will assume the shape of circle with crosshair at center
- Color of area inside circle will be removed
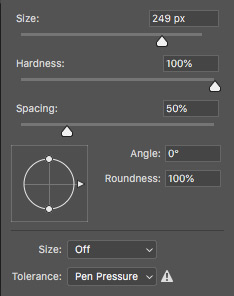
For accessing brush options, you need to right-click at a suitable point on an image.
Brush hardness should be more as soft edges may not be successful in erasing color completely. Choose adequate brush size. Spacing should be less. This will enable smooth erasure of line.

Fix the hardness value You may select ‘Sampling Once’ option from the top panel for sampling color once and erasing a large section of an image. Choose ‘Contiguous’ as Limit and ‘50%’ as Tolerance.

Set the contiguous value to 50 % -
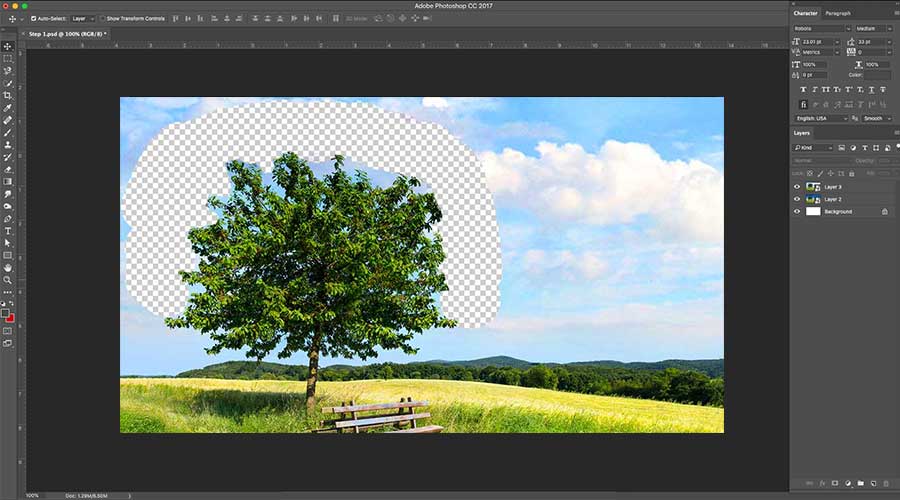
Use The Tool For Erasing Background
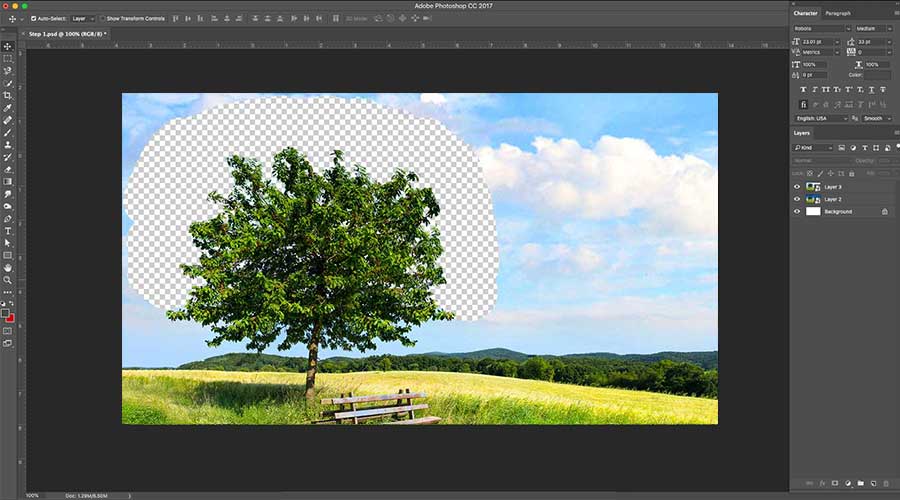
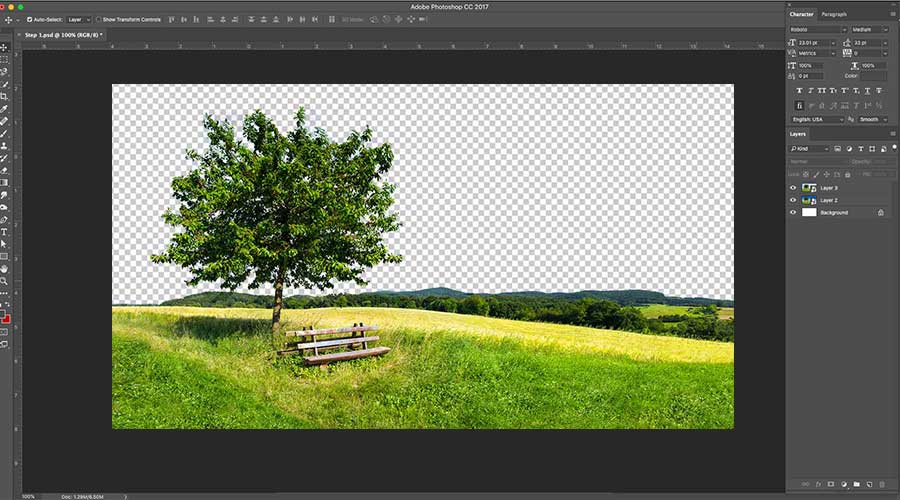
Choose an appropriate part of an image. Click and keep the left mouse button pressed. Start dragging the mouse around for erasing.
Start erasing the unwanted portion If you want to erase something that is not adjacent to present area, go to ‘Limits’ option and change ‘Contiguous’ to ‘Discontiguous’. This will allow you to delete photo background area that is not adjacent or is isolated.
Delete the isolated portion of the image -
Exercise Other Options
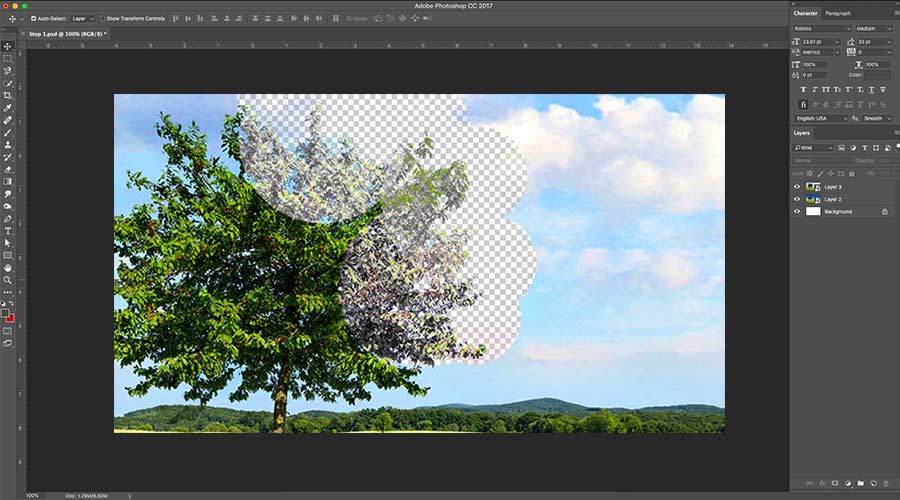
It is possible that the background color closely resembles the subject’s color. To avoid erasure of color from the subject, you need to keep the Tolerance level low.
Maintain low tolerance level In contrast, you should keep the tolerance level higher if the background and subject colors differ significantly.
Maintain a high tolerance level You can also exercise ‘Protect Foreground Color’ option if background eraser is causing foreground color to fade. You can sample the foreground color by holding Alt/Opt to direct Photoshop not to erase the same with Background Eraser.

Try with Protect Foreground Color Option -
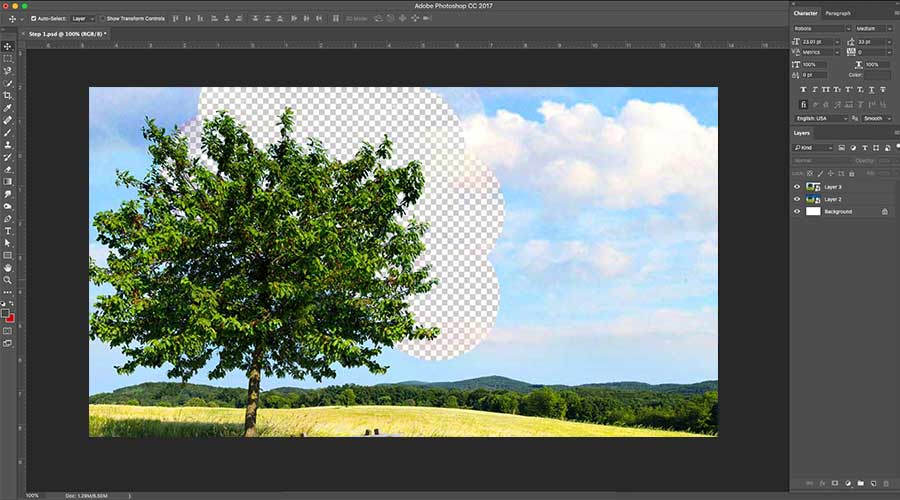
Erase Different Hues of Background Colors
Once you use the tool to remove background from image for one color, you may find that some shades and tones of other colors are still present. To get around this, go about sampling a new color and carry out the process from start. Selecting ‘Sampling Continuous’ option from the top panel would also help.
However, you must exercise caution else you can accidentally erase image portions, which you wanted to retain, by wrongly sampling subject’s color. Use mouse crosshair for aiming at a different color and keep repeating the process until the image gets completely cleared of distractions.
Useful Article: Change Background Color in Photoshop in Simple 2 Ways -
Finalizing The Erasing Process
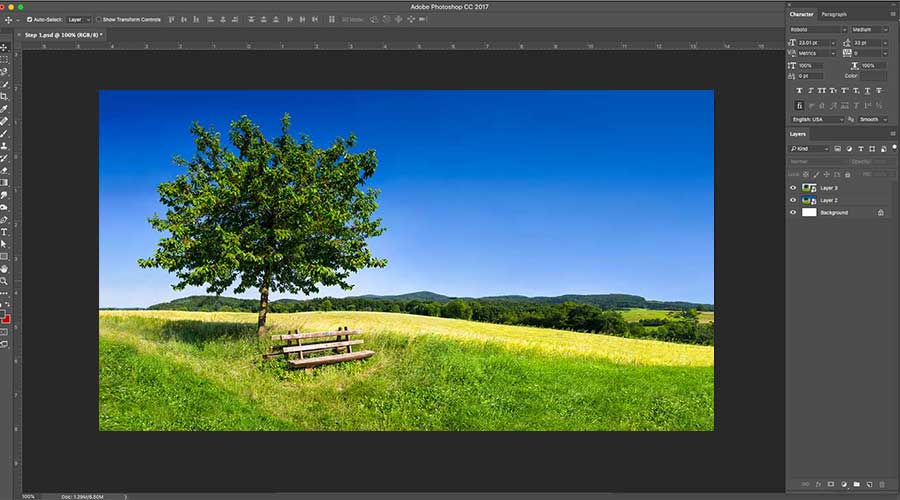
Now that you know how to erase background in Photoshop, you must do justice to the subject. The subject
- Can be extracted for use in another image manipulation project
- Can have new background in place of the removed one
Image with sky change This brings us to the conclusion.

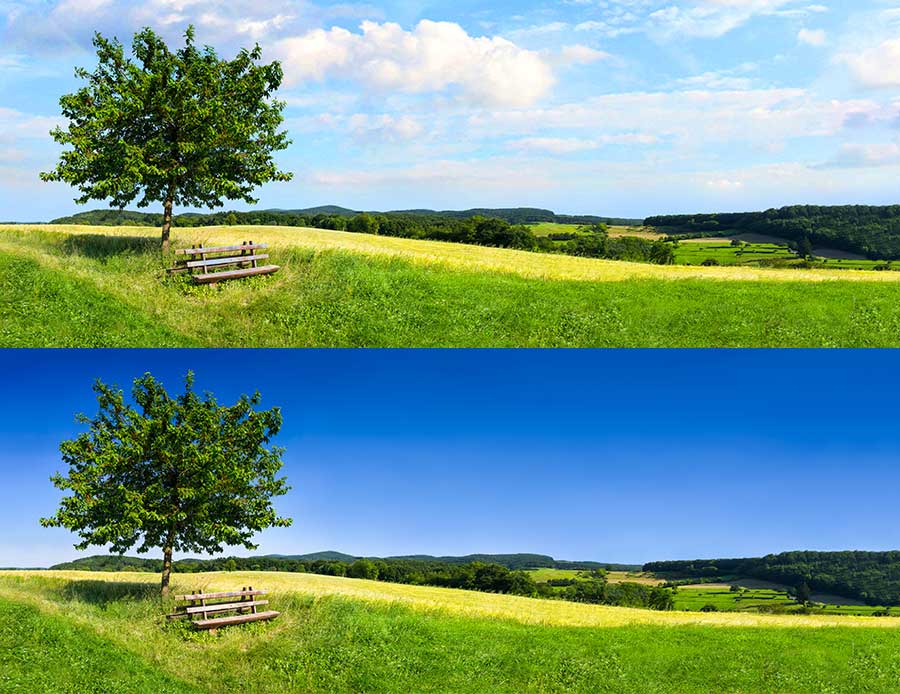
Before and after sample of using the background eraser tool


Conclusion
Background Eraser edits in destructive mode. This implies that the changes made are applied to the actual image and changes are irreversible. You should always use actual’s image’s copy or should get the background layer duplicated before using the tool. Use the tool for sampling a solid color if possible. You must change the dimensions of brush for painting over different sized areas. Brush shape can be made larger or smaller using ] or [ keys. You can navigate to ‘History’ in ‘Window’ under the History Panel for reverting any error. If mistakes confuse you, start on a fresh copy of the background layer by deleting the existing layer. You can always contact a renowned company like PGBS for availing of professional background removal service.
Other Useful Photoshop Tools Used for Background Removal
Christa Elrod 


Christa Elrod serves as a senior graphic designer at ProGlobalBusinessSolutions. She is a creative designer with robust skills in typography, UI/UX designs, printing designs, video post-production, and 3D designs. Possessing years of experience across diverse industries, Christa loves to educate fellow designers with her experience and domain knowledge.