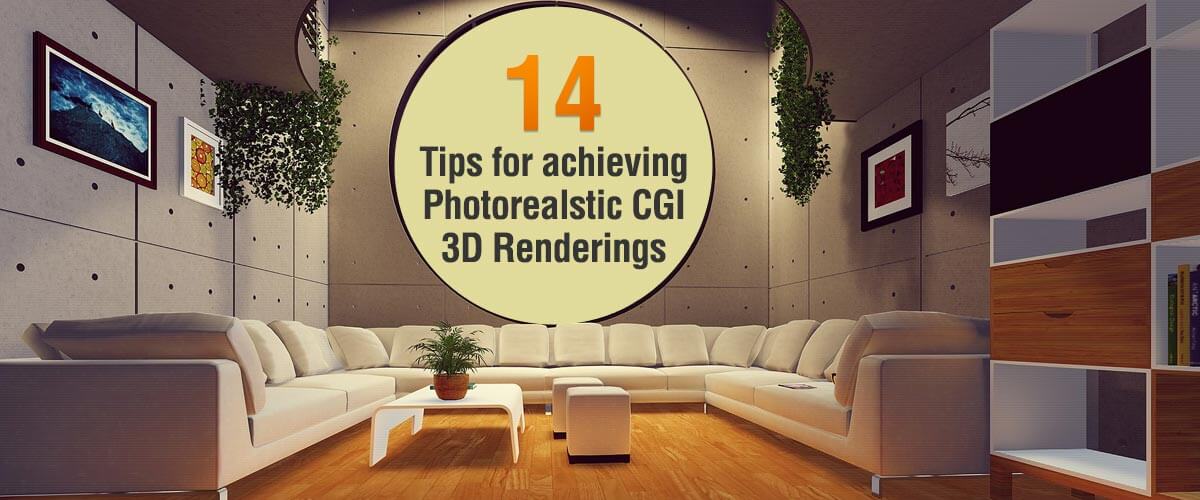
Computer-generated imagery (CGI) is undertaken to achieve photorealistic outcomes. Easier said than done; accomplishing photo-realism is something that even seasoned artists struggle to accomplish. But, don’t worry! Contemporary 3D computer graphics software comes equipped with cutting-edge tools and workflow management levers that bring photo-realism within easy reach of even newbies.
- What is a photo rendering?
- What is photorealistic design?
- Beveling the edges
- Using the Linear Workflow Properly
- Bringing the Feel Of real world Lighting with IES Profiles
- Using Depth of Field
- Adding Chromatic Aberration
- Inserting Some Degree of Imperfection
- Using Specular Maps
- Adding Asymmetric Touch
- Using High-Resolution Source Images
- Achieving Geometric Integrity with High-Quality Materials and Textures
- Ensuring Proper Lighting Exposure
- Doing the render passes correctly
- Doing Compositing Properly
- Completing the Post-Production Stage
- Conclusion
What is a photo rendering?
Photo rendering is the process of blending a non-photorealistic or photorealistic image from either a 2D or a 3D model by using specialized computer software. The image that is obtained is called a render.
What is 3d photorealistic design?
3D photorealistic design is a type of life-like computer-generated render created by 3D artists by using advanced 3D software and tools. In this process, the model is rendered with high-quality textures and lighting.
This post would take you through proven techniques for achieving photorealistic 3d renders with relative ease.
1) Beveling the edges
As a 3D artist, you must appreciate the fact that sharp edges are not possessed by the majority of natural objects. Even objects designed by humans have rounded edges where surface convergence occurs. To bring realism in renders, you must essentially carry out beveling or chamfering of edges.
Bevels cause the object’s details to be highlighted around the edges, allow better reflection of incident light, and brings virtual models closer to reality. You can use the Chamfer tool for beveling. This tool is something that you must command mastery of initially. The internet is full of learning resources which you can refer to for learning the tricks.
2) Using the Linear Workflow Properly
Linear workflow is nothing new. Still, beginning artists get confused with this complex concept. This workflow type is needed because the images are displayed by the monitor in sRGB color space. In contrast, the linear render engine produces the output in different color space. To counter this anomaly, gamma correction has to be applied to the rendered image.
However, the linear workflow is not restricted to setting right gamma only. It is about providing lighting exposure to images based on the principles of physics. A number of tutorials are available online which discusses at length the ways to apply linear workflow correctly in 3D software.
3) Bringing the Feel Of real world Lighting with IES Profiles
In 3D renders, particularly those related to architectural visualization, the need to emulate real-world lighting is a must for giving a touch of reality. This can be achieved alongside a linear workflow with the help of IES light profiles’ files.
Light makers such as Siemens, Philips etc. had developed IES profiles initially for digital quantification of data related to photometric lighting. These light profiles carry correct photometric data pertaining to the shape of light, luminance quotient and fall off. Hence, support for IES profiles has been added to all popular 3D rendering software.
4) Using Depth of Field
Another tactic for achieving photorealistic renderings is to add blurred backdrops to the images. Known as ‘Depth of Field’, the realistic quotient of the renders can be easily increased with this. The renders would come to mimic real-life photos in appearance.
To give prominence to the subject in the image, it is recommended to keep the depth of field shallow. The composition can be improved significantly for various unique situations. The 3D render engine of the software can be instructed for calculating the depth effects during rendering. The depth of Field can also be applied at the post-production stage through z-depth pass. In Photoshop, you can also use the ‘lens blur’ filter to accomplish a similar effect.
To gain more control over using this effect for heightened photorealism, it must be applied in the post-production stage. The depth of field parameters must be set beforehand within the 3D software.
5) Adding Chromatic Aberration
Although it may be hard to spell, applying chromatic aberration to the rendered images is really an easy task. This aberration can be seen in real life pictures when the camera lens cannot cause rendering of all color channels at a single point of convergence. When this happens, you would find very fine blue or red outline at high contrast regions of an image. It is also known as ‘color fringing’.
In computer-generated imagery’s lighting, chromatic aberration is not a natural phenomenon. It has to be imitated. In Photoshop, this is accomplished with blue and red channel offsetting by a few pixels. If the number of pixels added during offsetting is more, abnormal blue or red hue would appear which would steal the realism from renders. Subtle additions have to be done.
6) Inserting Some Degree of Imperfection
Real life photographs are not perfect in all respect. To live up to them through 3D rendering, it is advisable to add the moderated amount of dirt to the models or textural effects. This error, deliberate imperfection through a controlled degree, can make the images more believable.
If you are seeking 3D models and renders which are untouched by anything unclean or grunge, then you are drifting away from photorealism. Errors can be inserted in a subtle manner within textures or in the visually distracting manner through large sized cracks or model discrepancies. This is particularly helpful while dealing in FPS type gaming environments.
The imperfection should be added in varying amounts when the scene is populated with a number of models. Even from architectural renderings’ viewpoint, some props can be scattered across the scene in a natural manner to send across a feel of used space.
7) Using Specular Maps
Specular maps are something that 3D artists get accustomed to using during the early stages of their usage of rendering software. These maps are deployed for conveying to the render engine the regions within the model which must have higher glossiness or specular touch and areas where diffusion would be more.
However, the fact is that the majority of natural objects don’t experience consistency in glossiness all along their bodies. If you turn off the specular map feature, the models would be rendered with uniform glossiness. Models like polished metal or glazed artifacts which pride themselves of consistent glossiness can have irregularities on the surface such as dents or scratches. This can be made more manifest with the help of the specular map.
8) Adding Asymmetric Touch
When a model is sculpted in 3D software, the usage of symmetry-related properties ensures that features like a face would have the symmetric appearance on either side. Nagging problems related to one body part looking proportionally different than its counterpart would be alleviated.
However, turning off symmetry can prove useful during the final detailing of the model which is readied for posing. If asymmetry is added in a moderated amount, the character would appear more realistic. The asymmetric touch may not be confined to pose only, you can add the same to attire or texture of the model also. The dynamics of the final rendered image would be greatly impacted which would result in the more life-like model.
9) Using High-Resolution Source Images
An important catalyst for photo-realism is the resolution of source images used for modeling. The details of the photo’s object should be readily visible which would save time and make each aspect clearly understandable.
10) Achieving Geometric Integrity with High-Quality Materials and Textures
To achieve photorealism, you must understand the intrinsic value of materials and textures. The model can be rendered highly expressive with the use of matching textures and high-quality materials. The appealing geometric configuration of the model stands to be destroyed if improper or shabby textures are used.
It is advisable to set up the lighting prior to starting work on the textures. One prominent light source must be placed at the point from where lighting exposure is being provided. However, as per the requirement of the model, rim light and fill light may be provided in adequate numbers. The fill light should be strategically projected for preventing the specular effect.
Objects with a hard surface can be textured in Photoshop.
11) Ensuring Proper Lighting Exposure
The 3D environment in which modeling is done carries light sources which are significantly different from studio lights. In order to achieve simplification in environment modeling, low-poly models can be made or the plane can be simplified to facilitate stretching of the mask’s texture. If you choose to create a modeling environment in layers, you can optimize on lighting sources. Maximum glare-free exposure from various camera perspectives and angles is assured.
Lighting must be done in an organized manner. Shades have to be strategically provided. If you choose to use the same cluster of lighting at various points along the environment, all lights can be adjusted collectively. The color correction plug-in which comes for texturing should be used for building shaders. This would be helpful in adjusting shaders without any need to edit 2D textures.
12) Doing the render passes correctly
When you use Z-Depth passes during rendering, mistakes often show up. However, the correctness of the output is a matter of perception and the only experience can tell if the outcome is visually correct or not. If the Z-Depth passes are applied correctly, the photorealism of the image is enhanced to a large extent and a significant amount of rendering time is saved. The essence of the image may be lost if the Z-depth is not applied properly.
The camera in the rendering environment must be attuned properly to behave like the real world with maximum preciseness. Accurate lens parameters must be chosen after setting the proper depth of field and anti-alias feature. Images sourced online often carry maximum information about camera and lens parameters. This info can be relied upon for strategic placement of the camera in a rendering environment.
13) Doing Compositing Properly
It must be your top priority to expose objects in the scene to lighting in a manner that looks realistic. You can improve the lighting quotient with various paint-over effects and blending modes. Choose the colors that complement the real counterpart of the object being modeled. This would result in realistic renders in the final scene.
14) Completing the Post-Production Stage
Once the modeling has been completed, the color must be corrected in Photoshop for photorealistic CGI. The entire image can be worked in a single go. If discrete elements have to be colored, masks must be used. The post-production tasks must be carried out on the copy of the modeled layer.
Prior to applying Curves, adjustments in Color Balance, Selective Color and Levels; you must keep a replica of the layer in the History palette for comparing the results. Photorealism can be enhanced through subtle distortions of the lens. These distortions would capture the attention of the viewers and convey to them a sense of naturalness in the rendered CGI.
Conclusion
The aforesaid recommendations are vital touchpoints upon which you must work thoroughly and extensively to give your images the touch of photorealism in a decisive manner. 3D renders are developed in a painstaking manner and you cannot afford to deprive them of their innate appeal by being too prim. Professionals and 3d design companies make use of latest tools and techniques to produce photorealistic 3d renderings. Associated with PGBS to help you with photorealistic 3D architectural renderings and 3d product renderings.