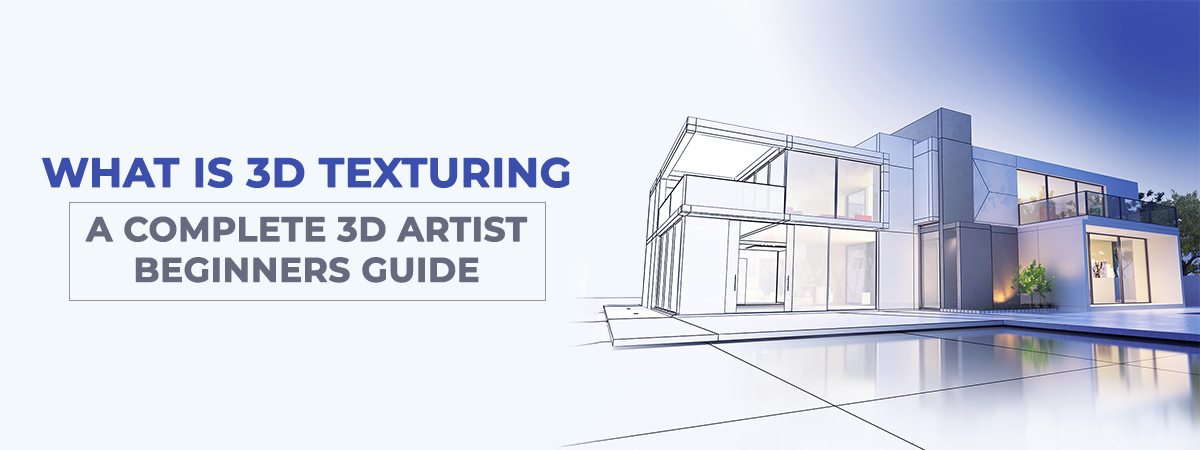
3D texturing, printing and modeling are all extremely popular these days. Creating a 3D model and its textures are getting seamless with the advanced tools available. 3D modeling is the most crucial stage in the 3D development process. Models must be detailed, and to ensure high quality with a natural look, this technique is vital. The realism of the finished model is based upon the texture for material development.
Here we will focus more on uncovering how to make textures for three-dimensional models. Below mentioned are some of the ways professional artists use to create textures. Before learning in depth lets understand what is 3d texturing.
What is texturing in 3D modeling?
3D texturing is the method of creating or applying textures to 3D materials and models. It is an essential characteristic of the surface of a model, making it look real by wrapping it all around.
There are two types of materials: Basic and PBR.
The basic material is very smooth. It is made using convex color. This type of material is a great basis for texturing that helps achieve the real look of an object. It can be used when an item does not require character interactions.
Physically based rendering (PBR) is a material textured to look natural. Artists need to use colors, roughness and bump map textures to achieve this final raw output.
Importance of 3D texturing
The 3D artist has to take care that the surface gets the same qualities as a real-world rock when rendered. Matching the model’s surface to its concept art design is the major goal of this process. Let’s take an example of a rock surface model.
Important tips to consider
There are various types of three-dimensional models available, including animals, characters, and other assets. Each has its specialties and should be considered while texturing. Here are some tips
- 3D human texturing requires detailed texturing of each part of the body. In 3D head texture, each head part has to be paid special attention while carrying out the process. 3D face texture is imperative and symmetrical. The face can be divided into different parts and lines with the UV map. The method of skin texting requires roughness, shading, and painting with appropriate colors. This texture helps add some special features, including scars, birthmarks, and more.
- Three-dimensional animal texturing requires research of different animals as they will require different materials. In the case of reptiles, there is a need for specific scales and skin. Mammals can have thick and short hair, while others are covered only with skin. The creation of particular layers is required for each type.
- Items and props should look impressive and complement their digital environment. The right process can help you focus on the subject’s distance from the camera and the lighting solution making the asset look harmonious.
What are the different texturing stages?
Being 2D in format texturing begins after the creation of a three-dimensional model. Let’s look at the major stages of standard texturing
- The texturing process starts with 3D model unwrapping. This flat model display is termed a UV map. U and V are the axis of the 2D space, and X, Y, and Z are the axis of three-dimensional models. This unwrapping helps in easy editing of the model to help it fit in a three-dimensional format. Photoshop can be the best for 3D UV mapping.
- 3D model texture mapping can be defined as wrapping a 3D model with different texture maps, including normal, roughness, bump, and more. The major objective behind this practice is to make a flat image fit a three-dimensional object.
- The process of painting and shading texture relates to adding details of texture to a model using digital paints. This process of 3D texture painting is performed on the surface of a three-dimensional model. Rotating it helps figure out different areas that need improvements not visible on a flat map. Creating the volume and relief of an object is known as texture shading. A modern technology known as texture sampling is achieved when the texture structure of the model is read through a graphics processing unit (GPU). It uses the colors of the nearby texels.
- 3D texture rendering creates lifelike graphics with amazing lighting. To impose the relevant lighting, artists can visualize all the external information.
What are the different types of 3D texturing?
Solid texturing is the process that creates an illusion of a shape that is carved out of a solid 3D substance. In the three-dimensional space, variations in colors are adjusted at every point of the model rather than overlaying 2D textures. When the real images are superimposed on the surface of a three-dimensional model, we call it geometric texturing. To make your model look more realistic, it’s best to consider diverse textures and materials at every stage of texturing.
Useful Article: 8 Best 3D Texturing Software in 2022 (Free & Paid)
To Conclude
The 3D model texturing process is time-consuming and needs a better understanding of the technical aspects. Experience and skills play a major role here. Highly skilled professionals can only produce detailed textures very efficiently.
Contact us to learn more about our 3D texturing services for all of your 3D design needs!
Christa Elrod 


Christa Elrod serves as a senior graphic designer at ProGlobalBusinessSolutions. She is a creative designer with robust skills in typography, UI/UX designs, printing designs, video post-production, and 3D designs. Possessing years of experience across diverse industries, Christa loves to educate fellow designers with her experience and domain knowledge.