A growing number of businesses are using augmented reality and virtual reality, leading to a rise in the demand for 3D modeling support. If you are curious about using 3D modeling in your marketing and want to learn about creating a 3D model, you’ve come to the right place!
Generally speaking, the 3D modeling process can be broadly divided into three stages. This article will briefly look at these stages to get an overview of the whole process.
What are the steps in the 3D modeling process?
Step 1: Making the concept art
Concept art is a visual tool to convey the idea or look of environments and characters for use in video games, movies, TV shows, comics, and other media. It is also the first stage in designing 3D models, serving as a solid foundation. 3D artists refer to these concepts during the 3D modeling process.
Concept art also goes through different stages; the final design may look nothing like the initial drawings. The initial art needs further development and testing before settling on the final design. It is a great way to explore different design options before committing more resources to building the model.
Usually, the artist starts designing a character or environment by visualizing it based on the descriptions. They then make simple line sketches to form the outline and basic shape of the design. The artist then adds more detail in later stages and colors the drawing to get the final design. The process of making concept art depends on the artist, but they usually follow the steps previously mentioned.
Step 2: Making your 3D model
Once your concept art is finalized, you can start making your 3D model with your 3D modeling software. But first, you must decide what method you will use to make your model. There are many types of 3D modeling but solid, wireframe, and surface modeling are the most popular among 3D modelers.
Sculpting is another popular method of making models. Unlike modeling, sculpting is more flexible and requires specialized software. It is a more organic way of making models, similar to making a sculpture out of stone or clay.
Sculpting is often done after the artist makes the basic model using other techniques. They create details, irregularities, and unique characteristics by ‘pinching and pulling’ the model’s geometry with various sculpting tools.
Remember to choose the method based on the type of model you want to make. For example, avoid solid modeling if you’re going to make a character model, as it doesn’t offer high realism for organic shapes.
Step 3: Texturing
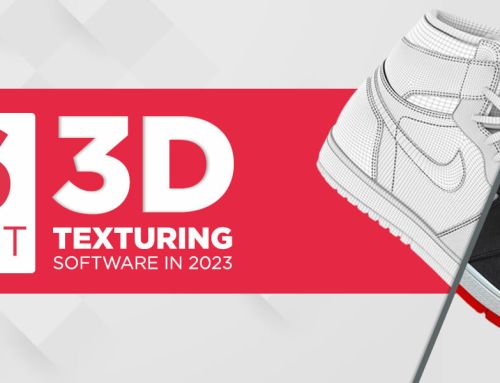
When you finish creating the model, you are left with an unappealing grayscale digital object. Although your model is more or less complete, it is not ready for presentation. The next step to finishing your 3D model is the 3D texturing process. An artist gives the model additional surface details like color, depth, textures (metal or non-metal), roughness (wear and tear), and more.
The primary role of texture is to break up the uniform appearance of 3D models and make them look more realistic. You can apply the textures directly to your 3D model or use UV mapping to simplify the process.
Step 4: Rendering
Now that your model is ready, your next steps will depend on why you made the model in the first place. If you made the 3D model to help visualize the product or architecture, you must render it into a 2D image.
If you made the model for movies or video games, you might need to rig it, so the animation is possible.
Wrapping up!
Creating a 3D model may seem simple, but it is a highly complex process. It often requires multiple specialists to work together to make one model. If you are looking for professionals who offer 3D modeling services, you will often find there are specialists for each stage of the process.
In this article, we have only given you a brief look into the stages of 3D model creation. We hope it has given you the insight to understand and appreciate this process. Cheers!

